Having a backup solution on your site is one of the most basic ways to ensure WordPress security. The platform also offers many different solutions for it.
A relatively new contender in this area is Migrate & Backup WordPress by WPvivid, which dubs itself as “the only free all-in-one backup, restore and migration WordPress plugin”.
To see what it can do for users and if it brings anything new to the table, in this review we will take an in-depth look at it. Below, we will examine its standout features and go through all of its key functionality so you can make a decision whether it’s the right thing for your needs.
Let’s get going.
Stats, Numbers, and Features
Migrate & Backup WordPress is a free plugin available in the WordPress directory. At the time of this writing, it has over 20,000 installs and a solid 4.9/5-star rating. Here’s what it promises it can do for you:
- Migrate your site to a new domain with a single click, e.g. from development to live production or vice versa
- Create automatic (remote) backups of your WordPress site including one-click restore or restore via upload
There is also a pro version with additional features that we will talk about later. To really get an impression, let’s take it for a spin.
How to Use the WPvivid Backup Plugin
Here are the basics of using the plugin on your WordPress site.
1. Install WPvivid Backup
As always, the first thing you want to do is start with the installation. For that, the quickest way is to go to Plugins > Add New and then searching for it by name (WPvivid is enough).
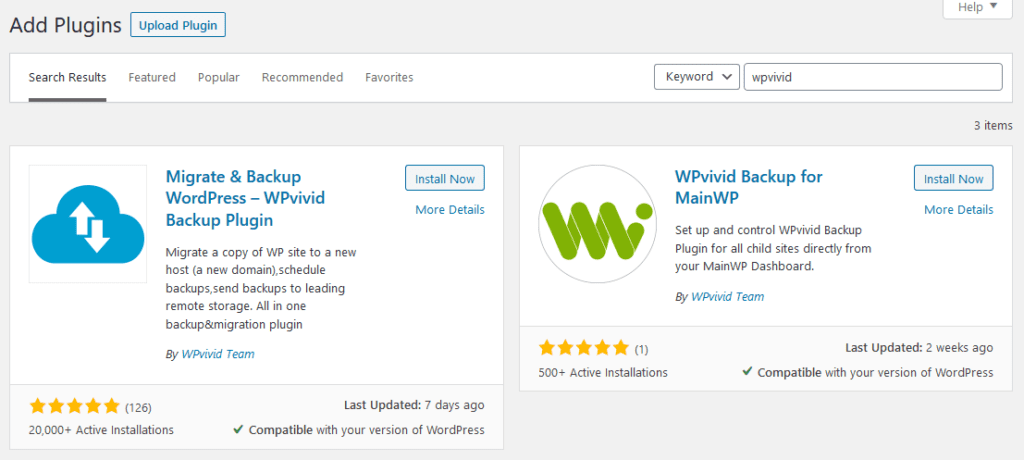
Once you have located it in the list, hit the Install Now button and wait until the download has finished. Then, don’t forget to click on Activate.
2. Create a Manual Backup
After the installation, you automatically land on the plugin’s main page.

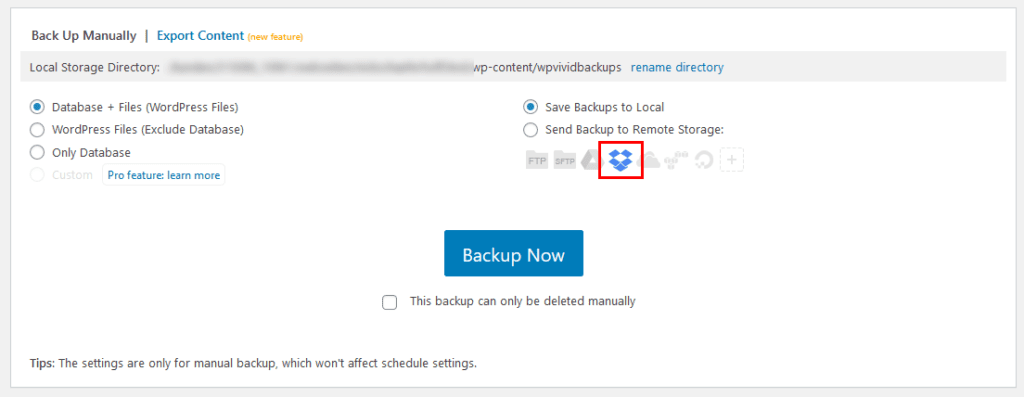
Here, you have access to its most basic functionality – creating manual backups.
For that, simply choose what to back up (database and files, only files, only database) and whether to save them locally or remotely (more on that soon). You can also check a box to determine that a backup should only be deleted manually and not automatically.
When you are happy with your choices, hit the big Backup Now button and the plugin will go to work. You can watch the progress via a status bar at the top.

When you are done, the finished backup will appear at the bottom of the page.

This is where all of them show up. Here, you can also check the log, download the backup, start a restore (you will soon learn how), or delete an existing backup. So far, so good.
3. Create a Backup Schedule
Of course, with backups, it’s better to have a set-it-and-forget-it solution. That’s where scheduling comes into play. You find the options for that under the Schedule tab.
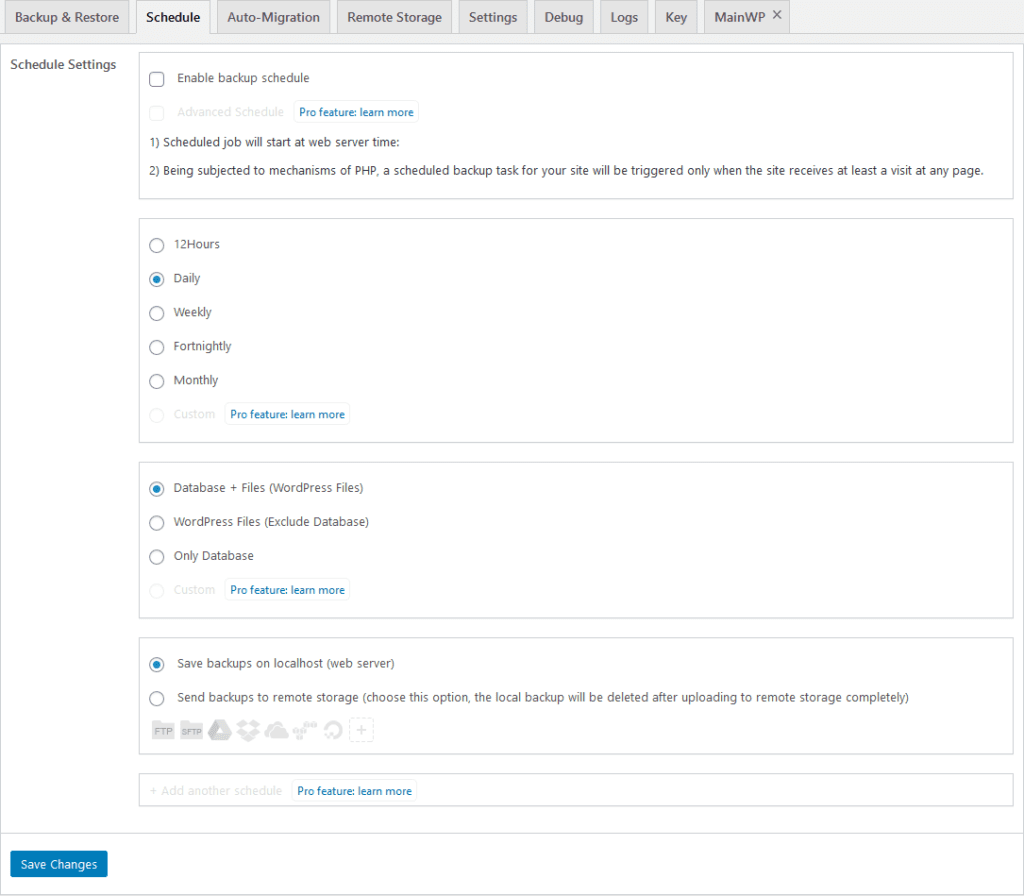
Setting one up is really easy. Just set a tick mark at the top where it says Enable backup schedule to get started.
Next, pick an interval (every 12 hours, daily, weekly, every fortnight, or every month). After that, choose what you want the WPvivid backup plugin to save in terms of files and database and, finally, whether to store it remotely or locally. Save the changes at the bottom when you are done.
From now on, your site will automatically be backed up according to your settings. You can also see this on the dashboard where it shows your next backup along with other information.

4. Set up a Remote Storage
If you store your backups in the same place as your site (i.e. on your server), in a worst-case scenario, they might get lost together with your site and you are left with nothing.
For that reason, under Remote Storage, WPvivid backup allows you to save your stuff in many different places off-site:
- Google Drive
- Dropbox
- Microsoft OneDrive
- Amazon S3
- DigitalOcean Spaces
- FTP/SFTP
Pick your favorite, enter an alias (so your recognize which storage it is on your own site), configure settings, choose whether to use it as the default remote storage and then hit the blue button to authenticate or test your settings.
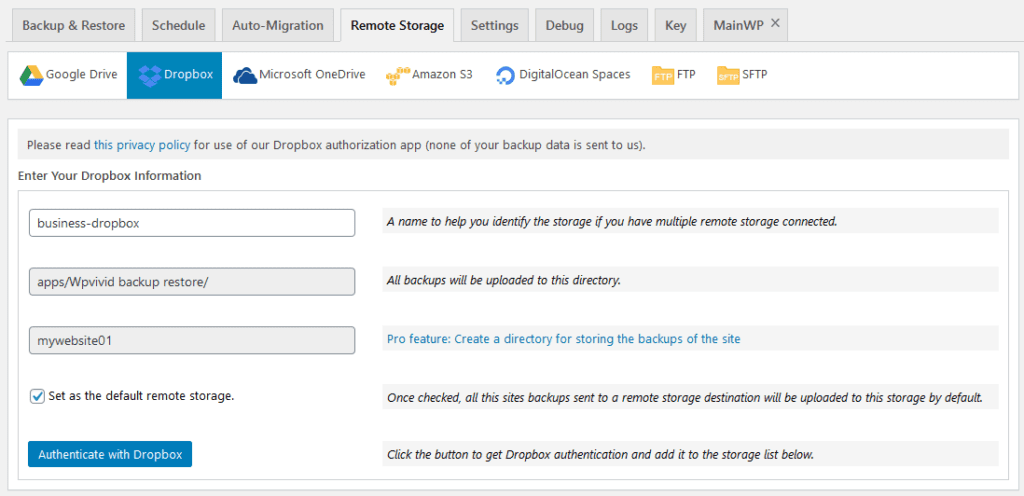
Depending on your choice, you might have to authenticate with the storage provider in the next step and also give the plugin permission/access.
However, once you are done, you can also choose remote storage for your manual and automated backups. The new option will also show up in your list of available storage spaces.
In my test, this worked without a hitch.
5. How to Do a Restore
Restoring from storage is pretty much as easy as backing up. Just hit the Restore button on your list of available backups. It will show you this page:
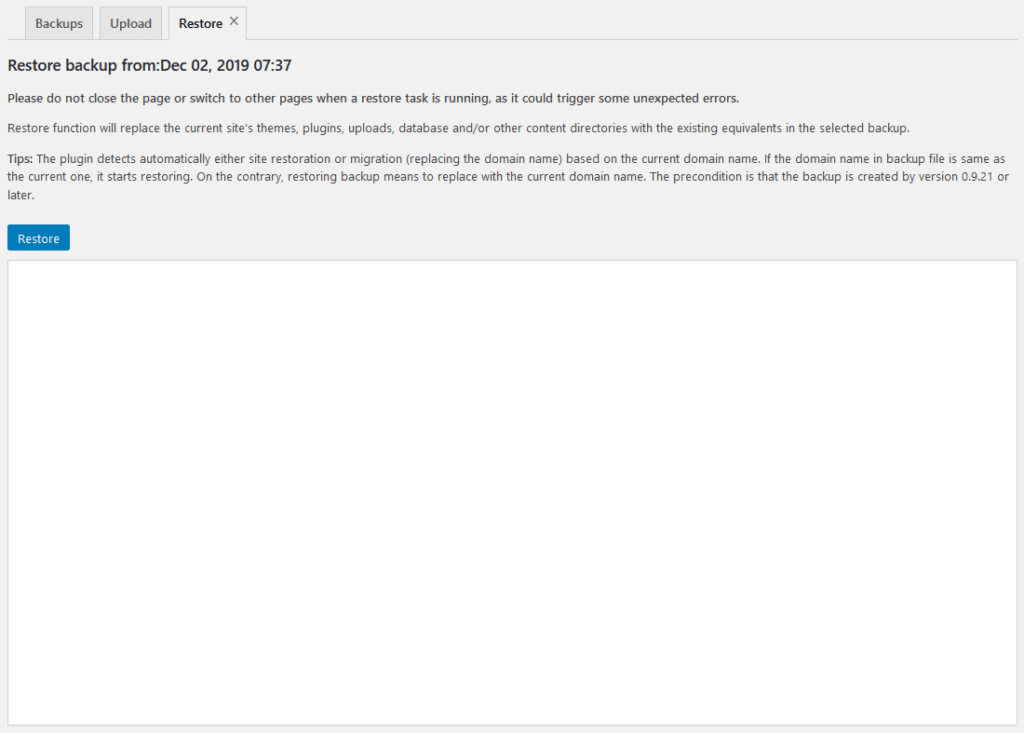
Click on Restore, confirm when asked if you want to continue. You will see the progress in the field below and get a message when it’s done
If the space is remote, the plugin will ask you to download the backup to your server first. In addition, on the main page, you can also upload manual backups to your site via Upload.
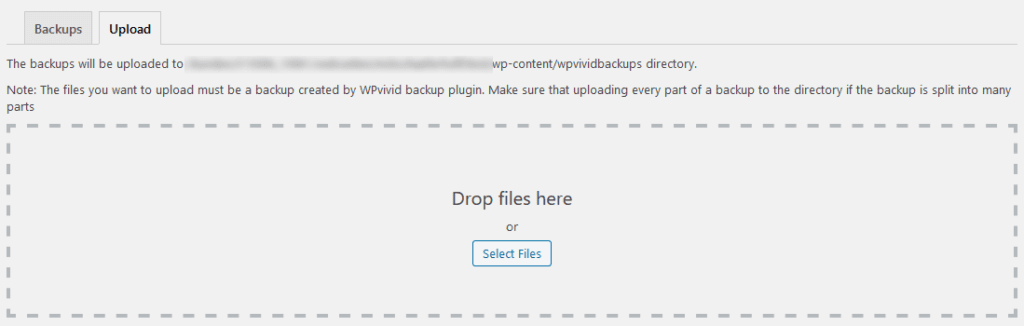
When have done either, click the Scan uploaded backup or received backup button to see it in the list. You can restore them from here as described.
6. Auto-Migration
Another option the WPvivid backup plugin offers is migrating your site from one server to another. This can be two live servers, live to staging, local to live, and many other combinations. You can do this automatically or manually.
For automatic, you first need to go create a site key for authentication. For that, the same plugin needs to be installed on the site you want to migrate to. There, go to the Key tab.
Choose how long you want your key to be valid for and then hit Generate. It will give you something like this:
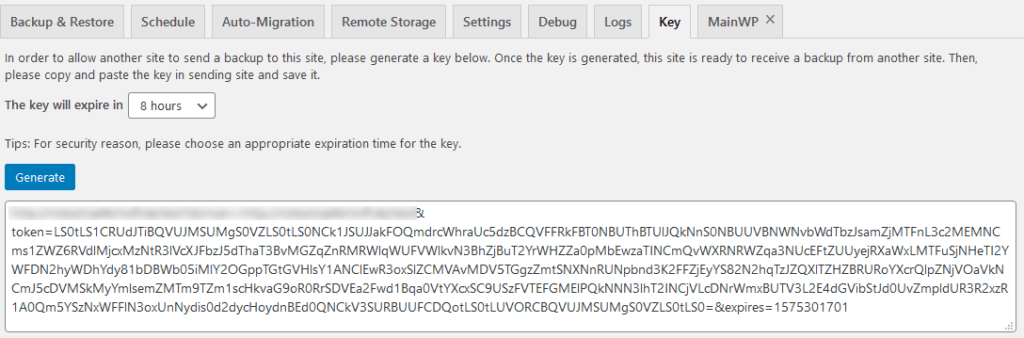
Copy it, then log into the site you want to migrate and go to Auto-Migration.
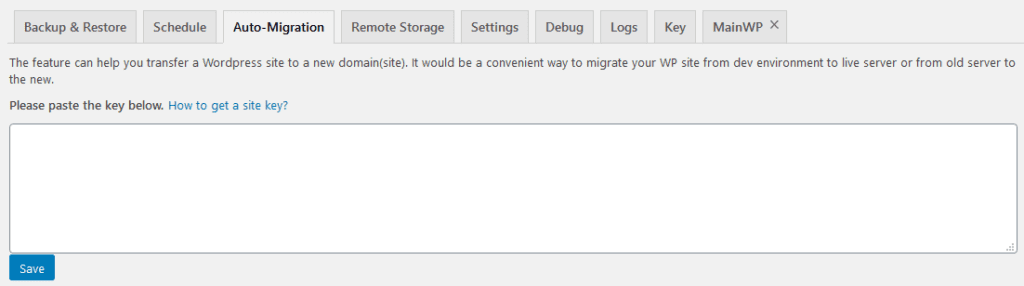
Here, paste the key from earlier and click Save at the bottom. The plugin will check if everything is alright and then tell you whether it’s fine to move from one place to the other.
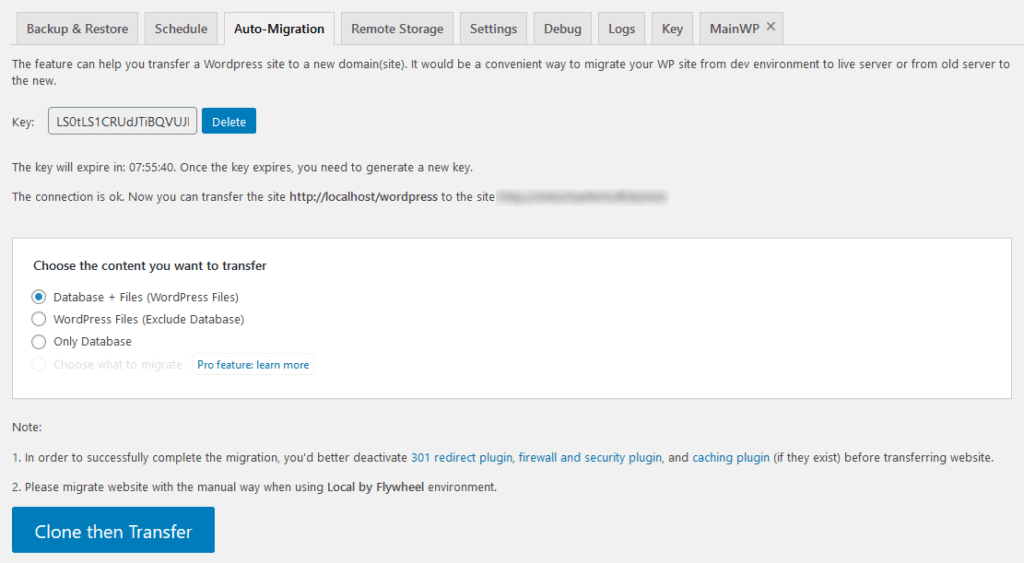
Choose what you want to transfer and hit Clone then Transfer at the bottom afterward. Note that the plugin makers recommend to disable redirect, firewall, security, and caching plugins for the time of the transfer. However, that’s it.
Alternatively, you can also download a backup and then restore it manually in the target site as described above.
7. Plugin Settings
The plugin offers a number of settings that you can find in the Settings tab (how fitting!).
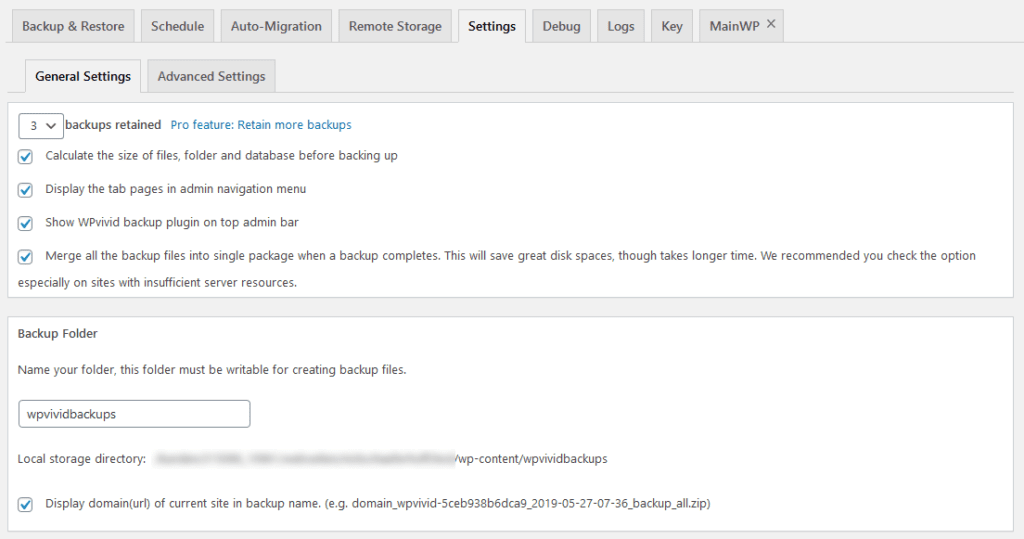
They are divided into general and advanced settings. Here are the options under general:
- Determine the number of backups to keep (up to seven in the free version)
- Display options for access to the WPvivid backup plugin in the WordPress back end
- File merging options to save space
- Storage and naming options for backups
- Ability to remove older backup instances
- Setup options for email reporting when backing up
- Sizes of temporary files and logs and the ability to delete them
- Export and import of settings for use on other websites
You also get a bunch of links to helpful resources. Here’s what to find in the advanced settings:
- Switch on optimization mode for shared hosting in case there are problems
- Controls for file compression, file exclusion, script execution limit, memory limits, chunk size, and times to try until time out
8. Other Options
Here are the remaining tabs in the main dashboard of WPvivid backup:
- Debug — If you are having problems, you can send debug information to WPvivid or download them to send manually
- Logs — Saves everything going on with the plugin so you can see what happened during your backups
- MainWP — If you are using MainWP to manage your WordPress site, WPvivid backup has their own plugin solution for it that you can find here
9. Export & Import
Besides its main functionality, the plugin also lets you transfer posts and pages between WordPress installations (including images) under WPvivid Backup > Export & Import.
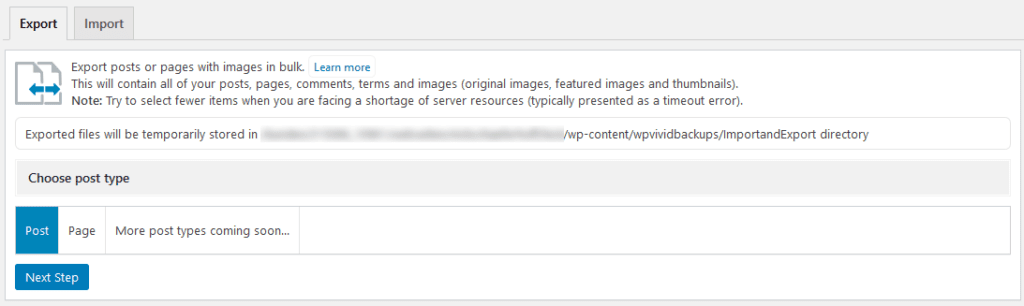
Simply pick which one you want to transfer. Then, in the next step, choose your filters (categories, authors, date).
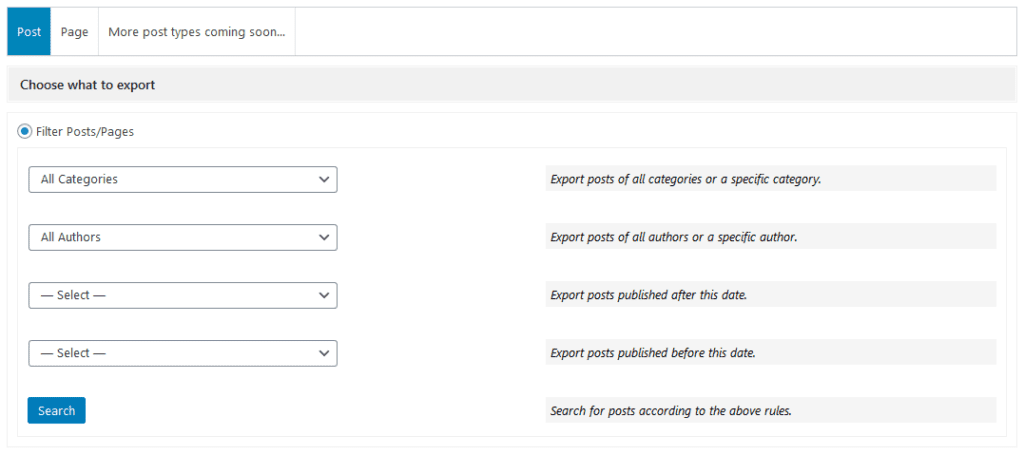
This will give you a list, from which can pick single posts and pages.
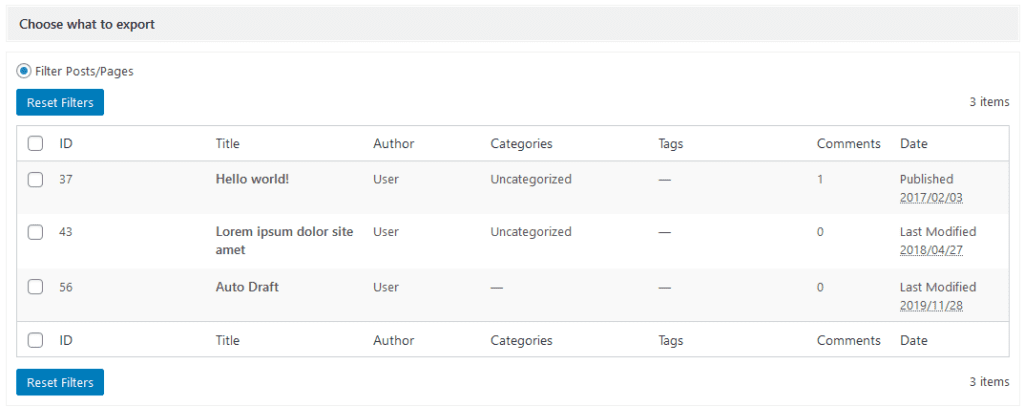
Add a comment if needed, otherwise hit Export and Download.
This gives you a zip file. You can then upload it in another installation under Import or upload it to the import directory via FTP and scan from there.

Choose which author to assign the pages to during the process and that’s it.
WPvivid Backup & Restore – Pro Version
As mentioned, WPvivid backup also comes with a pro version, which you can find on their website.
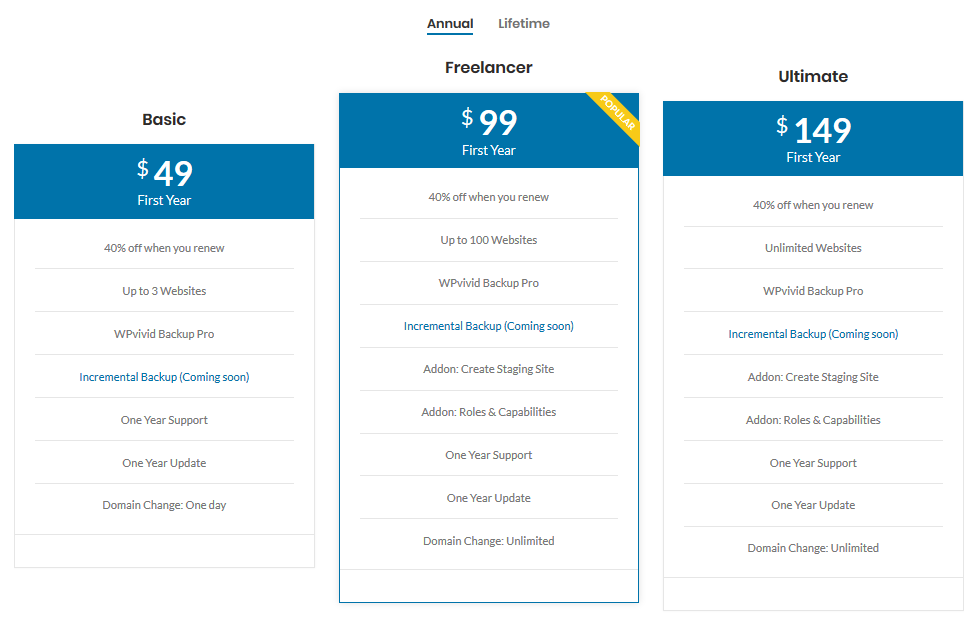
It gives you additional options and is currently in beta so you can use it for free. If you do, you can get 40% off of a lifetime license for the finished product. Here’s what it will include:
- Custom migrations — Choose what to take with you in terms of core files, database tables, themes, plugins, and more.
- Advanced remote options — Migration and restore becomes possible via remote storage and you can create custom folders in your remote storage.
- More advanced scheduling options — Time zones, custom start times, custom backup content, and storage locations.
- Staging and Multisite support — The ability to create staging environments and publish them to live in one click and use the plugin with WordPress Multisite
- Better reporting — Email reports sent to multiple addressees
- More backups — Store more than seven backups at a time
Pricing will start at $49/year for annual plans and $99 for lifetime licenses. It gets more expensive depending on features and the number of websites you want to use the plugin on.
Critique
Overall, WPvivid backup is a solid plugin that is intuitive to work with. I didn’t run into any major problems while testing except that I couldn’t get it to work in my local XAMPP installation. I also think some of the user interface could use some polishing.
Aside from that, my only criticism is that WPvivid is one of the plugin solutions where you need to have an existing website to migrate to with the plugin installed. For site migrations, I like a solution better that allows you to clone a website and deploy it on an empty server.
Summing Up
Having a backup solution is one of the most basic ways to keep your site safe. No WordPress website should go without. With WPvivd Backup & Restore, users now have even more choices than before.
Above, we have gone over the plugin’s main features and how it works. It comes with lots of functionality, is well made, and easy to use. There are few things to criticize. If you are looking for a new backup solution for WordPress, I can wholeheartedly recommend it.
Have you tried out the WPvivid backup plugin? What was your first impression? Please share in the comments below.
The post WPvivid Backup Plugin – A Review (Features, Usage, and More) appeared first on Torque.
