If you own a WordPress site (and why else would you be here), chances are good that it is connected to at least one Google product. To check on your traffic and SEO efforts, this might be Google Search Console, Google Analytics or both.
In addition, you might use PageSpeed Insights to see how your site performance is faring and AdSense for monetization.
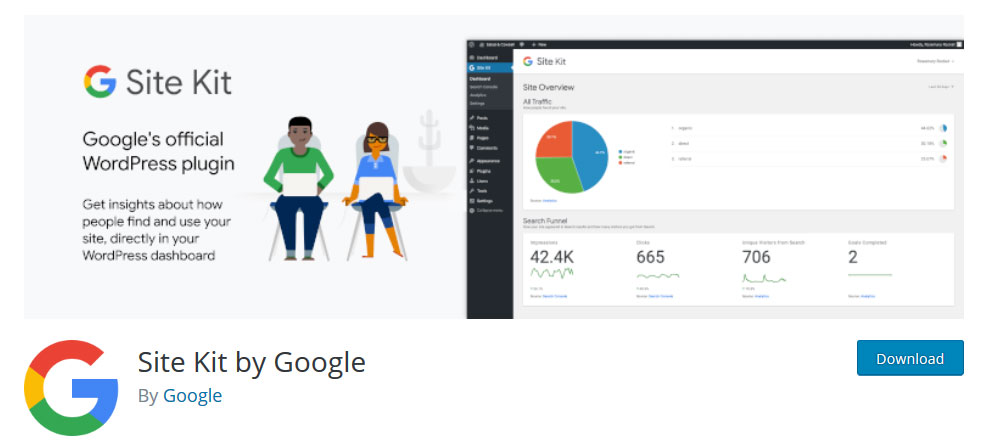
It’s exactly for people like you that Google recently released a new WordPress plugin – Site Kit. It aims to make connecting your site to these different services easier and allows you to display their most important information on your WordPress dashboard for quick access.
Sounds useful, but is it? We will find out in this Google Site Kit review. Below, we will talk about what the plugin can do, how to set it up on your WordPress site, and how to use it to improve your web presence.
Here we go.
What Is Google Site Kit?
As already mentioned, Site Kit is a WordPress plugin. You can find it in the official WordPress directory, where it is available for free.
At the time of this writing, the plugin has more than 90,000 downloads with a combined rating of 3.7/5 stars.
What Does It Contain?
Here are the Google services it supports and what they can do for your site:
- Search Console — Provides information about how your site appears in search, indexing, and queries visitors use to find it.
- Analytics — How users are navigating your website, pages they visit, where they leave and more. It also has the possibility to set goals.
- PageSpeed Insights — Website performance and how to improve it.
- Adsense — Allows you to place contextual PPC ads on your site to monetize traffic.
- Optimize — Helps you do A/B tests on your site without editing code.
- Tag Manager — Set up tags on your site and track whatever you want.
Who is This For?
Who can benefit from these features? Here’s who Site Kit is especially suited for:
- Site owners who want to understand how their web presence is performing
- Developers or agencies who are trying to make their client sites successful and/or need to report what is going on
- Plugin or hosting providers looking to present important performance data to users
How does the plugin deliver on these promises? Let’s find out.
How to Set Up and Use Google Site Kit in WordPress
For a look under the hood, let’s see how to set up Site Kit on your WordPress site and what it can do.
Note that this is much easier if you have already signed up with the services that you are going to use. The plugin will only help you connect to Search Console, Analytics, etc. but not create accounts. Therefore, if you haven’t done so yet, now is the time to rectify that. Otherwise, you will have to do do it while settings up the plugin.
Either way, make sure to use the same Google account for all of these services as you’ll use it to connect your site. Besides that, in order to set up Site Kit in WordPress, you need to be logged in as an administrator user.
1. Install the Plugin
You can install Site Kit the same way as any other plugin. Simply go to Plugins > Add New and type its name into the search field.
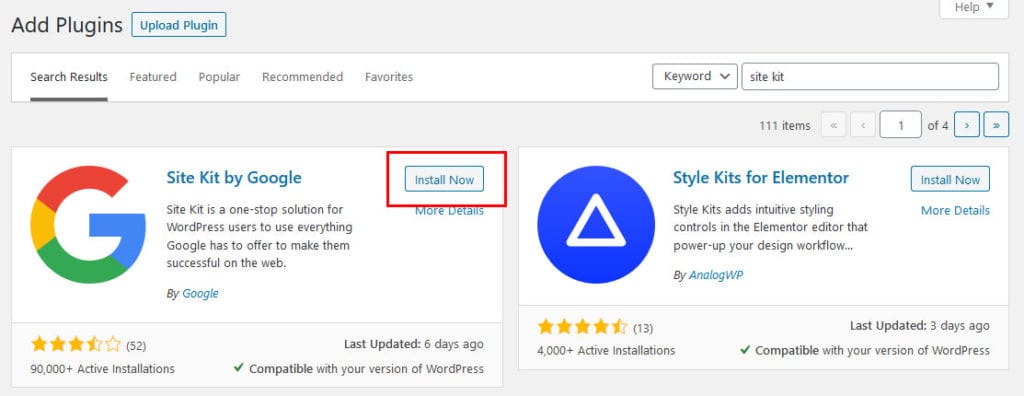
Once you have located it in the list, click the button that says Install Now and wait until it has been downloaded onto your site. Once that has happened, hit Activate.
2. Start the Setup and Add Google Search Console
Once active, you find a new prompt in your dashboard.
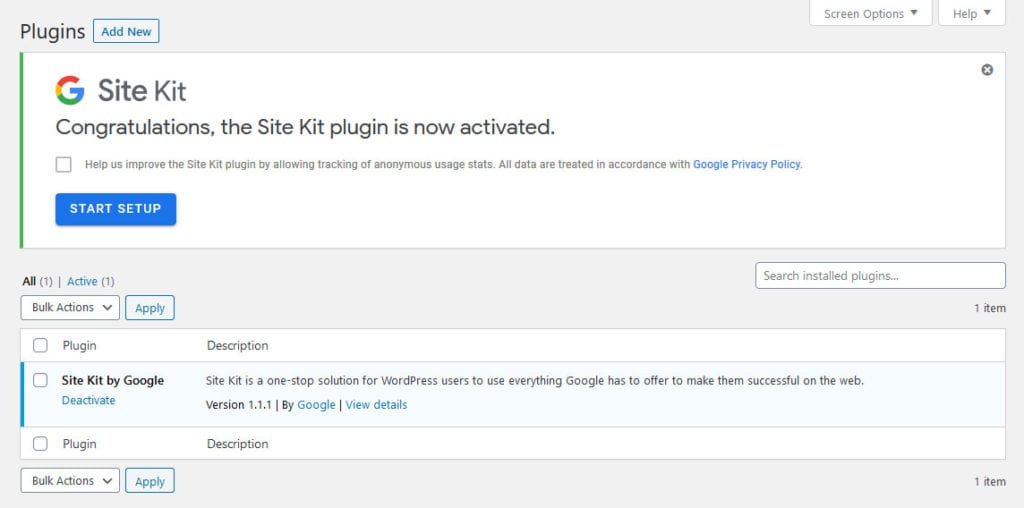
Hit Start Setup to begin configuring your plugin. You can also put a checkmark to allow Google to track your usage for improvements or not. This setting is also accessible elsewhere.
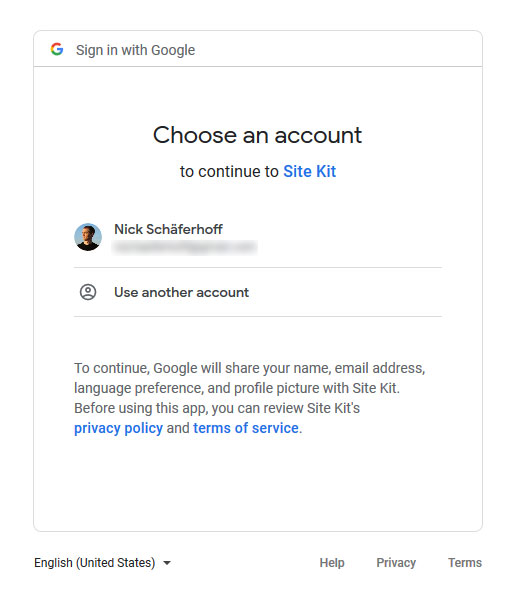
Your click will send you to an external page where you will be asked to sign in to your Google account.
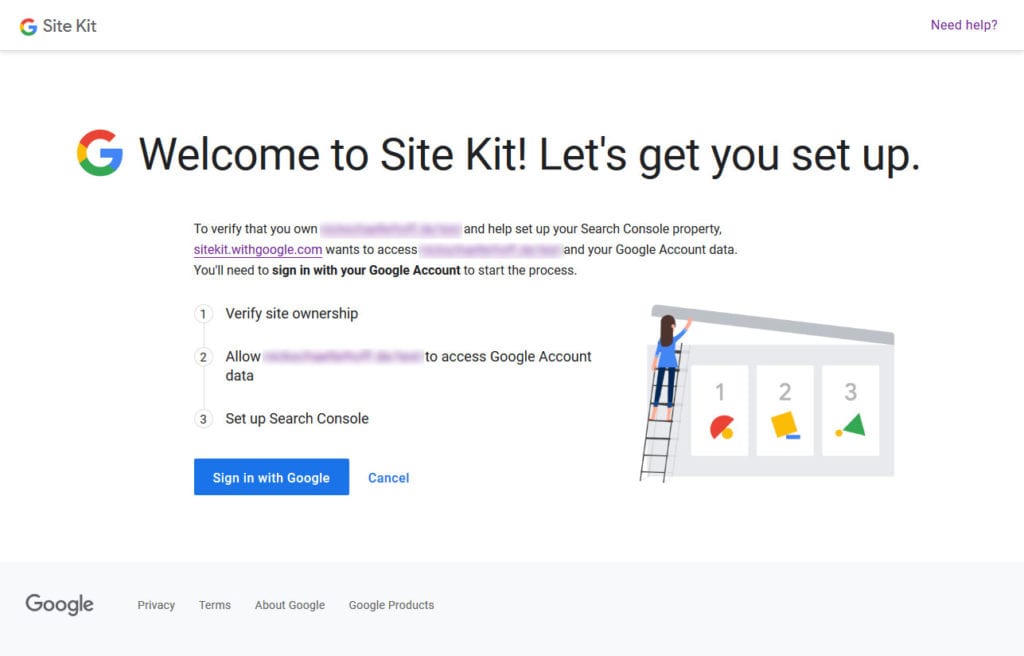
Click Sign in with Google and pick the account you want to use for this.
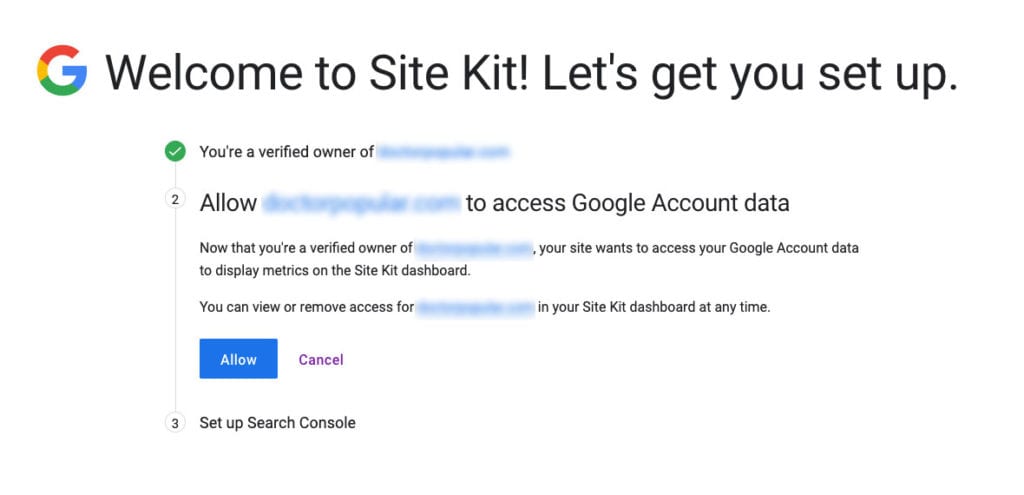
After that, the site asks for different permissions to grant to Site Kit which you need to allow.
You need to permit your site (or rather, the plugin installed on it) access to your Google account data.
In the final step, you will add your site to Search Console properties, starting with Add Site.
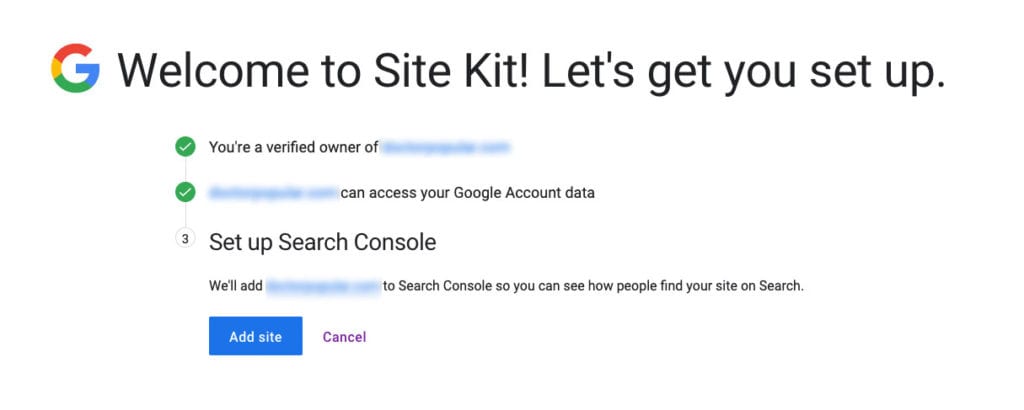
That’s it, the final step of setup is to click the big blue button that brings you back to your dashboard.
3. Add More Services
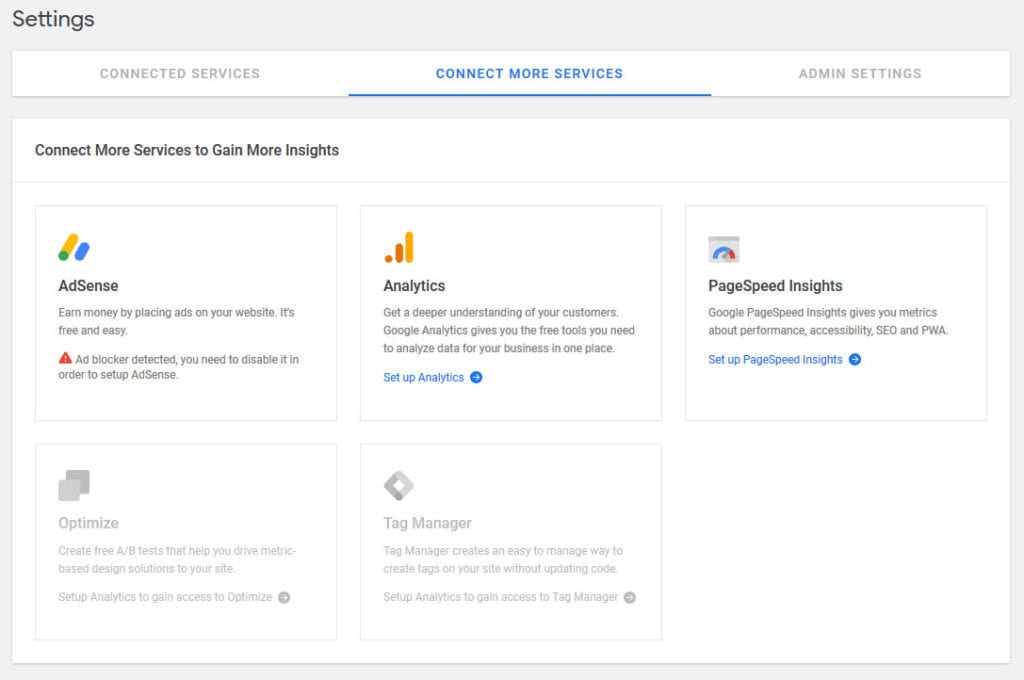
Usually, from here you would go to the Site Kit dashboard to see the results of your work. However, to provide you with even more data, we want to first go over how to add more Google services. For that, go to Site Kit > Settings.
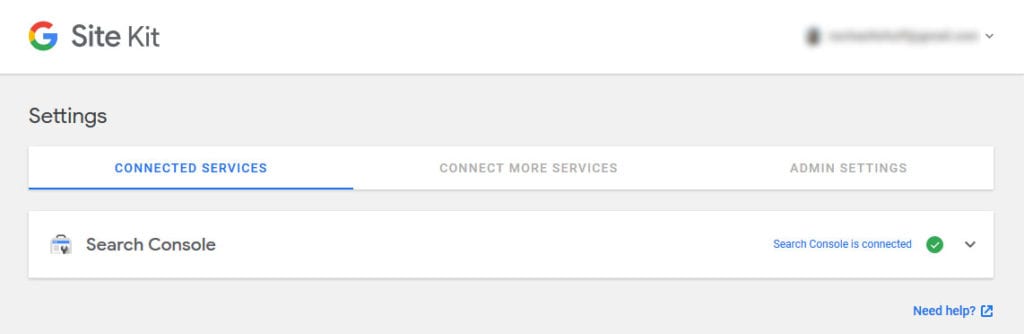
Here you have three tabs: Connected Services, Connect More Services, and Admin Settings. Under the first tab, you should currently see only Search Console. When you click on the second one, you get more options to add to your site.
Here, you want to first click on Set up Analytics in the Analytics panel. When you do so, again, you need to first choose your Google account and allow the required permissions. After that, you get back to your WordPress site.
To finish up, choose the right account, property, and view you want to receive information from.
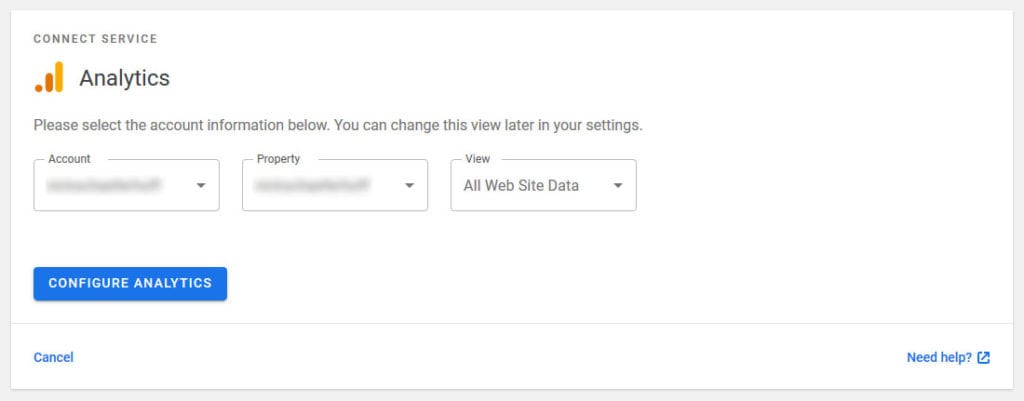
After you click on Configure Analytics, Site Kit does the rest and imports the data. Much easier than manually adding the tracking code to WordPress, isn’t it?
When done, I repeat the process with PageSpeed Insights. You can also add AdSense, Tag Manager, and/or Optimize. However, for this Site Kit review, we will limit ourselves to those three Google services.
4. Check the Dashboard
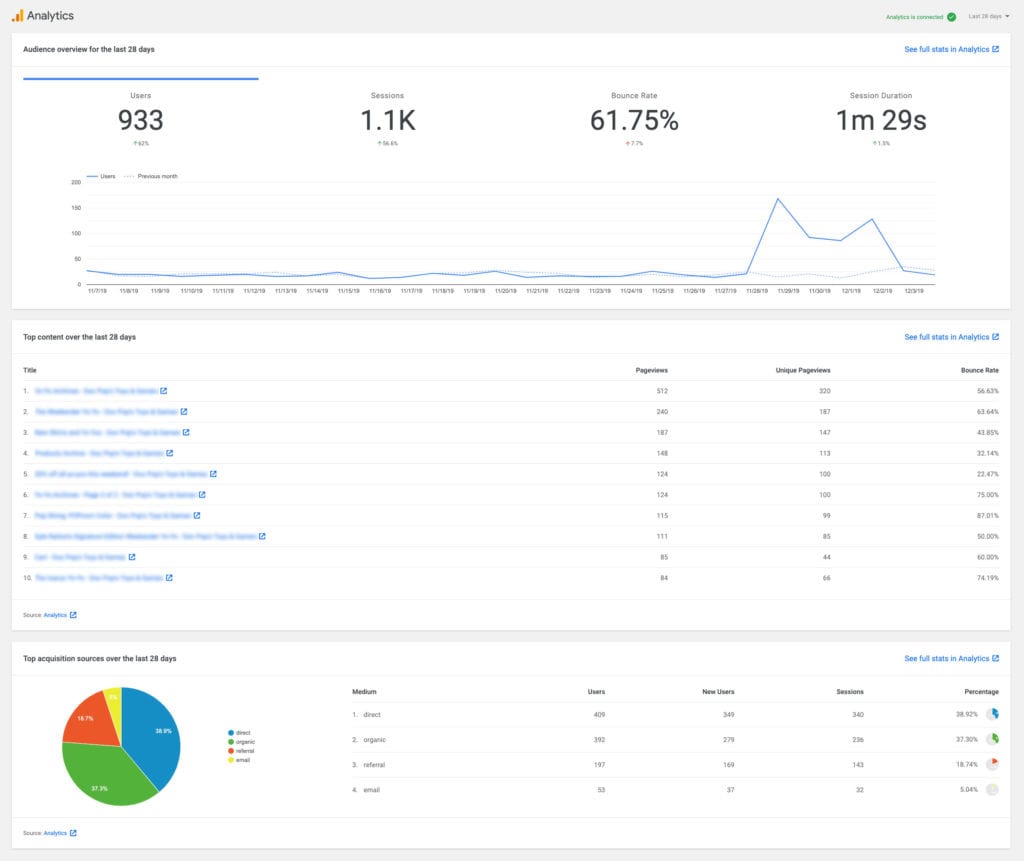
After you are done with the setup, you find your new Google dashboard in the menu on the right under Site Kit > Dashboard (to which only admin users have access, by the way).
Here, from now on, you will see the data of all the Google services you connected your site to. It’s almost like having your own custom Analytics dashboard.
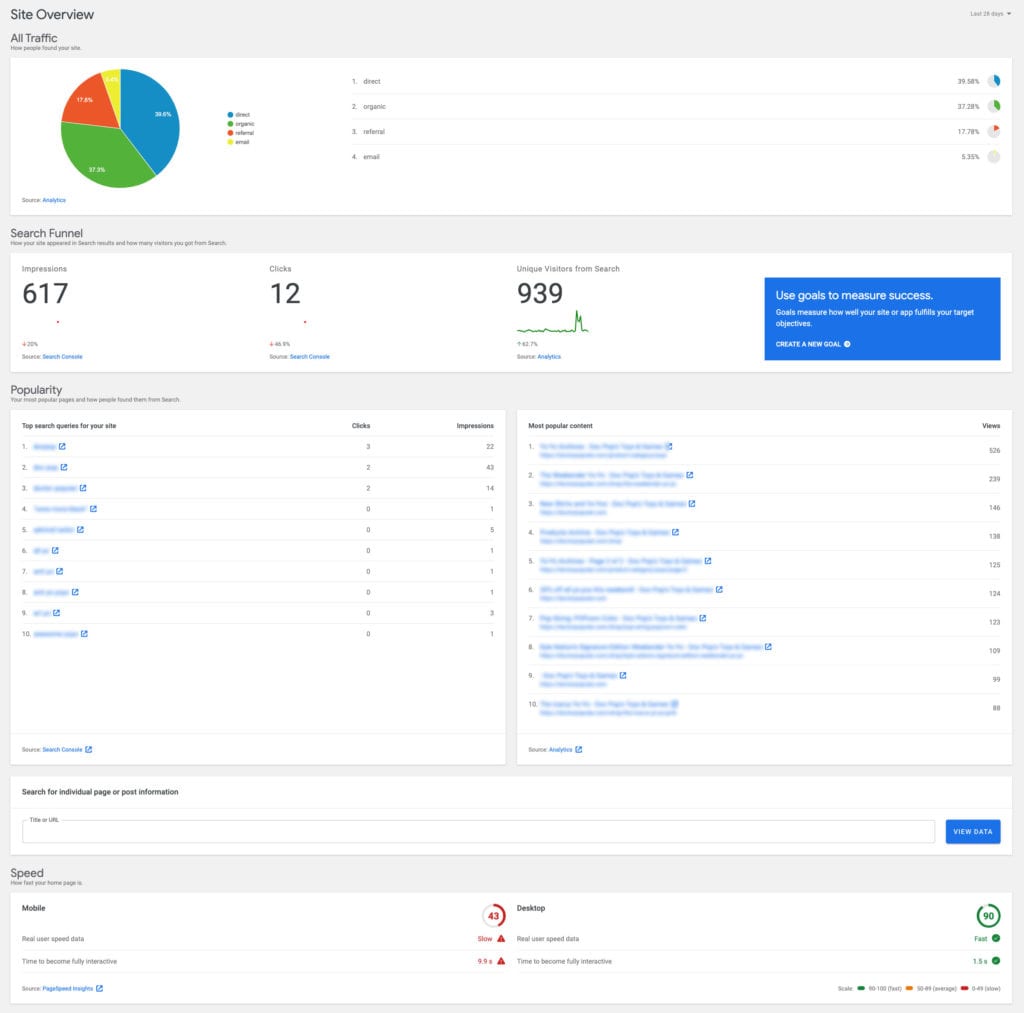
In the upper right corner, you are able to control the time frame for which you see data from a week to 90 days. The information is broken down into different areas:
- All Traffic — The share of organic, direct, and referral traffic coming to your site as well as other traffic sources you might have set up tracking for.
- Search Funnel — How your site appears in search, the number of people you got from there, impressions, clicks, and goals
- Popularity — The most popular landing pages of your site and how people found them including search queries that got them there ordered by number of impressions.
- Speed — At the end, you have a speed analysis of your homepage for mobile and desktop.
When you have installed AdSense, you also get data on how the ads perform on your site.
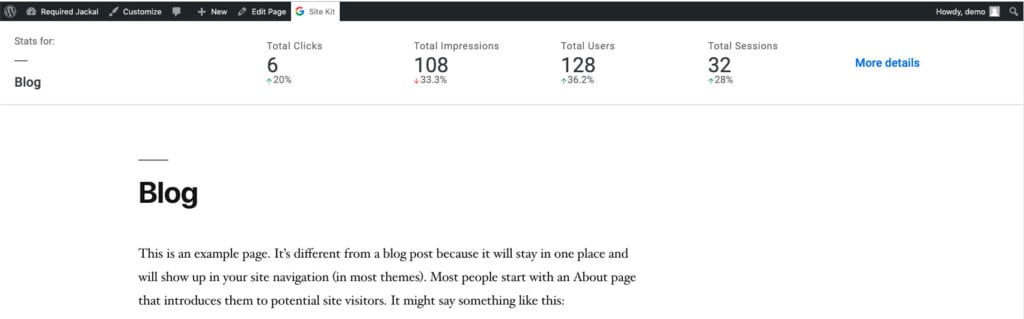
In addition, you find a field in which you can enter a post/page title or URL to see data for individual parts of your site. The cool thing: when you start typing the title, it will automatically propose matching content.
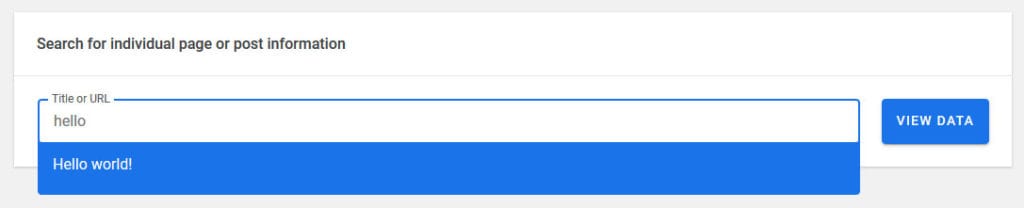
When you hit View Data it takes you to the individual page where you see information for the search funnel, traffic, and top queries for the time frame of your choosing.
There seems to be no option to examine singular pages for speed, so you have to do that manually. If you are interested, check our article on how to speed test your website.
5. Examine Individual Dashboards
In addition to the summary, you also have individual dashboards for the different services. You find them on the side in the Site Kit menu. When you click on one of them, you get more detailed information from Analytics, Search Console, or any of the other services.
In case you need to know even more, you find links throughout the pages that send you on to the actual Google services where you can find all the details tracked.
6. Adjust Your Settings
We have already gone over most of the settings. The only thing that is left is what you can find under Site Kit > Settings > Admin Settings.
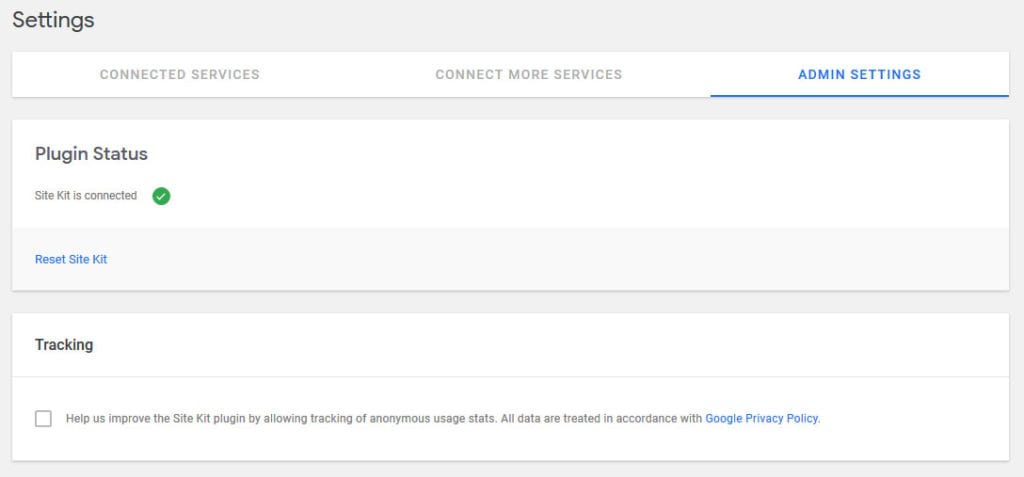
This shows the plugin status with the possibility to reset Site Kit. Doing so deletes all code snippets the plugin has placed on your site and lets you start from the beginning.
Also, you can switch tracking on and off to allow Google to collect usage stats. In addition, there is a tiny link in the corner that sends you to the documentation. You also find this on any other back end page that belongs to Site Kit.
7. Disconnecting Single Services and/or Site Kit
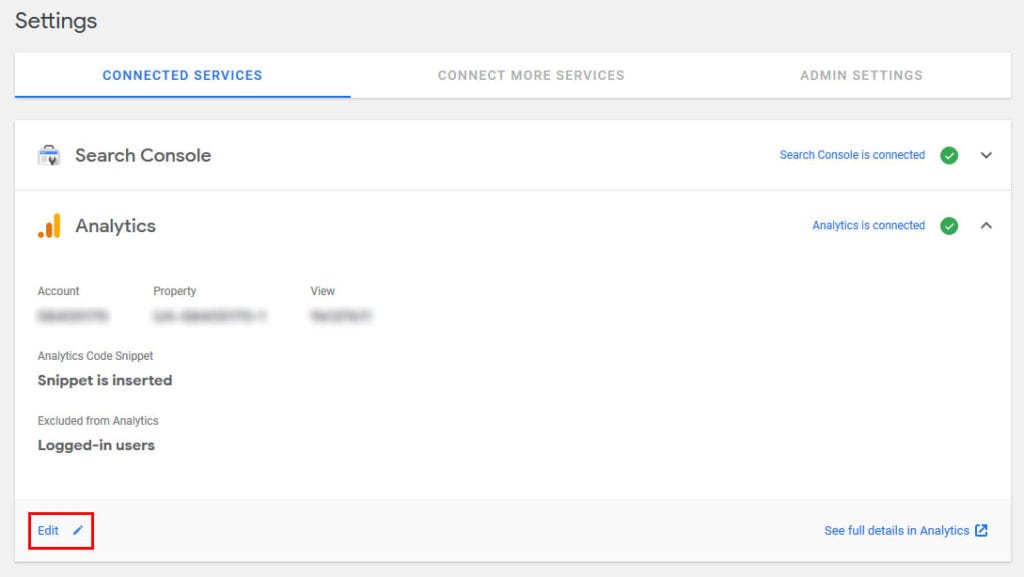
If you no longer feel like using any of the Google services on your site, you can simply disconnect them. For that, go to Site Kit > Settings > Connected Services.
Here, you see all the Google properties that are active on your site. Open any of them with the little arrow icon on the right. This will show you their status but also allow you to click Edit at the bottom.
You can make changes to its usage (such as picking a different Analytics account or property) but also hit the Disconnect link at the bottom right.
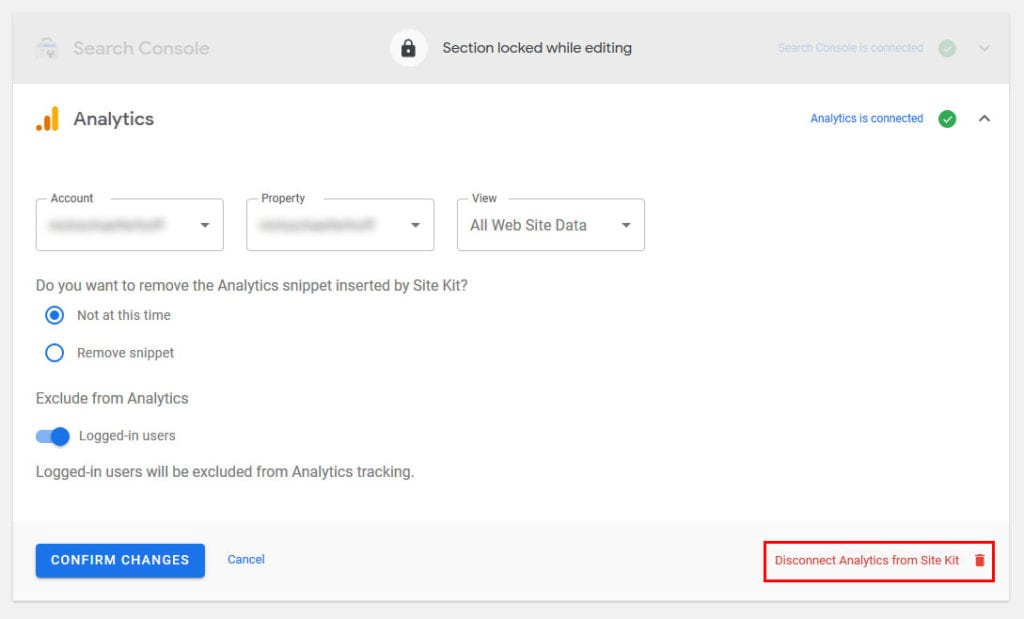
When you do it, the plugin will ask for confirmation and then, once you have given it, removes the service from your site.
The same is possible for Site Kit as a whole. Simply go to the Site Kit menu (any submenu is fine) and click on your Google ID in the upper right corner. This will open a little menu where you can choose Disconnect.
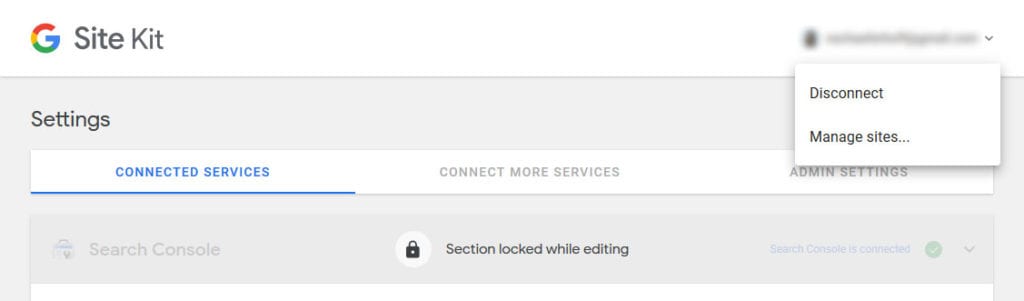
It, too, will ask for confirmation. If you ascent, Site Kit is officially no longer connected to your WordPress website. The other option, Manage sites, gets you to a place where can revoke access for Google Site Kit from inside your Google account.
Google Site Kit Review in a Nutshell: It’s Awesome!
With Site Kit, Google has released a super useful tool for WordPress site owners who also take advantage of the company’s properties.
The plugin makes it much easier to connect your site to these services to start tracking and improving your site. You no longer need several plugins for the same thing or change your files manually.
Plus, you find the most important data directly in the dashboard and no longer have to look at external services to see what’s going on.
The only thing that missing is that in the dev version, you could apparently also get reports on the front end.
I hope this makes a comeback in the future. Plus, it would be nice if you could configure which users have access to the data in WordPress back end. But maybe in the next version.
Finally, two quick notes: Site Kit does not automatically anonymize IP addresses. As part of GDPR, that’s probably necessary. To make your site compliant, you can find a tutorial here.
Secondly, you can also set the plugin up on a staging site but pull in information from production. Find out how to do it in this post.
Have you been using Site Kit on your WordPress site? What’s your first impression? Let us know in the comments section below!
The post Google Site Kit Review – Improve Your WordPress Site Hassle-free appeared first on Torque.
