Any WordPress user is familiar with the featured image. It is the picture that usually appears at the top of a post and also inside archives and search results.
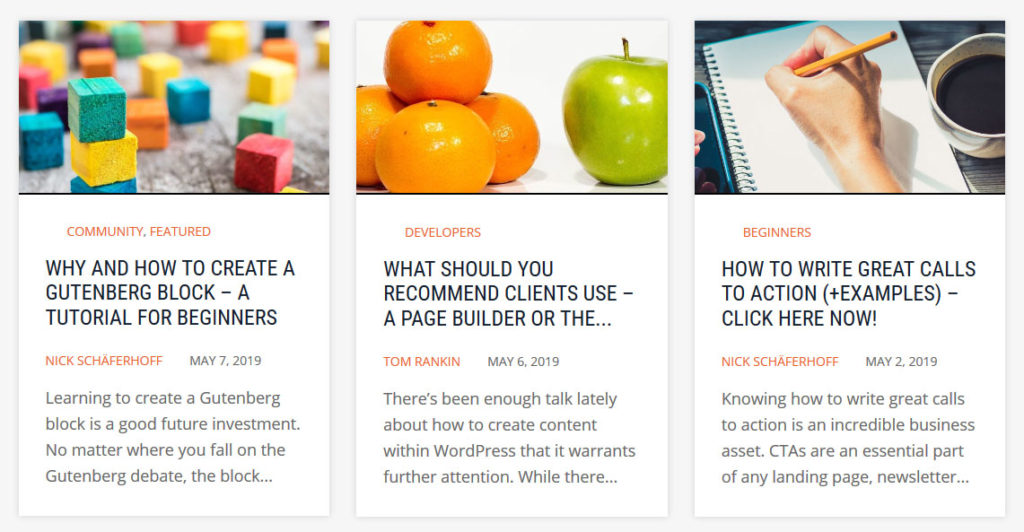
Knowing how to use it correctly is an important skill for any website owner. For that reason, below, we will talk about this feature in detail. You will learn what the WordPress featured image is, why it matters, how to use it correctly, customize it and troubleshoot issues.
Let’s go.
The WordPress Featured Image Represents Your Content Site Wide
Before getting into how to use featured images correctly, let’s first define it.
Using images in your content is encouraged. It has been shown to increase things like page views and time on site.
Add images to the body of an article via Add Media or the Image block.
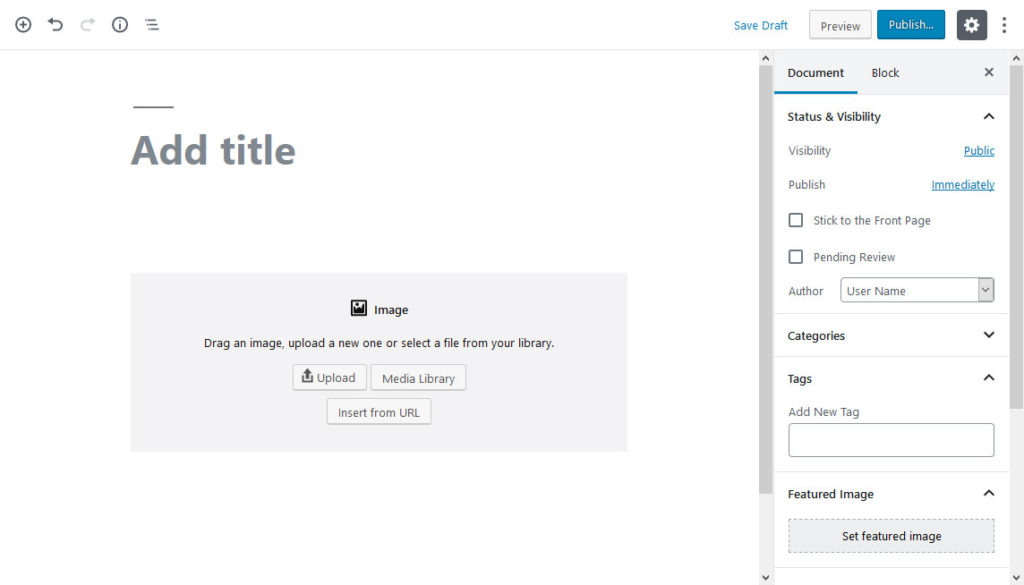
The options for the WordPress featured image, however, are located in the sidebar.
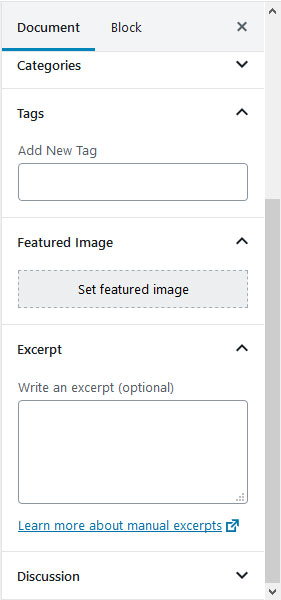
When you click on the respective button, you are able to upload an image or pick one from the media library, add a title, description, and ALT text and select as the posts featured visual.
When you do, the picture will usually appear at the top of the post. The exact position (above or below the title, for example) depends on your theme. Some even place it in the header section.
Besides that, however, it will also appear wherever else the post appears on your site. This can be a blog page, author archive, list of related posts — you name it.
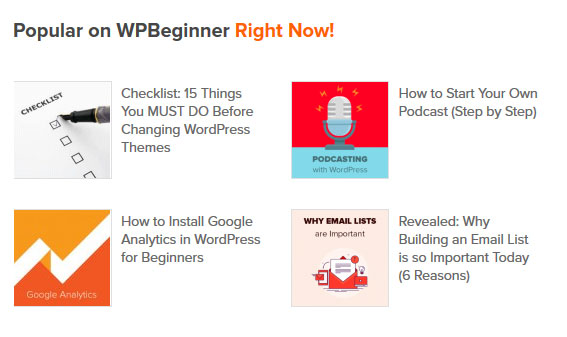
As a consequence, featured images make a huge difference in how large parts of your site look. Plus, they set the tone for what visitors will think of your posts. Therefore, featured images are a crucial part of your content strategy.
How to Use Featured Images Correctly
Since featured images play such an important role, it’s a good idea to be mindful about their usage.
1. Use a Consistent Style
As mentioned, the WordPress featured image appears in many places on your site. For that reason, it’s not just important for the style of a single post but your web presence as a whole. Therefore, you should consider that what you use enhances the overall impression and branding.
One of my favorite examples in this area is NerdFitness. The site uses a lot of images containing Lego figurines.

Another showcase is Art of Manliness who ornament their posts with old-timey imagery.

Each approach fits their content, audience and makes the gives the sites a consistent look.
To achieve similar results, ask yourself what type of images would fit your branding, tone and overall design. Then, make sure that you use the same style in all of your published posts.
The easiest way to do so is to use a set template, even if it’s just a color overlay.
You can create one with a tool like Photoshop or Canva and just input whatever image you want to use. That way, even if the main image changes, the style stays the same across your entire site.
This is also a great thing to include in your blog style guide so that all other authors on your site can do the same.
2. Source and Attribute Correctly
Besides using images to create consistent blog design, a big question is also where to get them from.
One way is to create the images yourself. There are some bloggers out there who are good at doodling or illustrating and able to create their own visuals.
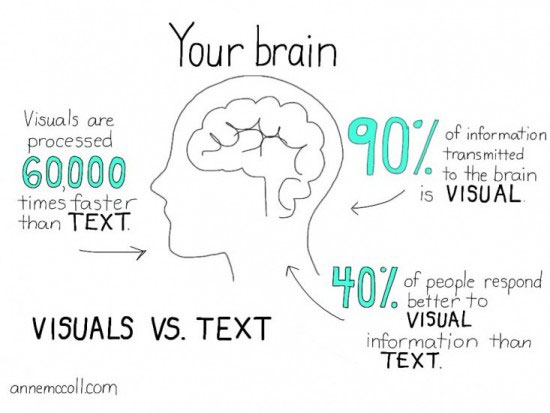
Others have photographers or graphic designers on staff who take care of this sort of thing.
However, your average blogger often has neither the time nor resources for this sort of thing. For that reason, most will opt for using stock imagery, most notably those licensed as Creative Commons.
They offer the advantage that you can use them for free and there are many different sites out there that offer tons of them for download.
Be sure that you adhere to the license of each image. Not all of them permit you to use them commercially or modify them. Plus, many of them ask for attribution.
More on that as well as image sources in this post.
3. Optimize Before Publishing
Just like any other image on your site, featured images contribute to page loading time. This is especially true in this case because visitors don’t have to click on a post title to see them. They are right there in the feed.
In addition, images have SEO value both through their presence (Google considers their presence on site a sign of quality) as well as the information they contain about the topic of sites and pages. Therefore, it’s important that you optimize your featured images like any other visuals on your site.
We have a whole article on this topic that you can check but here are the cliff notes:
- Make images as small as possible — Compress them via an online service or plugin to make them smaller. Use only as large an image as needed in a particular place. Use the techniques below to create the perfect size for your blog.
- Include keywords — To help search engines understand what an image is about and get an SEO boost, be sure to include your main key phrase in the file name and ALT tag.
How to Customize the Featured Image in WordPress
Because it is such a central part of your content, WordPress offers many ways to customize the featured image.
Change Its Position in Page Templates
If you are looking for where the featured image is included in your page templates, you can identify it from this code snippet:
the_post_thumbnail();
Post thumbnail is the old term for featured image, that’s why it’s called that way. The entry in the WordPress Codex also still refers to it by that name.
The call for the WordPress featured image is most often wrapped into a conditional statement that checks whether it exists and, if so, displays it.
if ( has_post_thumbnail() ) {
	the_post_thumbnail();
}
So, if you want to change the position of your featured image, you can do so by moving this or a similar code snippet to the respective position.
When you make changes like that, be sure to do it in a child theme, otherwise, you will lose them to a theme update.
In some themes, like the Genesis framework, you can also move position via theme hooks inside functions.php.
Create Custom Sizes
Speaking of the functions file, it offers many ways to customize the WordPress featured image. Most notably, it allows you to set and insert custom sizes for it.
You are probably aware that WordPress creates several sizes of every image you upload to your site. This is to make sure you don’t have to input a 2,000px image in a place that is only 300px wide. Doing so would be a waste of bandwidth.
You can do the same with the featured image. If you know that there is a maximum width of 800px on the page, you can tell WordPress to create a post thumbnail of that size in functions.php.
add_image_size( 'my-custom-featured-image', 800, 9999 );
More information on this function here.
However, when you set it up like that, you also need to make sure that the theme will use the correct size in your page templates.
the_post_thumbnail( 'my-custom-featured-image' );
This way, you can also set several different sizes of the same featured image in different places and only use as large a visual as necessary.
Note, that quality themes should already take care of this. However, if you change the layout of your design, the above might come in handy.
In addition, if you change things related to image size, you might have to regenerate the thumbnails of existing pictures on your site, which can do with this plugin.
Modify Featured Image Styling
In case you want to change the way your featured image looks on the page, you can do so easily via CSS. WordPress automatically attaches CSS classes to them depending on their default size.
Therefore, you can easily customize them with the following CSS selectors.
img.attachment-post-thumbnail
img.attachment-thumbnail
img.attachment-medium
img.attachment-large
img.attachment-full
This also applies to any custom image sizes that you might have added. So, if you set a new image size with the code below.
add_image_size( 'my-custom-featured-image', 800, 9999 );
You are able to change its styling with this CSS:
img.attachment-my-custom-featured-image
Featured Image Not Showing
As the final part of this post on the WordPress featured image, we want to go over a bit of troubleshooting.
A common problem that users run into is that the featured image is not showing up on their page (seriously, it’s like the second-most googled term). If that is the case for you, here is a checklist of what you can look for to solve this problem.
- Have you set one? — The easiest reason for a featured image not showing is that you forgot to set one. So, the first step is to go to the editor and look at its sidebar to see if you included a post thumbnail. If you are working with the classic editor, you might have to use the screen options (upper right corner of the screen) to enable the option.
- Check theme support — In order to use featured images, they must be enabled in the theme. You can do that with
add_theme_support( 'post-thumbnails');insidefunctions.php. You can also use this code to add support after the fact. - Examine file permissions — For any problem that involves images not showing in WordPress, a common issue are incorrect file permission settings. Check this post to find out what the permission levels should be and how to change them.
- Disable lazy loading — Lazy loading is a technique to keep images from loading before they become visible on screen to save bandwidth. It can sometimes cause this problem, especially when using Jetpack. Disable yours and see if that brings back your featured images.
Should none of the above work for you, it’s always a good idea to disable all plugins to see if one of them is causing the issue.
Also, your theme might have special settings for images, so be sure to explore all of its options. If that doesn’t help, changing themes can help pinpoint the reason.
It’s best to do all of the above in a local environment.
Final Thoughts: WordPress Featured Image
Though you may not think about it all that much, the WordPress featured image is a central part of any blog. It’s the figurehead of both individual blog posts as well as the overall site design. Therefore, it should not be taken lightly.
Above, you have learned what the WordPress featured image is, why it matters and how to use it correctly. We have also gone over how to customize featured images and troubleshoot common issues.
By now, you should feel well informed about this part of your WordPress site. If there are still unanswered questions, feel free to ask them below.
Do you have any questions or comments about the usage of featured images? Please let us know in the comments section below.
The post The WordPress Featured Image – All You Will Ever Need to Know About It appeared first on Torque.
