There are many tools to help you take care of your WordPress website. We have talked about some of them in the past in this post. Aside from them, there are also the official WordPress mobile apps.
Although it has been around for a while, a lesser-known example is the WordPress desktop app named Calypso. It was originally made for WordPress.com customers to let them take care of their sites from their desktop computers. However, in combination with the Jetpack plugin, it also works for self-hosted WordPress sites.
In this article, I will show you how to use it. I will first give you a bit of information on the app and talk about the pros and cons of using it. After that, you will learn how to set up and install the WordPress desktop app step by step. Finally, the post will explain how to use the app with your self-hosted WordPress site.
Let’s get going.
The WordPress Desktop App – Pros and Cons
Calypso is made by Automattic, the company behind WordPress.com. The app is available for Windows, Mac, and Linux. Let’s talk about some of its pros and cons.
Pros
The advantages of using the WordPress desktop app for self-hosted sites are numerous:
- Really fast thanks to JavaScript and the WP REST API
- Ability to perform management tasks without opening your browser
- Comfortable user interface that makes working with your site easy
- Great, distraction-free writing experience
- Works for several sites at once, eliminates a lot of logins
Cons
However, there are also a few areas where WordPress desktop app is lacking:
- Doesn’t let you save posts offline, needs an Internet connection to work
- Unable to load custom fields like the Yoast SEO content analysis box
- You need to have Jetpack installed and a WordPress.com account
- It’s missing some important settings, such as the ability to manage menus
Connecting the WordPress Desktop App to Your Self-Hosted Website
Alright, now that you know the advantages and disadvantages of the app, let’s take it for a spin. First, you will learn how to install it and connect it to your self-hosted website.
1. Install Jetpack
As mentioned, for the app to work you need to have Jetpack present on your site. If you haven’t installed it already, go to Plugins > Add New. Here, you should see Jetpack somewhere near the top of the list.
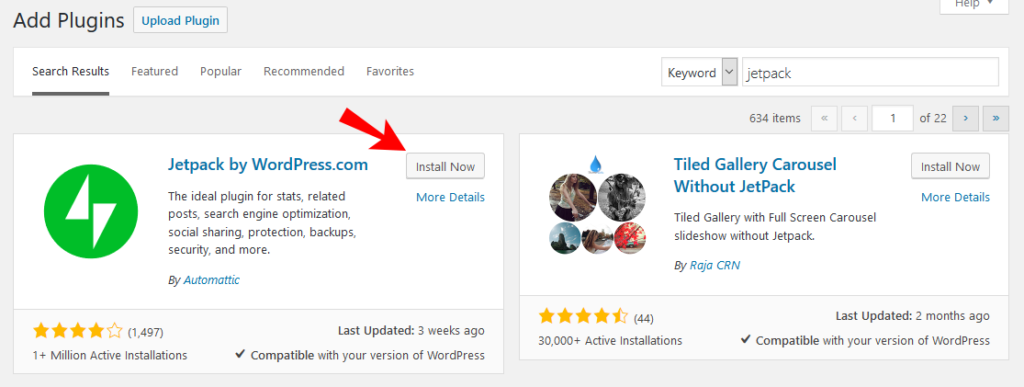
If you don’t see it, simply search for the plugin by name. When you have found it, click Install Now and activate the plugin once it’s done downloading.
2. Connect Jetpack to Your WordPress.com Account
Once Jetpack is installed, it will ask you to connect to a WordPress.com account. For that, click on Set up Jetpack.
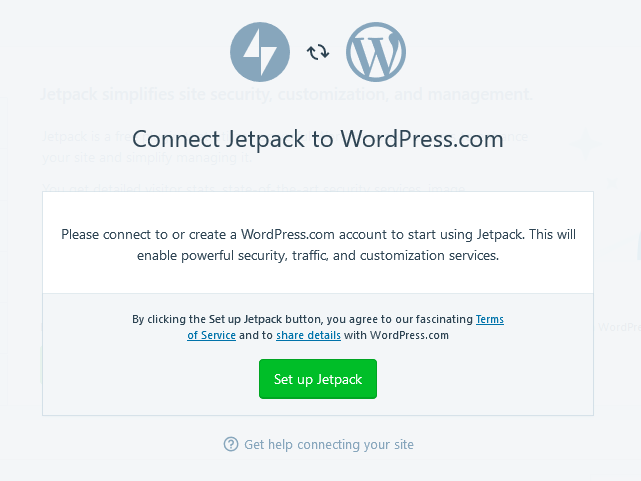
This will take you to WordPress.com website. If you already have an account there, simply input your credentials to log in. Otherwise, hit the Sign up button in the upper right corner.
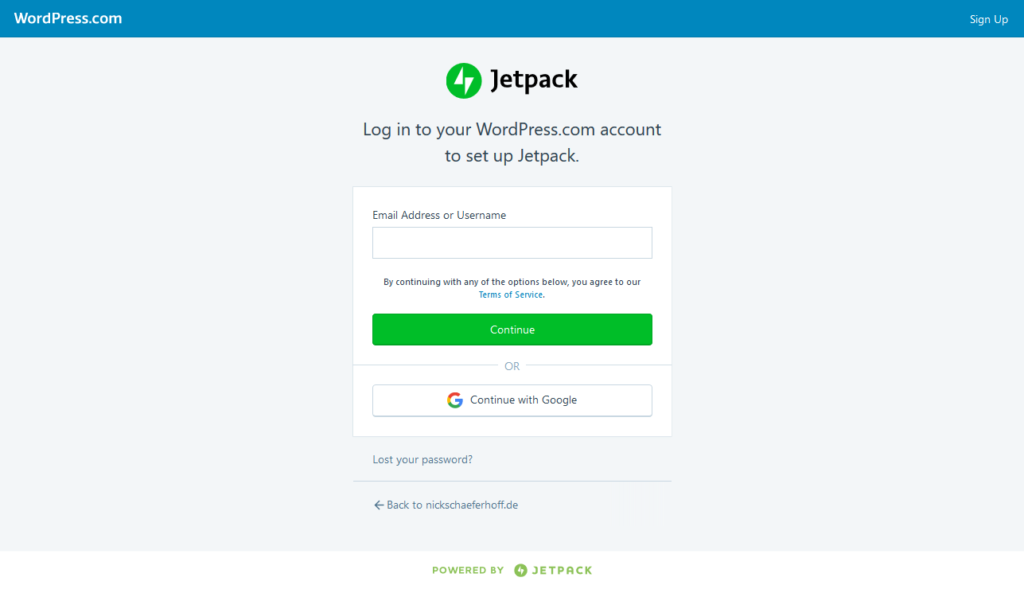
WordPress.com will then ask you for an email address, username, and password. Pick whatever you like. Just be sure that at the end of the setup process, when asked about which plan you want to sign up for, you find the Start with free button at the bottom and click it.

After that, you will automatically be redirected to your site.
3. Download and Install the WordPress Desktop App
After that, go to the official page of the WordPress desktop app. Here, hit download button and save the file to your computer.
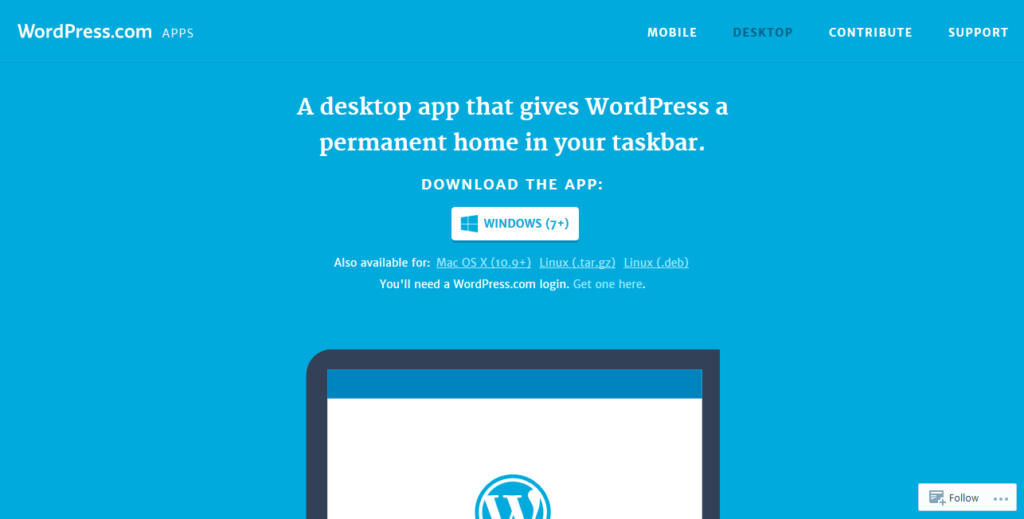
Once it’s done downloading, find the file on your hard drive and execute it. Follow the steps to install the Calypso on your machine. It should start automatically after setup is finished.
4. Connect Your Self-hosted Site to the App
When the WordPress desktop app starts, you will see this screen.
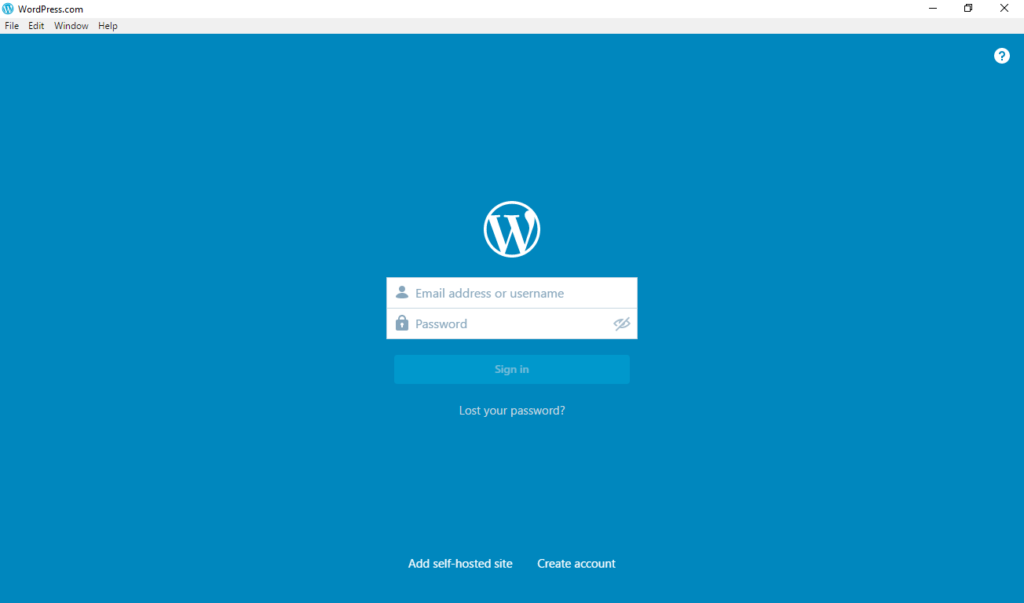
Here, once again, you need to input your WordPress.com credentials. Once you have done so, you land on the app’s main screen.
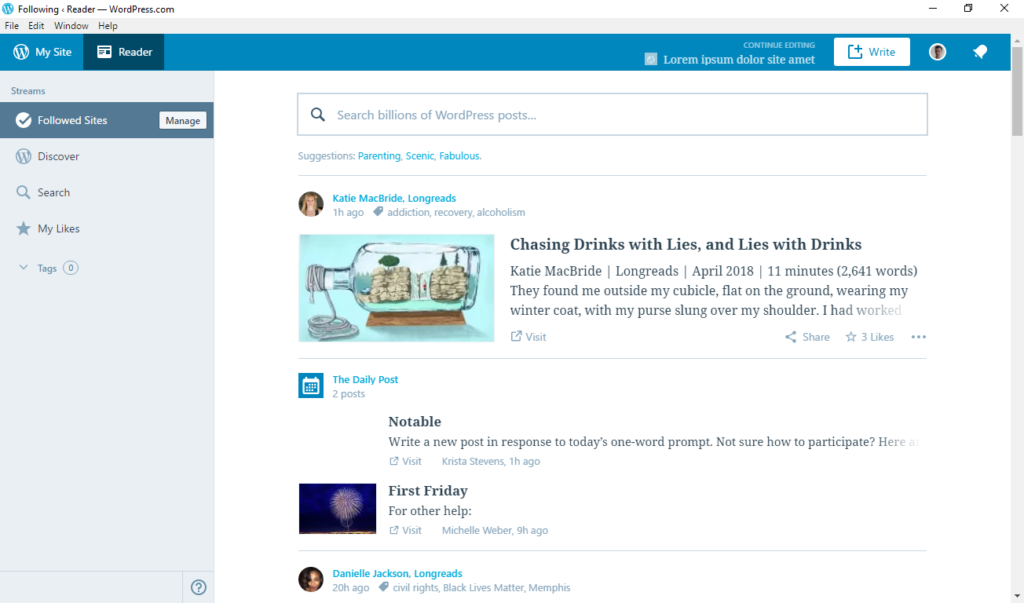
Here, it shows you the latest posts of all WordPress sites you follow within the app or your WordPress.com account.
To manage your site in the WordPress desktop app, you need to click on My Site in the upper left corner of the screen. When you do, you should get to the following page.
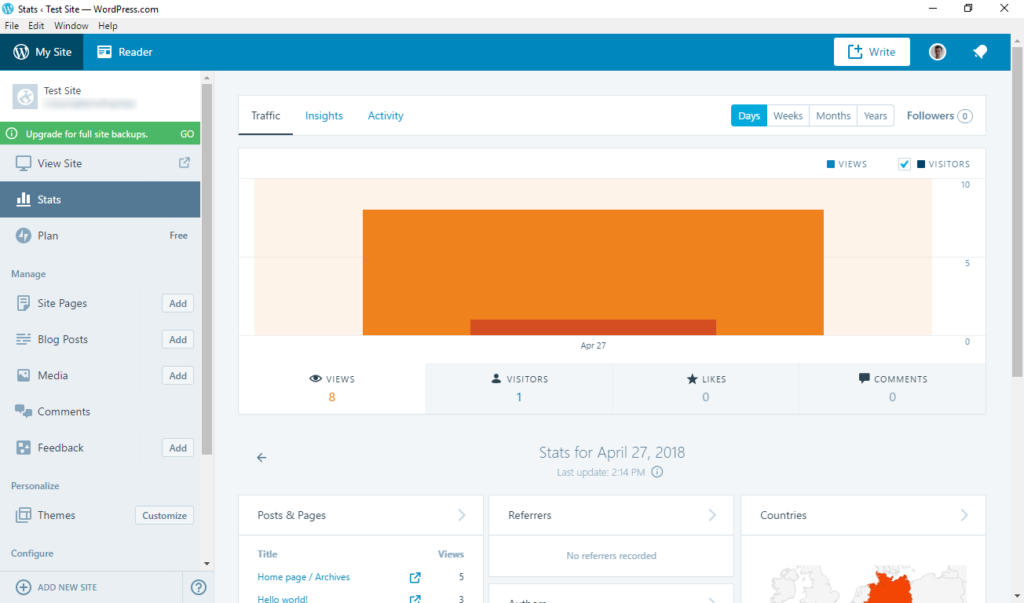
Note: If you have several sites connected via Jetpack, you will first see options for all of them. To deal with one in particular, click on Switch Site to get to the list of available websites. From that menu, you can also connect a new site by clicking the respective button at the bottom.
That’s it, your website is now connected. Time to check what Calypso allows you to do.
Taking Care of Your Site in the App
In the remainder of this article, we will go through the WordPress desktop app options and how they help you take care of your site.
Check Statistics
As you have seen above, when you first connect your site, you will see the Jetpack statistics on the right.
In this screen you can do all the usual things: check traffic, gain insights into visitor behavior, monitor activity, see popular posts and pages, referrers, search terms, search locations and link clicks.
You are also able to look at statistics for past weeks, months and years. If you have worked with Jetpack before, this should all be very familiar.
Create Posts and Pages
In the left-side column, you have the option to create new content. The app lists your pages, posts, and any custom post types. Be aware, however, that you currently cannot create or manage the latter inside the WordPress desktop app.
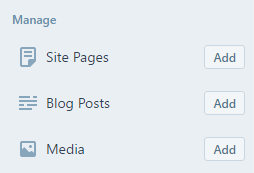
To create a new post or page, simply click Add in the respective field. For blog posts, you also have the option to hit Write at the top of the screen.

Both will take you to this nice, clean writing environment:
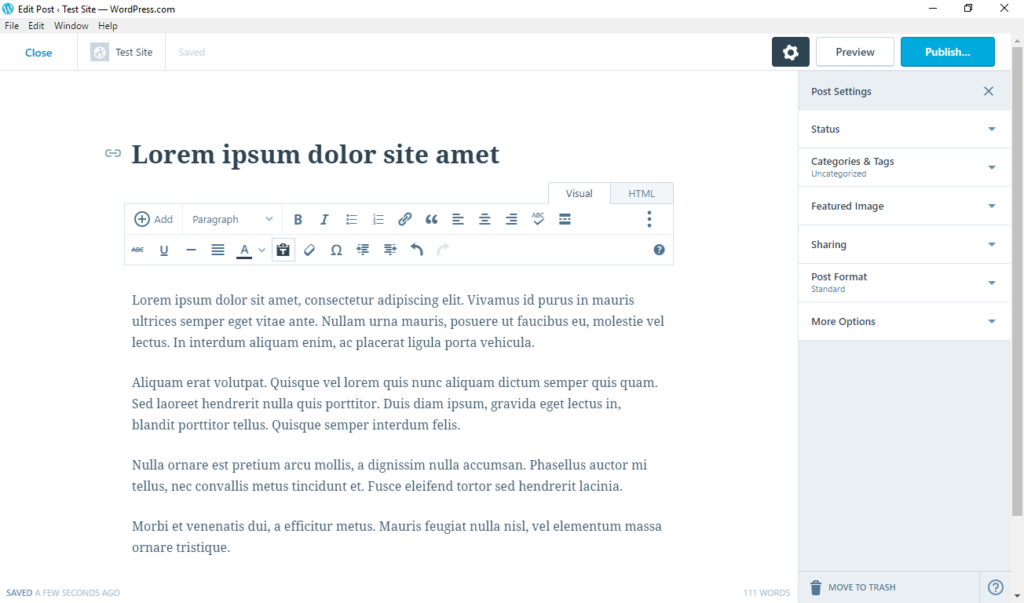
If you have worked with the WordPress editor before, everything will be very familiar. On the left side, you are able to edit the post title and URL as well as add and format content. If you want to do some light coding, you can also go into to HTML mode.
Be aware, that the media button is found under Add on the left side.
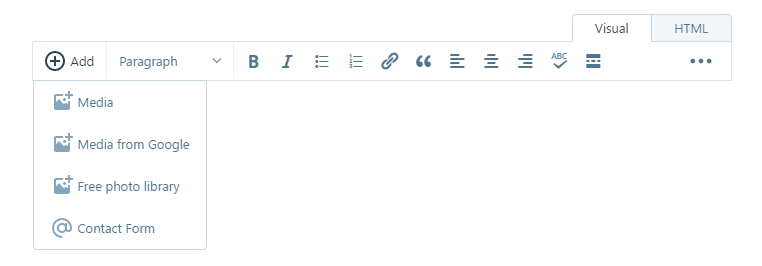
Clicking it allows you to access your site’s media library or other sources and create Jetpack contact forms.
On the right side of the screen, you find all the usual options like post scheduling, adding a featured image, changing categories and tags, excerpts, and more. You can also disable this sidebar by clicking on the gear symbol on top. This will give you a true distraction-free writing experience.
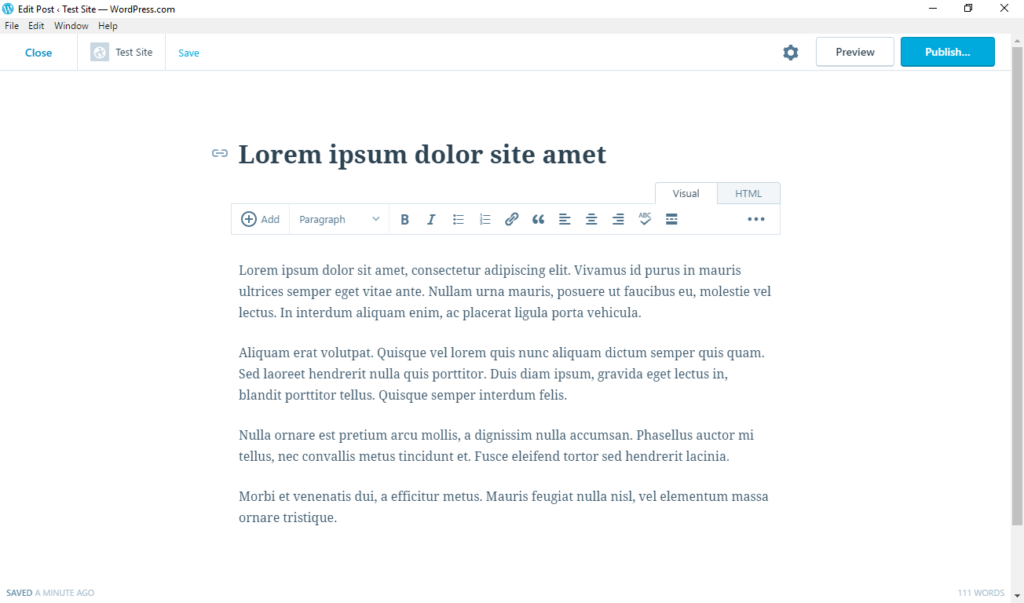
When you are done, either publish your post right away from inside the WordPress desktop app or preview it beforehand with the button on top. The latter will open a browser window so you can check the post or page in the context of your actual website.
Manage Existing Content
Of course, you are not just able to create new content but also take care of what is already on your site. When you click on Site Pages or Blog Posts, you get a list of existing content.
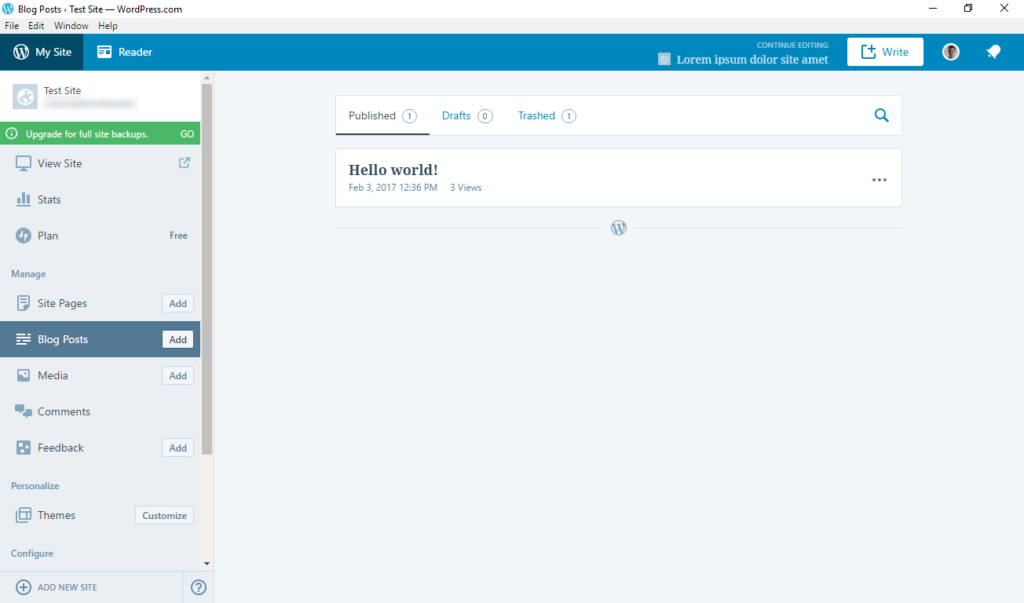
This includes drafts, scheduled posts and what is in your trash can. From here you can also edit, view/preview, publish, duplicate, share and delete them as well as check their stats. Just click on the icon with the three dots. In addition to that, a click on one of your posts or pages will take you back to the editor where you can make any changes you desire.
Install and Manage and Themes
Within the Themes section, you are able to install, upload and change themes.
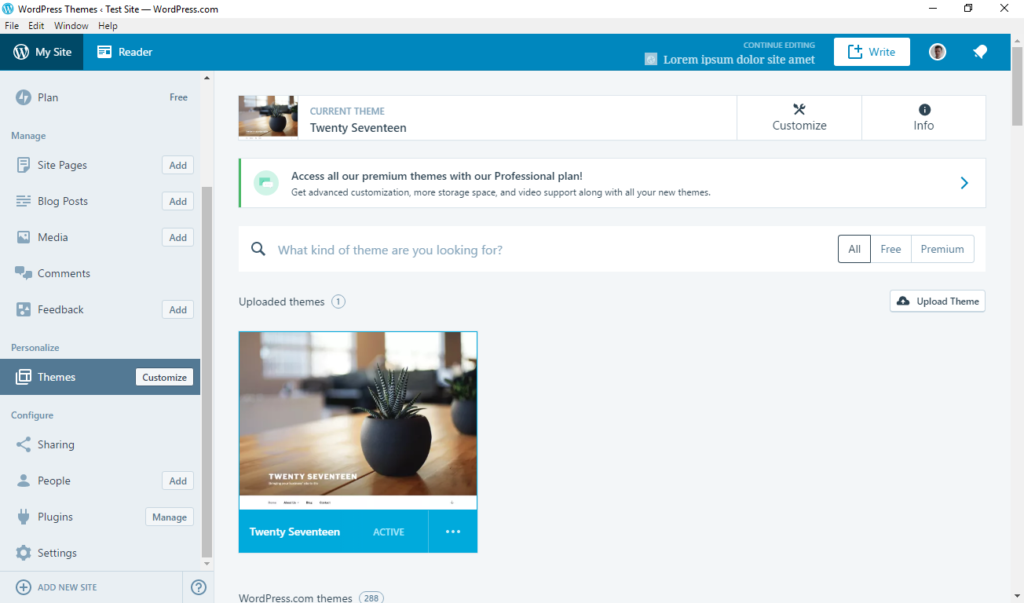
However, there is a downside: in Calypso, you can only install themes available on WordPress.com. If you want to add a theme from the WordPress.org directory, you need to either upload it manually or go to your site and install it from there.
You also can not customize your themes inside the WordPress desktop app. If you click on the Customize button, it will instead take you to the site’s customizer page inside your web browser.
Install and Manage Plugins
In contrast to the Themes section, the Plugins menu does give you access to everything found on WordPress.org.
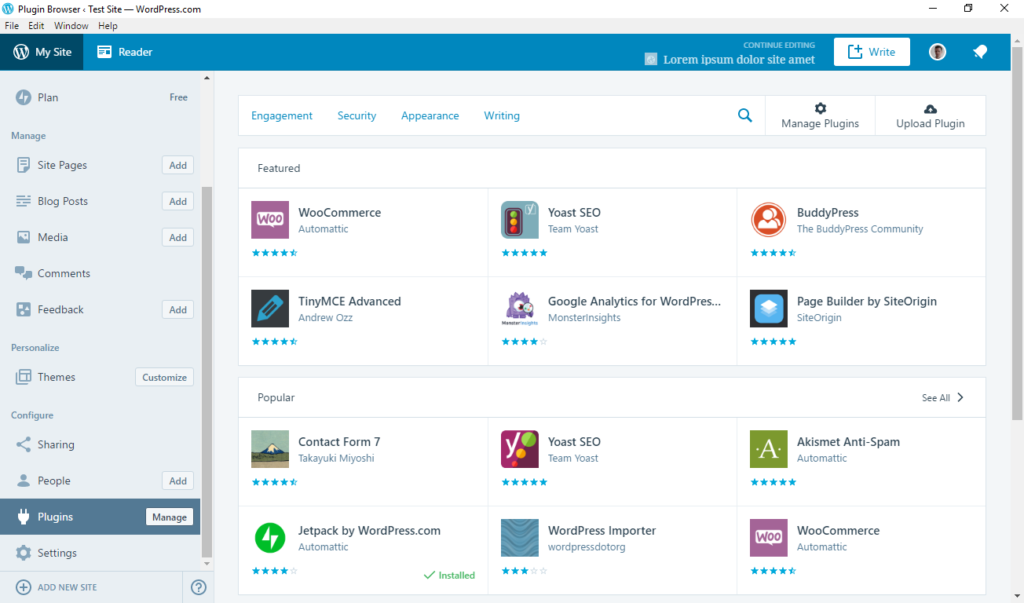
You can search for any plugin in the directory and install it with a single click. Uploading a third-party plugins is also possible.
Besides that, you have the opportunity to manage existing extensions on your site and you can activate, deactivate, update and remove them from inside the desktop app.
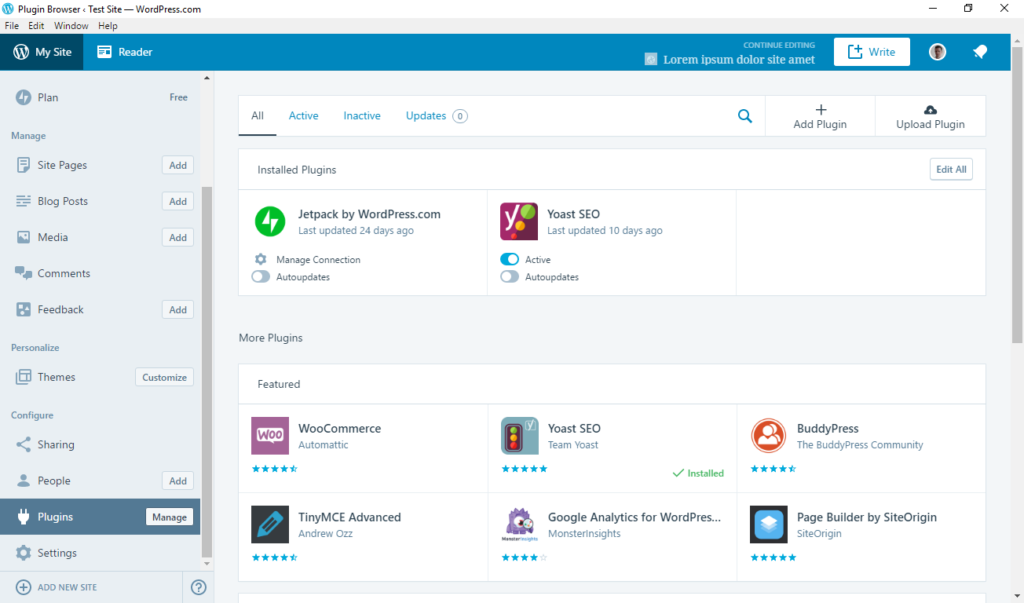
Updating can be done either one by one or for all plugins at once. The WordPress desktop app even allows you to set plugins to auto update. That way you no longer have to take care of it manually. However, be sure to enable this only for plugins you trust.
Manage Comments
Under Comments, you predictably find an option to moderate discussions happening on your site. It has all the usual options you know from the WordPress dashboard.
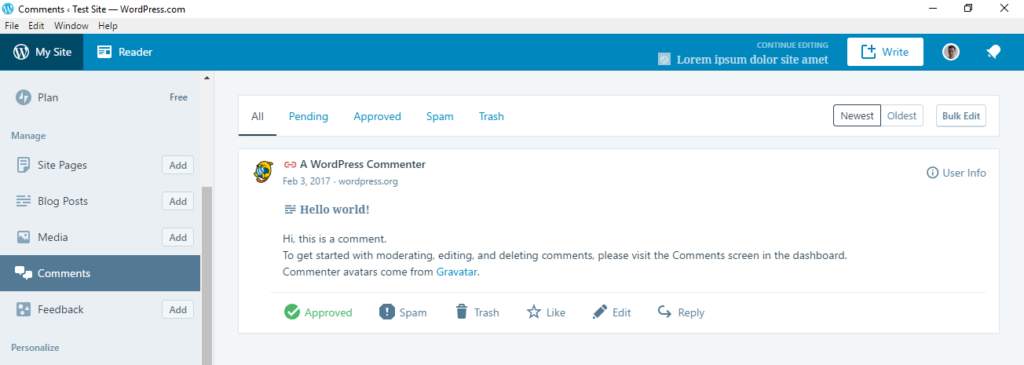
View the latest comments, approve, reply, delete or move them to spam. Easy peasy.
Manage Users
Should you want to modify the users who have access to your site, you can do so under the People tab.
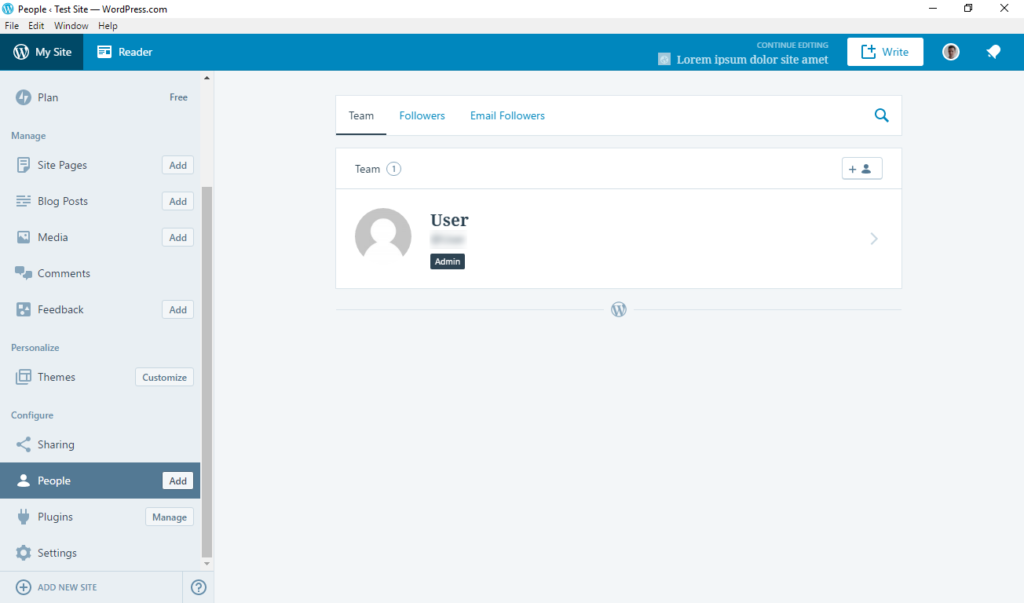
This menu lets you add team members with a simple click of the button. If you click on existing users, you are also able to change their roles, edit their details and delete them if necessary.
Edit Settings
In the Settings section, you are able to control all important options about your site.
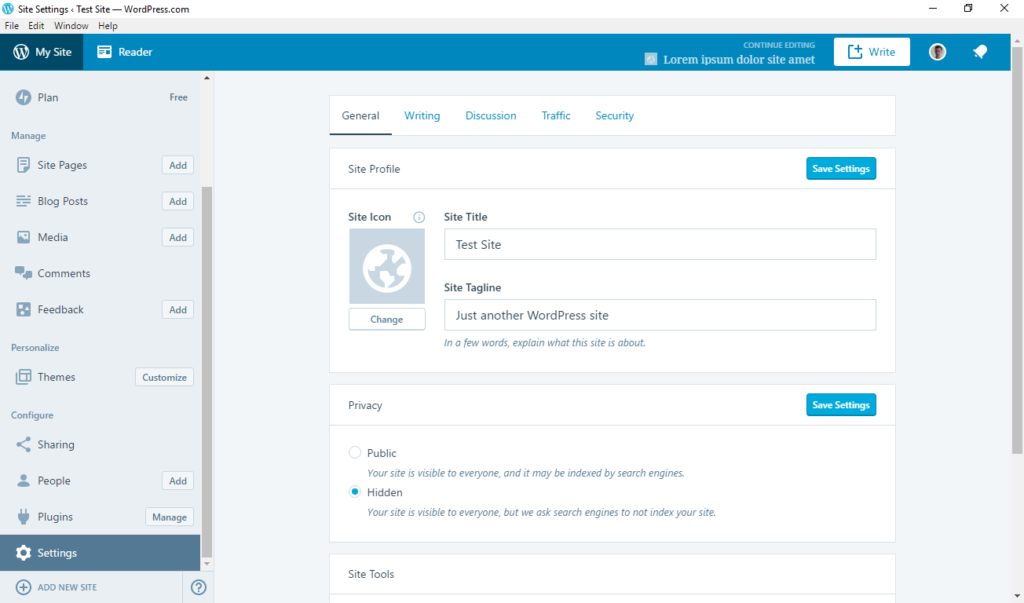
Note, however, that these are not the same settings that you find on your self-hosted site. Some of them are Jetpack specific, such as the options to enable the WordPress.com toolbar, move images to the Jetpack CDN and switch on infinite scroll.
However, you also find familiar settings such as changing your site title and tagline and controlling the comment options. Import and export tools are also located in this menu. Yet, to change some stuff you still need to go to your actual site.
Configure Sharing Options
Finally, the sharing module is part of Jetpack and also built into the WordPress desktop app under Sharing.
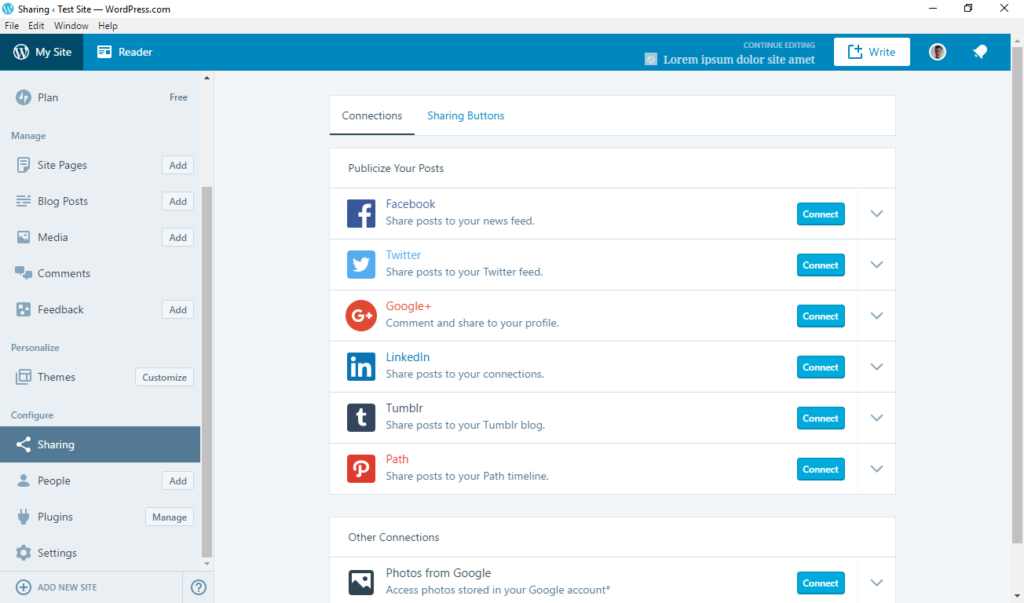
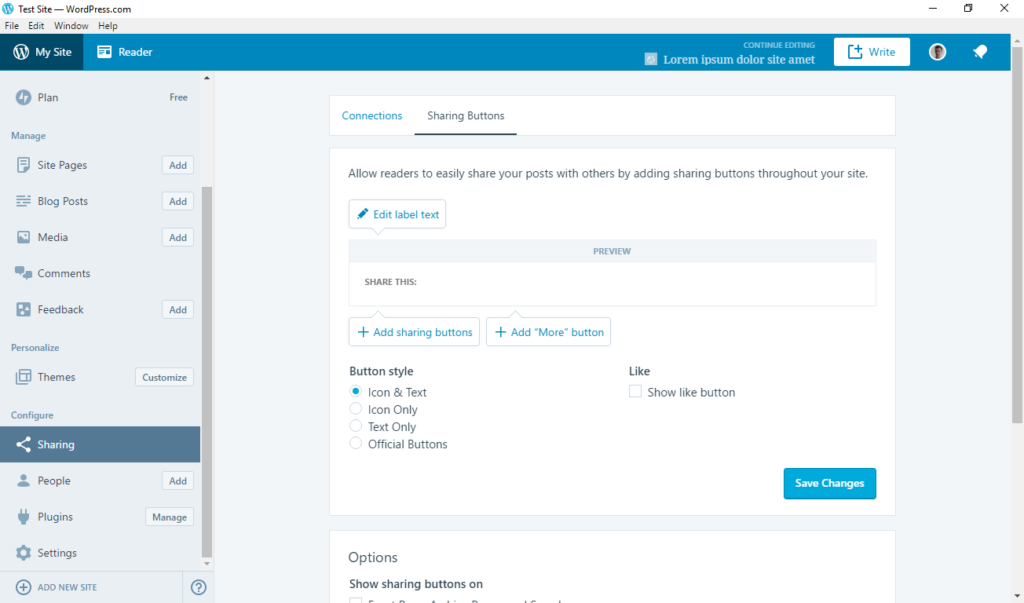
In this menu, you are able to set up your social media accounts and have WordPress automatically share posts to them. In the second tab, you can add share buttons for different social networks to many parts of your site.
The WordPress Desktop App – Is It for You?
Overall Calypso offers a great way to take care of basic administration of your site. You are able to run several sites from the same dashboard and perform the most important management tasks. The interface is nice and clean and I especially like that everything works very fast.
The biggest downside, in my opinion, is the lack of custom metaboxes. Since I use Yoast SEO on pretty much all of my posts, it would be really helpful to be able to use it from inside the WordPress desktop app as well. Having to go back to my actual site to fill in keywords and meta descriptions kind of defeats the purpose of having a dedicated app. Same for creating and managing menus.
I also miss the ability to update WordPress core. The app tells you when updates are available but directs you to your site to actually do it. On the other hand, being able to update all plugins for all sites from one place is pretty cool. Plus, autoupdates – so useful.
Aside from that, I also found annoying that when I needed to update to the latest version of Jetpack or enable an extra module to take advantage of some features, I always had to restart the app for the changes to take effect. This could have been solved better.
However, the WordPress desktop app offers a solid user experience and I absolutely recommend checking it out.
Are you using the WordPress desktop app? What is your opinion? Let us know in the comments section below!
The post Using the WordPress Desktop App with Self-hosted WordPress – A Review appeared first on Torque.
