Translating your WordPress website into other languages is a smart way to reach a wider audience and increase your traffic. If your site is only available in a single language, you could be losing out on a lot of potential leads and conversions.
Fortunately, you don’t need to speak multiple languages to translate your site – the process of doing so is simple with the Weglot Translate plugin. Using this, you can automatically translate every part of your WordPress site, and manually fine-tune your translations in a snap.
In this article, we’ll discuss why you might want to translate your website. Then we’ll introduce the Weglot Translate plugin and its key features, and walk you through how to use it to add more languages to your site. We’ll also explore some of the plugin’s key customization options. Let’s get started!
Why You Should Translate Your WordPress Website
It’s estimated that there are nearly 7,000 different languages in the world, and yet over half of all websites use just a single one: English. This makes some degree of sense, as it’s the language most commonly spoken by internet users. However, it’s by far the only one. In terms of the number of speakers, it’s almost tied with Chinese, which appears on less than 2 percent of all websites. Similarly, while half a billion users speak Spanish, only just over 5 percent of sites use the language.
In a nutshell, by only delivering your site in English, you’re effectively limiting its scope. If your site has an international focus, such as an e-commerce business, you shouldn’t expect all users to be fluent in a single language. Therefore, many sites are taking steps to provide translated content in order to become more welcoming to a wider audience. For example, WordPress has its Polyglots team, who are working to translate the platform into as many languages as possible.
Beyond making your site more accessible, translating it also has a number of benefits for you:
- You’re able to target a larger audience.
- It improves your Search Engine Optimization (SEO) ranking if you create a unique URL for each translated version of your pages.
- It increases the number of potential conversions as people are more likely to convert if the site is in their native language.
- You can build trust with your audience.
With all this in mind, you should think about making your site more international. However, before you do, let’s look at some key considerations.
What You Need to Consider Before Translating Your Site
Before you translate your site, there are some things you should bear in mind. First, you need to think about implementation and compatibility. We’ll discuss this in more detail later, but you need to use a solution that is easy to implement on your site, such as a WordPress plugin.
You also need to consider which languages you want to use. This can be done by investigating your site’s analytics to see where your visitors are based. You should also perform keyword research with a focus on multilingual keywords. This should give you a solid idea of who your visitors are, and which languages may help you grow your audience.
We also recommend researching ‘language pairs’. Basically, this is a combination of the language your content is currently in, and the potential translated language. In short, consider the most common language pairs and which ones make the most sense for your site.
Finally, you need to find a translation solution that works for you. Let’s look at some right now.
A Look at WordPress-Specific Translation Solutions
The most basic way you can translate your website is to simply hire a translator. While this can yield good results, it’s not without problems. You’d likely need a translator for each language you’d like to use, which can get expensive. If your site is quite big, it would also take a significant amount of time, not to mention the upkeep as your site grows.
A more efficient option is to use machine translation. If you’ve ever used Google Translate, you’ll be familiar with the concept. Essentially, this is an automatic process that translates your site without human interaction. This is a lot less time-consuming and often cheaper, but it’s also notoriously imperfect. For this reason, you need to ensure the solution you use enables you to customize the generated translations.
There are several WordPress plugins you can use, such as Weglot Translate, WPML, and Polylang. You need to make sure the plugin you choose is compatible with both your site and your other plugins. For instance, if your site runs WooCommerce and your plugin is incompatible, large chunks of content will be left untranslated.
Introducing Weglot Translate
Weglot Translate is a plugin that enables you to automatically create a fully-translated version of your entire WordPress site. This plugin is one of the easiest options available to use and can translate your site in seconds. It offers over 100 different languages and is fully compatible with all themes and plugins, including e-commerce solutions such as WooCommerce. Weglot also has links to professional translators, giving you the option of ordering translations if required.
Key Features
- Translates your entire WordPress site and is fully compatible with any theme or plugin, including WooCommerce.
- Requires minimal configuration due to the quick plug-and-play setup.
- Automatically applies Google’s SEO best practices for multilingual pages.
- Gives you full control over your content and translations, enabling easy collaboration.
Price: Weglot offers a free version and several premium plans, starting at around $12 (€9.90) per month.
How to Translate Your WordPress Website Using the Weglot Translate Plugin
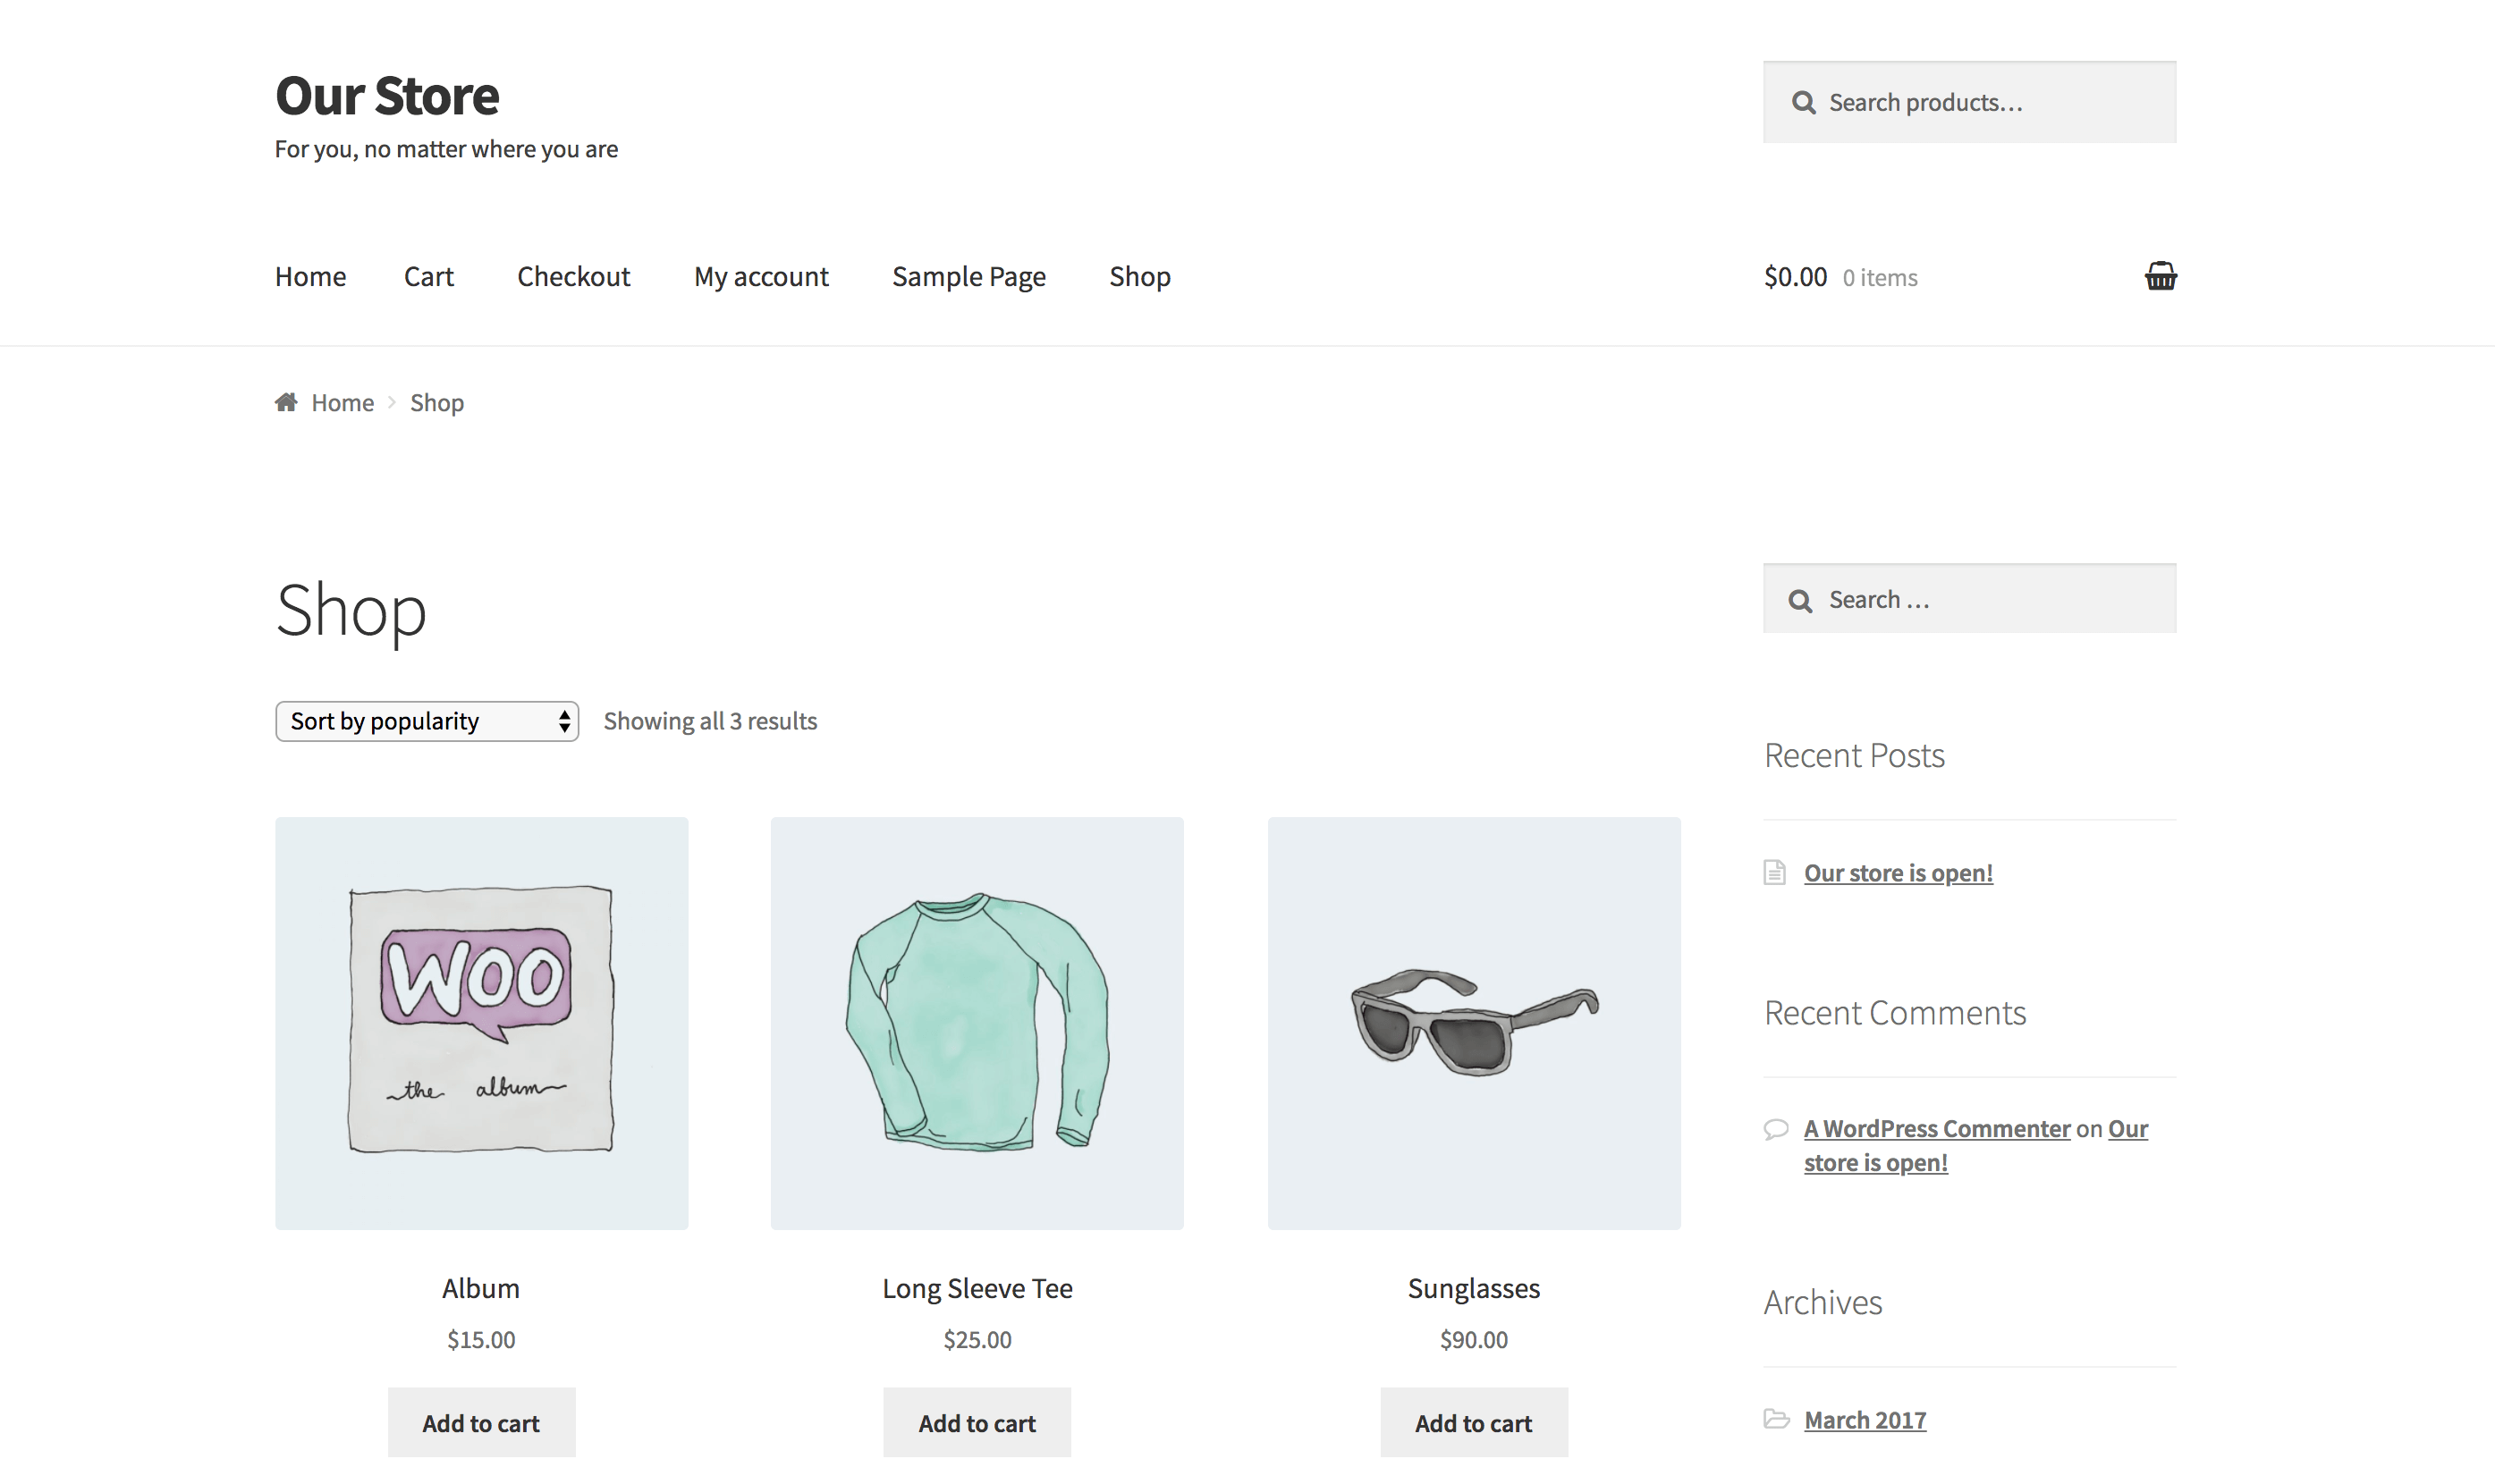
Let’s now put all of this theory into practice by translating a site using Weglot Translate. We’ll be using a site running WooCommerce and the Storefront theme, but Weglot Translate is compatible with all WordPress sites, regardless of theme and plugins.
Our site is currently only available in English but we want to create a version in Swedish. Here’s the original site:
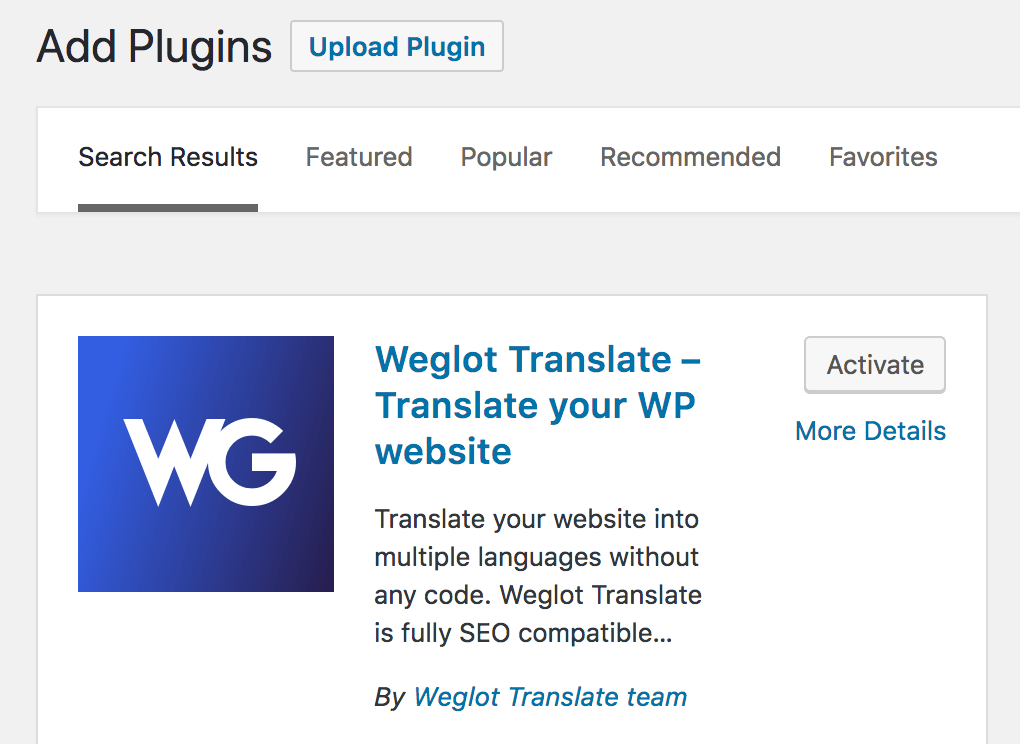
To start, you’ll need to download, install, and activate the Weglot Translate plugin from the WordPress.org Plugin Directory.
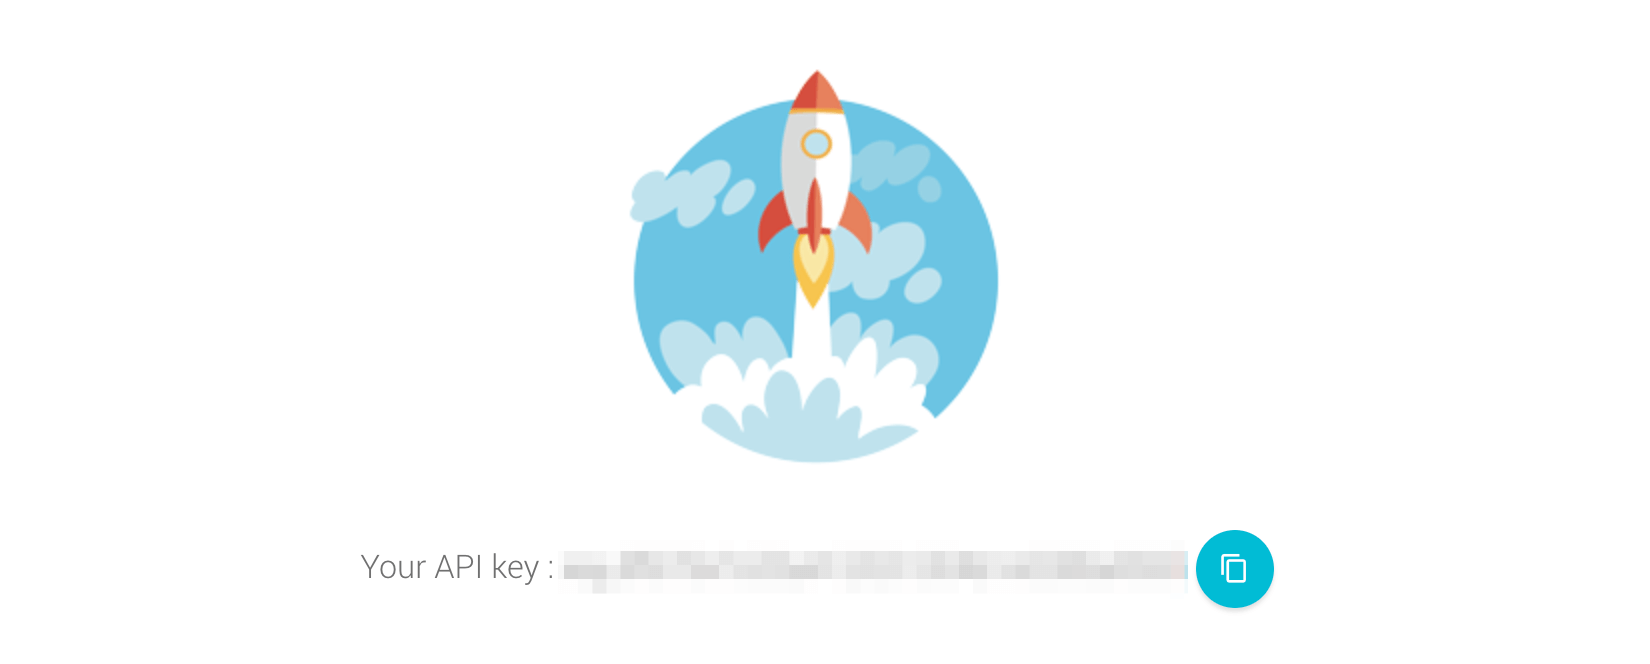
Next, you’ll need an API key, which you can get for free by signing up for a Weglot account. You’ll see your API key appear, as well as a link to your personal dashboard. We’ll return to that in a minute, but for now, copy your key and return to your WordPress site.
Click on the new Weglot option in your WordPress dashboard, and you’ll be taken to your translation configuration page. Here, you can create new translations for your site and determine how it will appear within WordPress:
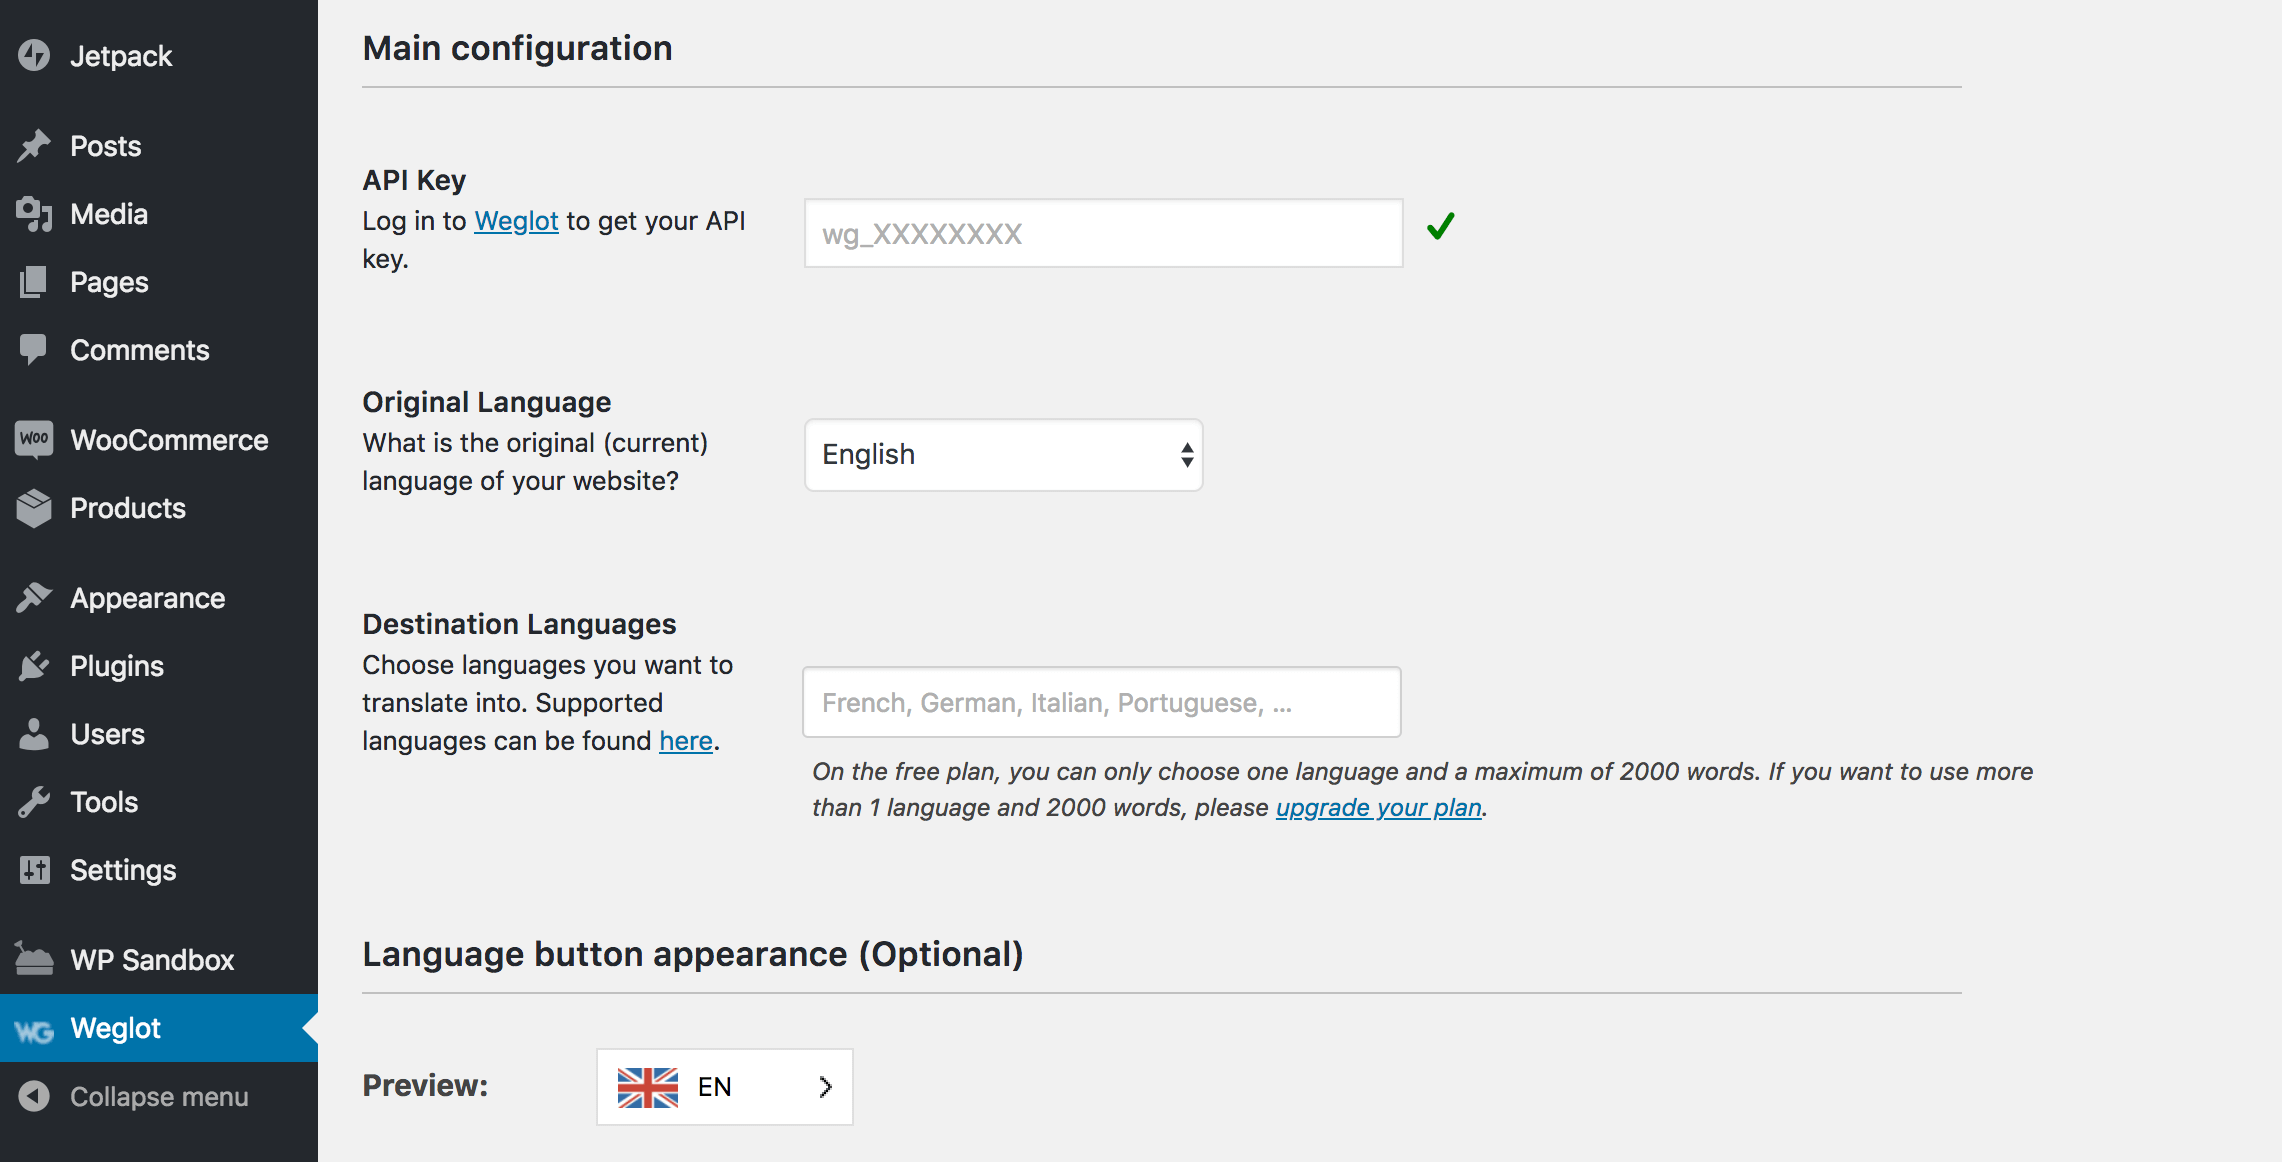
Start by pasting your API key in the first field, then begin creating your first translation. Keep the original language set to English and then select Swedish as the Destination Language.
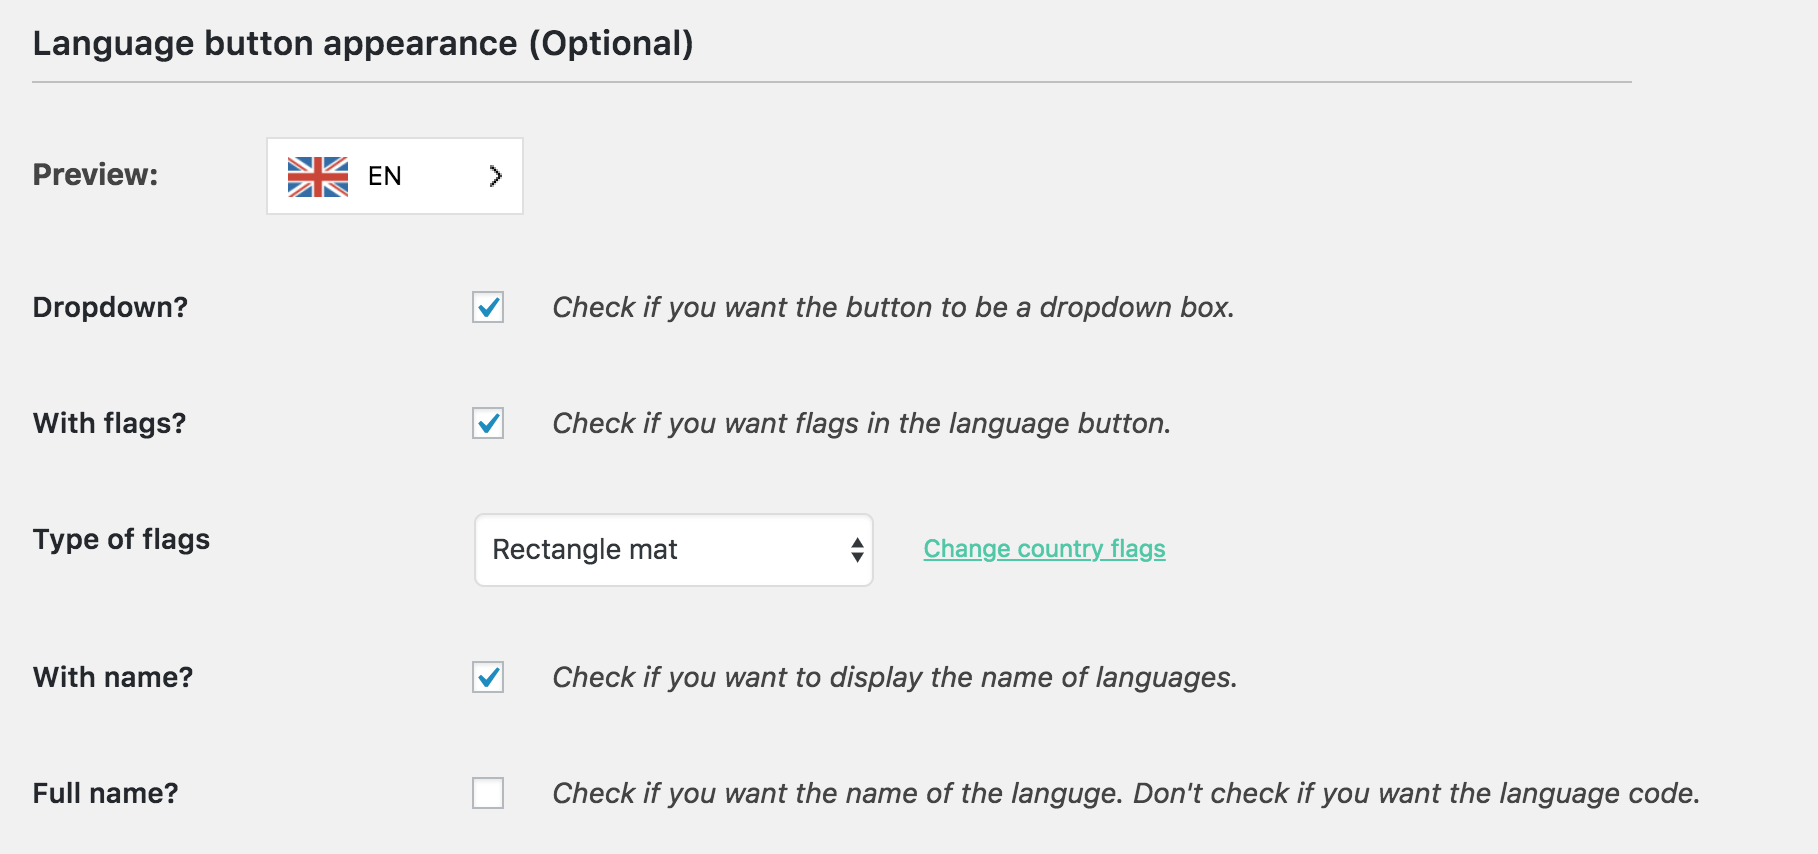
The next section lets you determine how the language selector will appear on your site. You can set its appearance, and also where it should appear on your pages by default:
Finally, you can add exclusions to restrict translations to certain parts of your site:
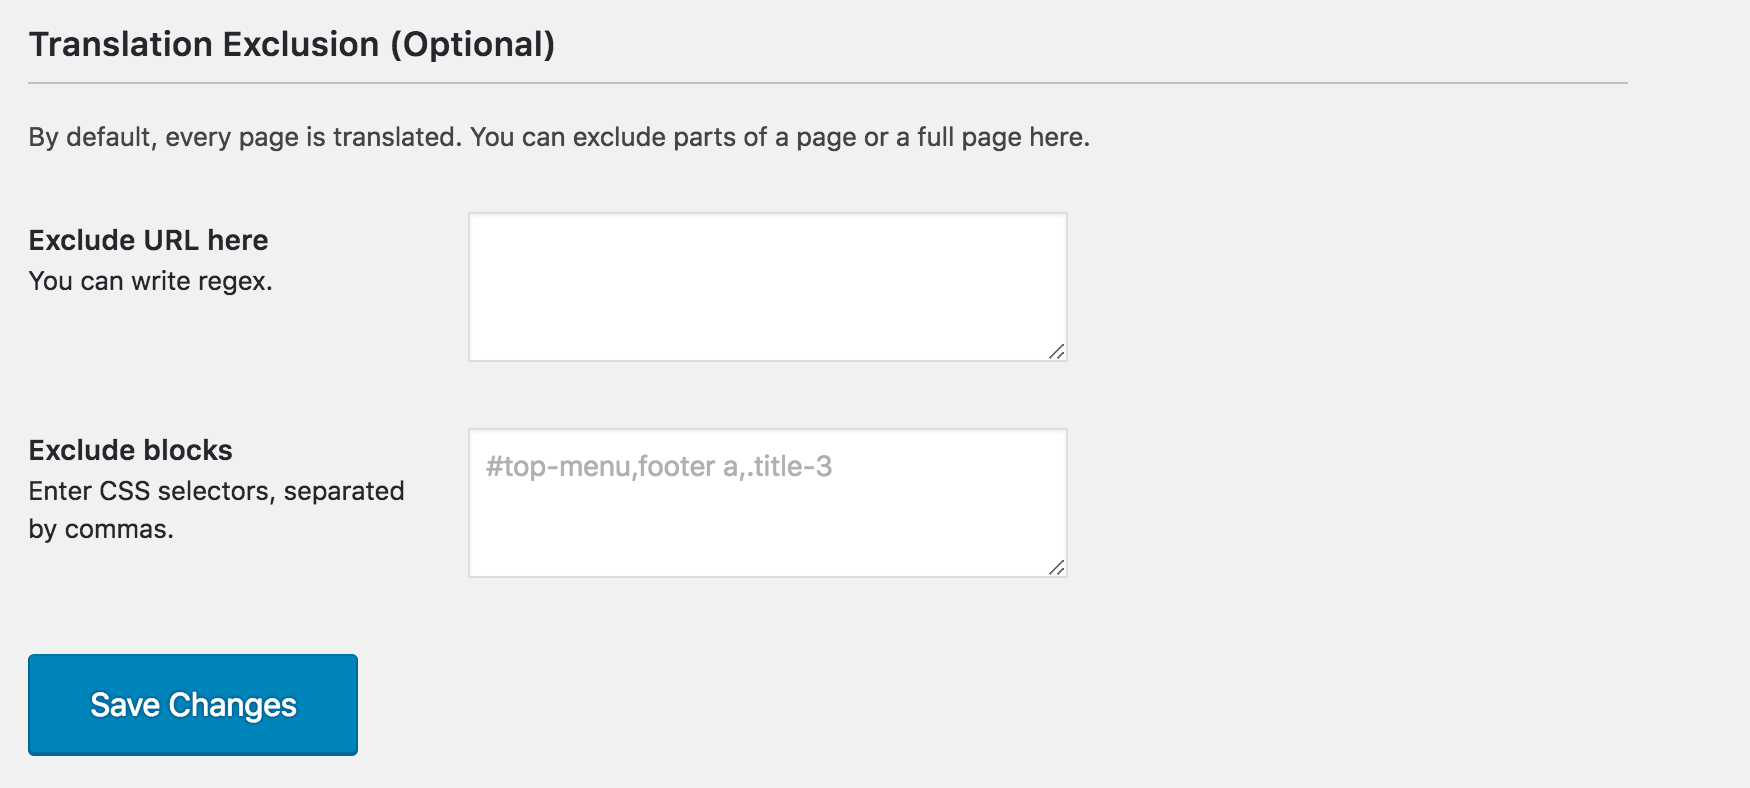
Click Save Changes when you’re done and your site will now be multilingual! In order to check out the result, open your site and find the selector you created. By default, it will appear in the bottom-right corner:
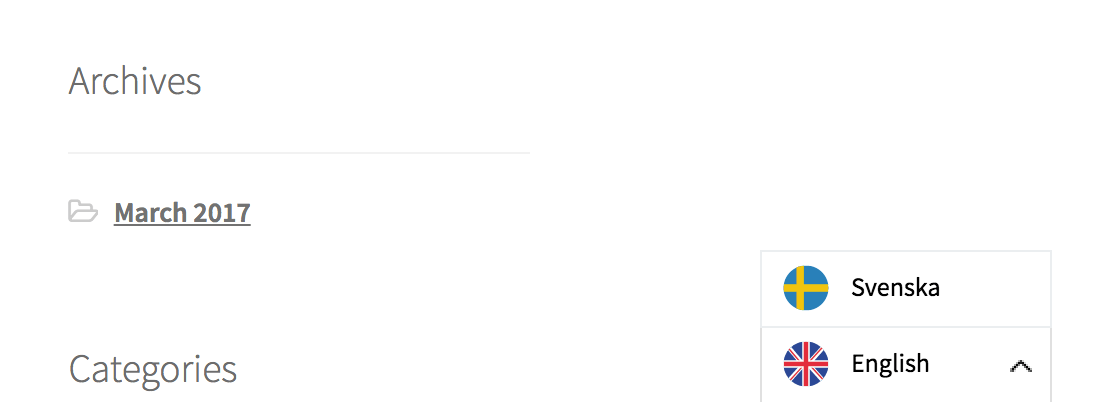
Select Swedish and the site will load with a new extension to the URL that represents the language. In this case, /sv/.
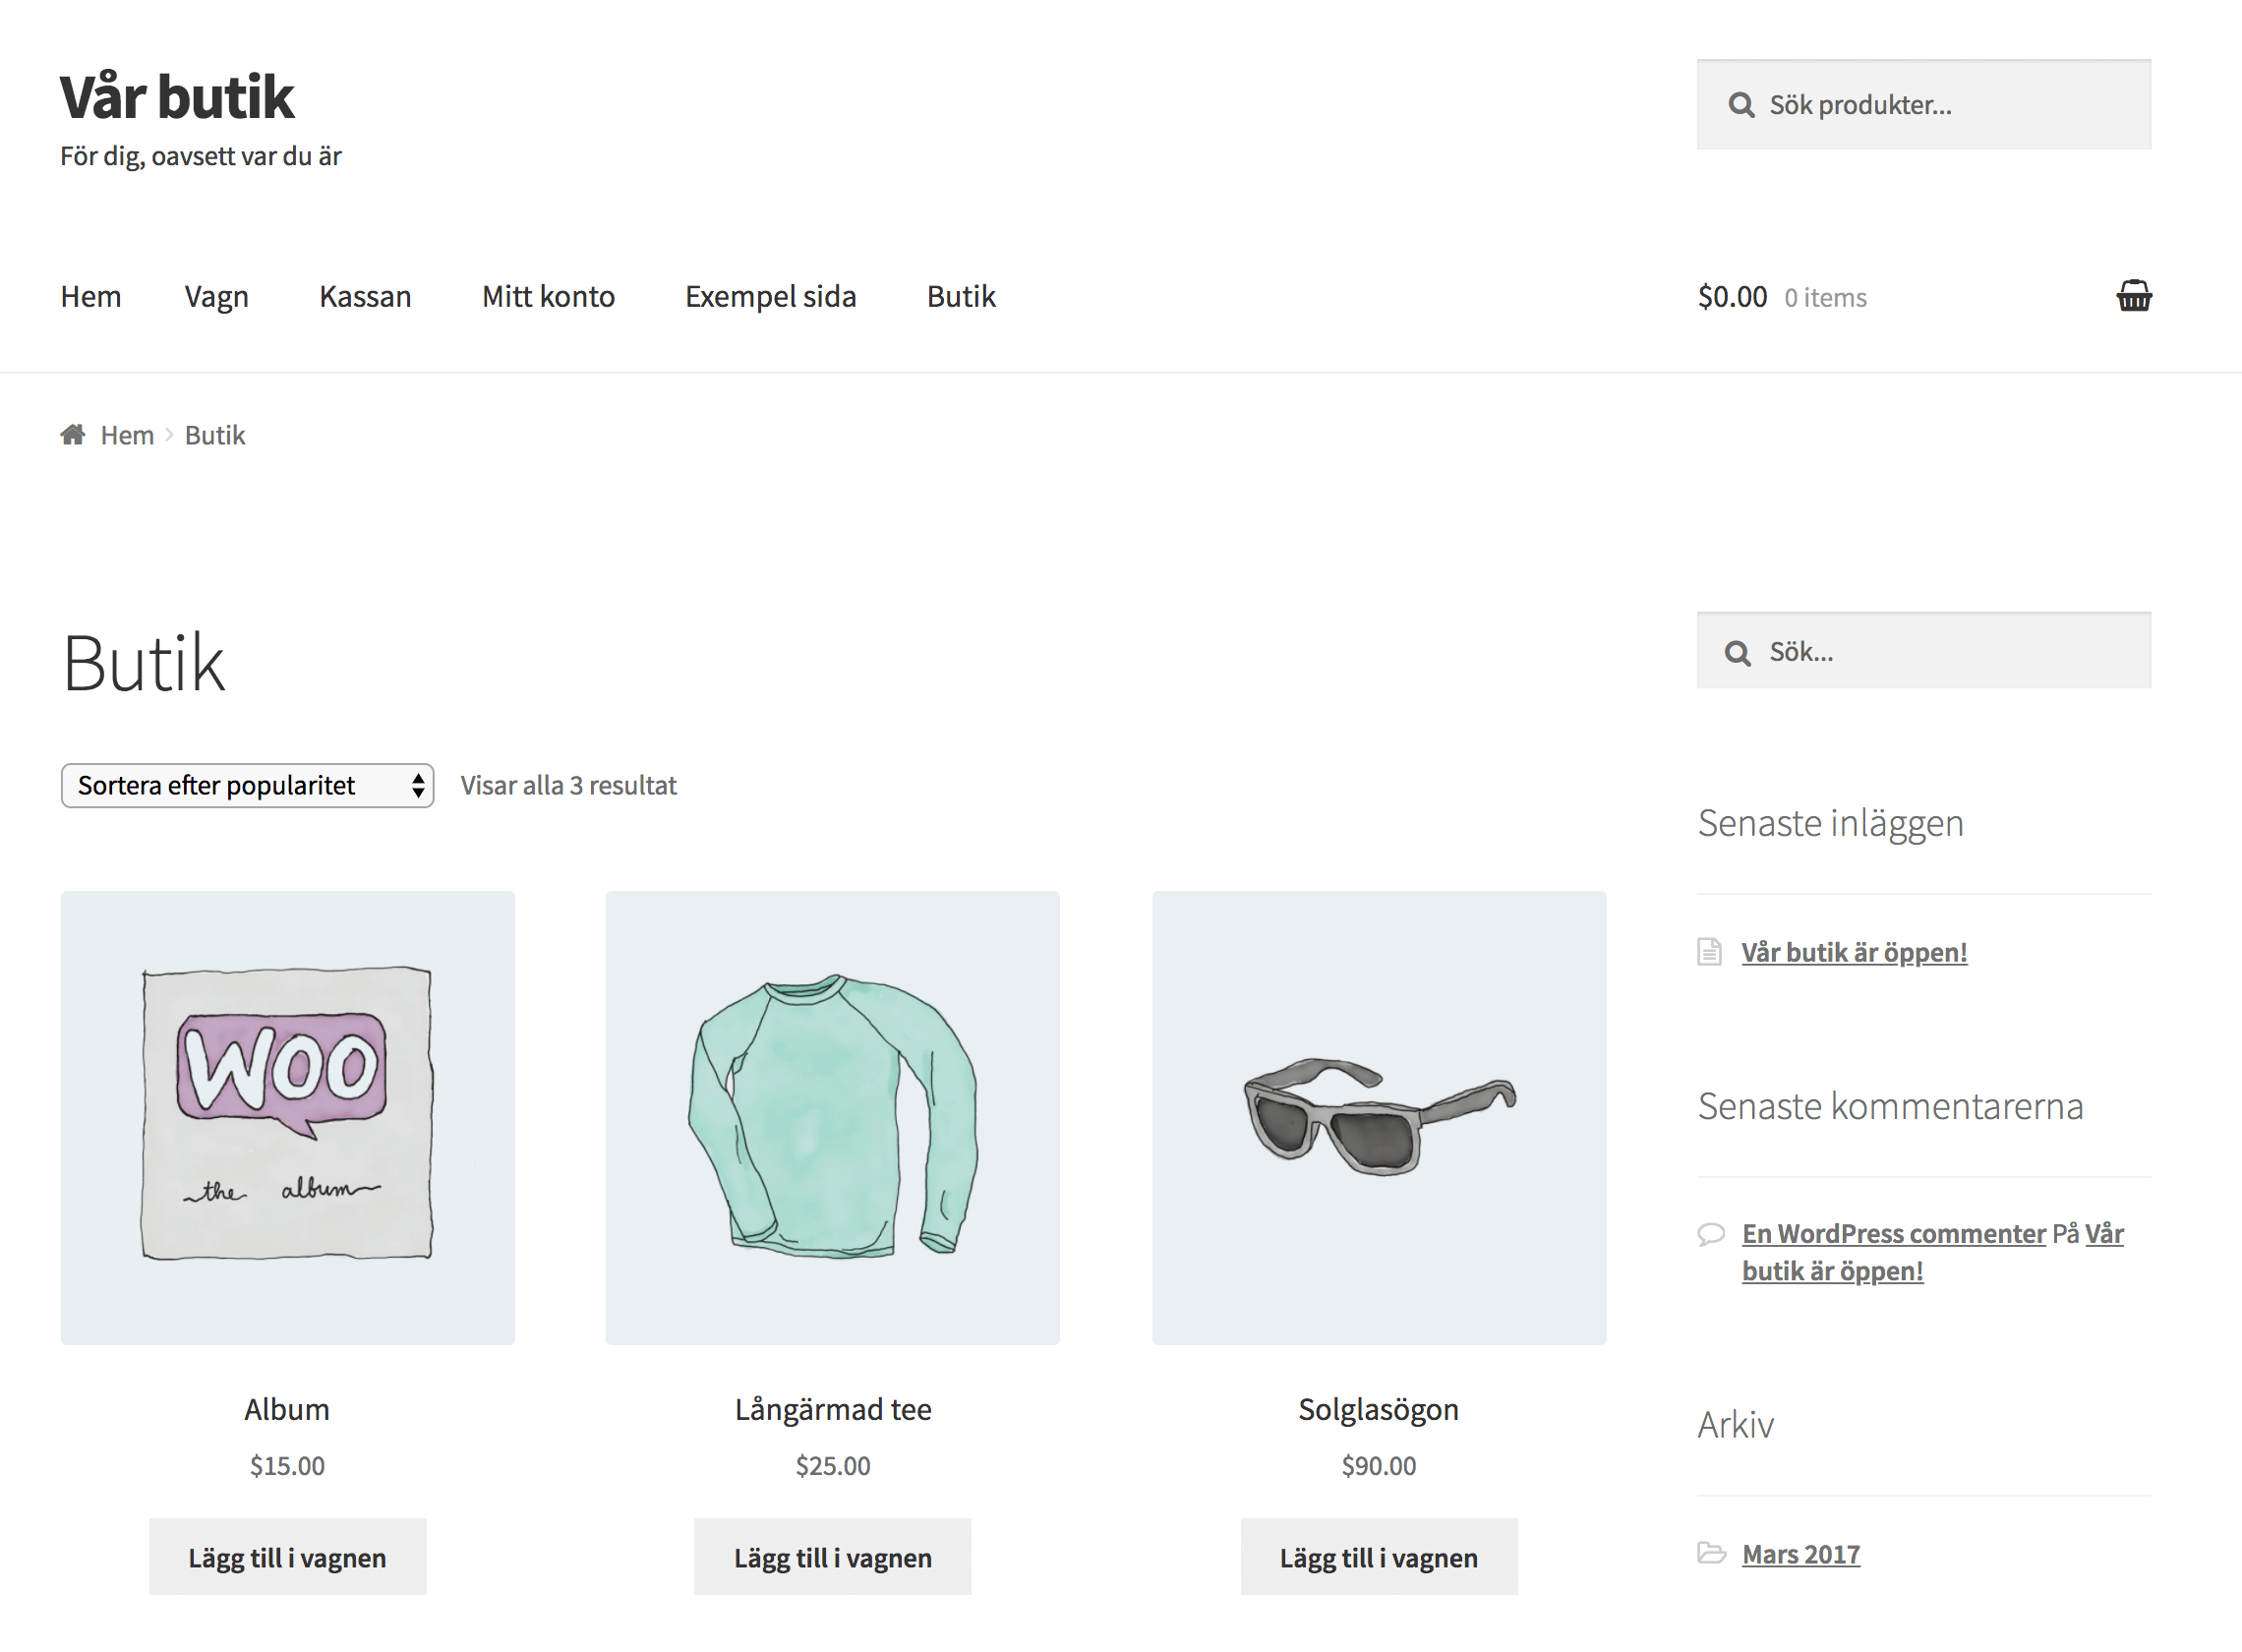
This is looking great, but because the translation is automatic it may need some minor fine-tuning to get it perfect. You can do this easily by returning to your Weglot dashboard, which you can access via the Main configuration page in WordPress:
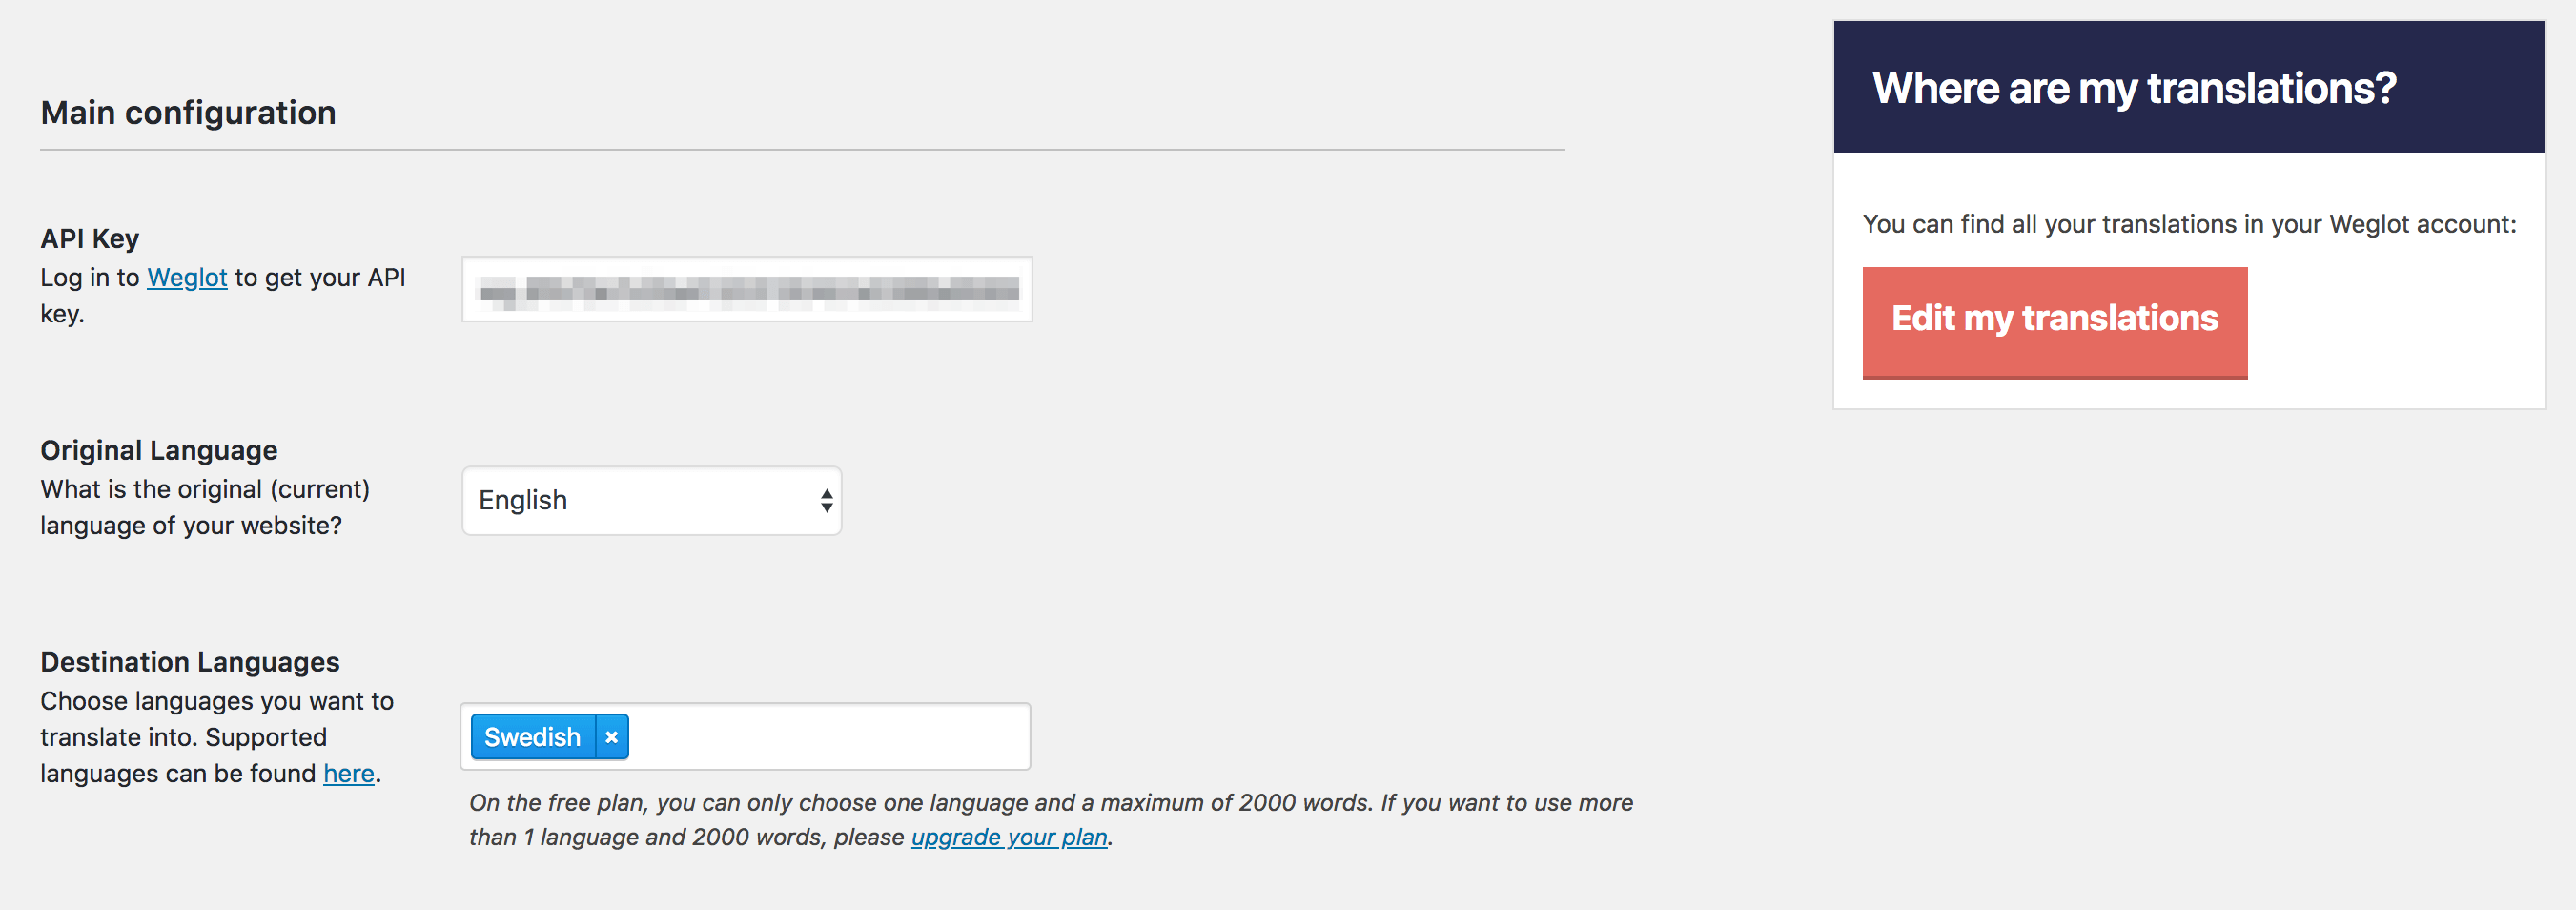
Click Edit my translations to access your dashboard. Here you can click Translations List to see all of the translated elements on your site:
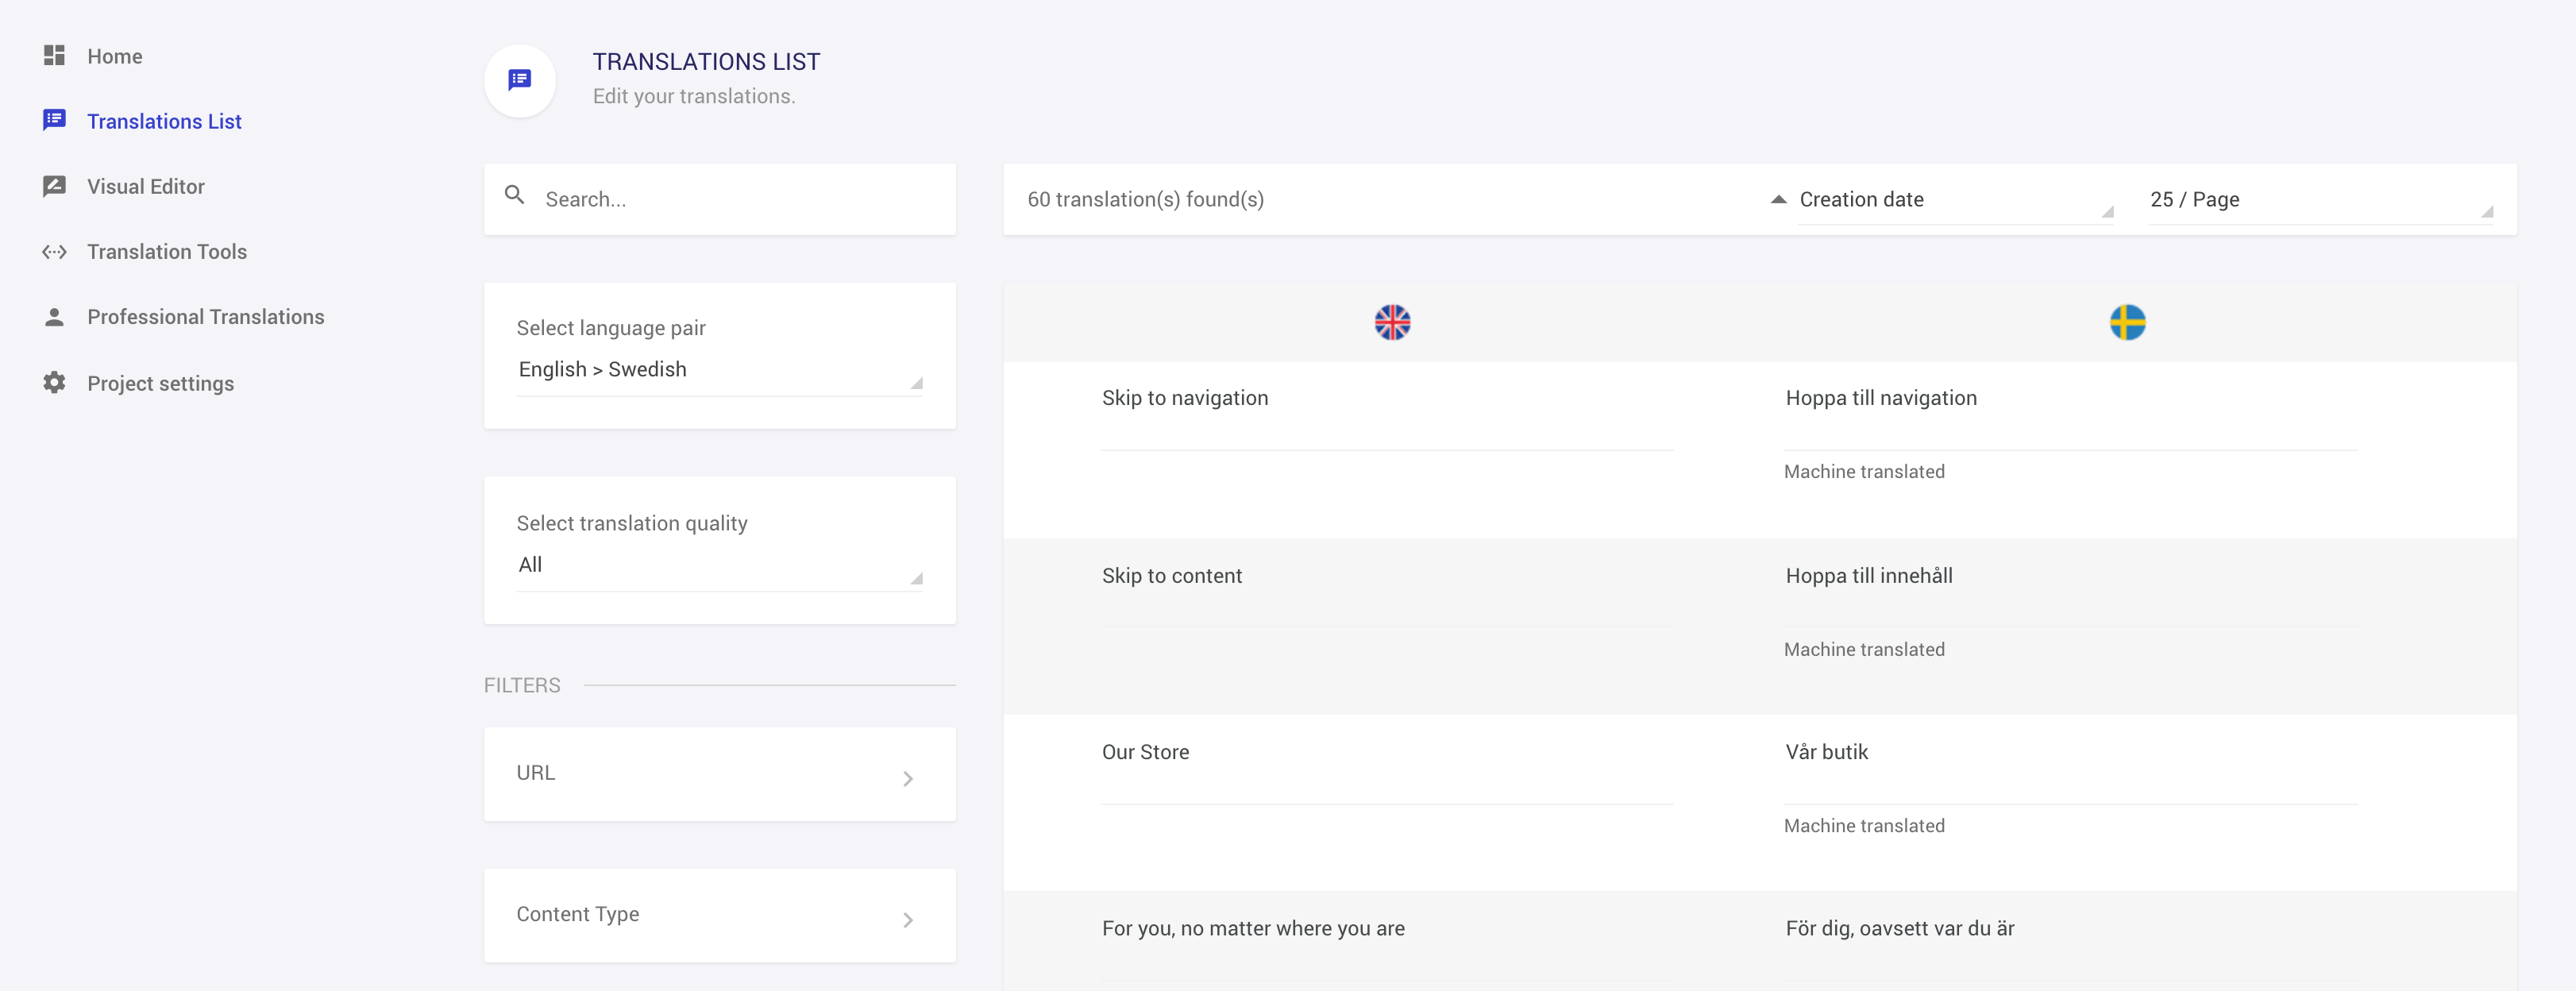
You can see that all elements have been machine-translated, but you can edit one by simply selecting the translation and typing in a replacement.

You’ll notice that the translated element will be saved automatically and marked as Human reviewed. It will also be updated in real-time on your site:
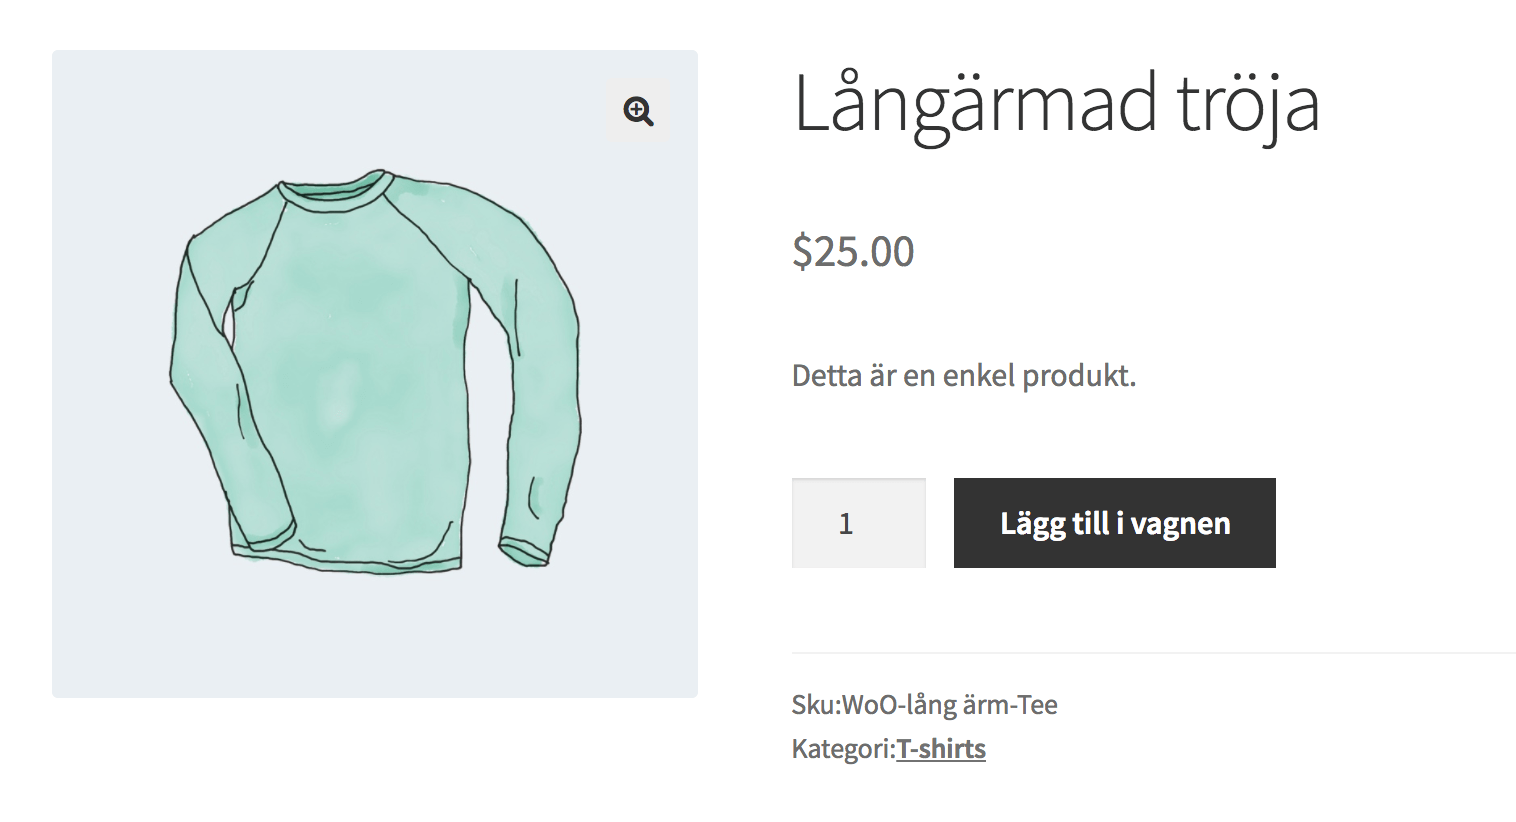
You can also use the Weglot Visual Editor to add and edit translations directly on your page.
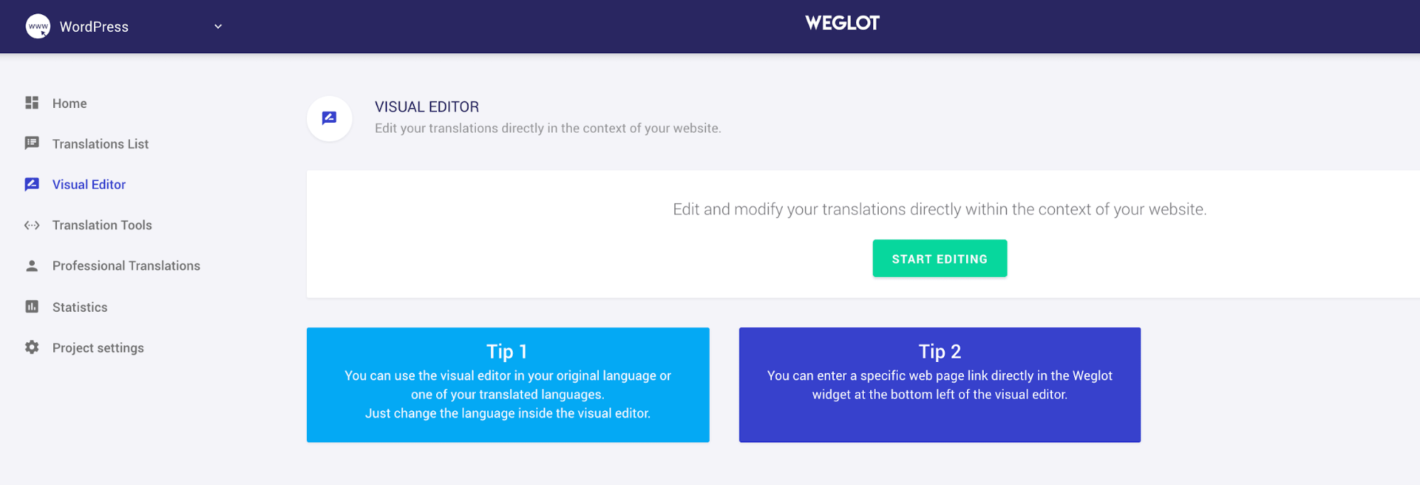
When you click Start Editing, your current site will load. By hovering over any page element, you will notice a green button overlay appear:
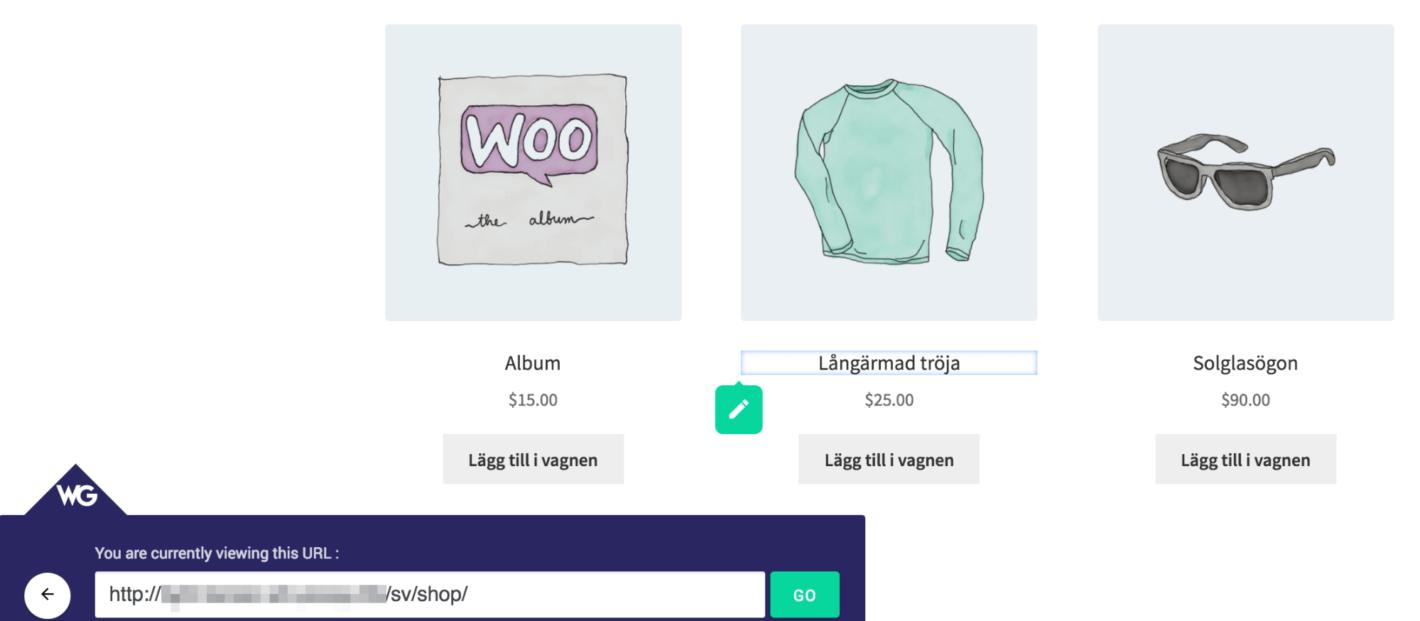
You can click this to add or edit a translation for the selected element. A pop-up will appear where you’ll see the original text and the current translation:
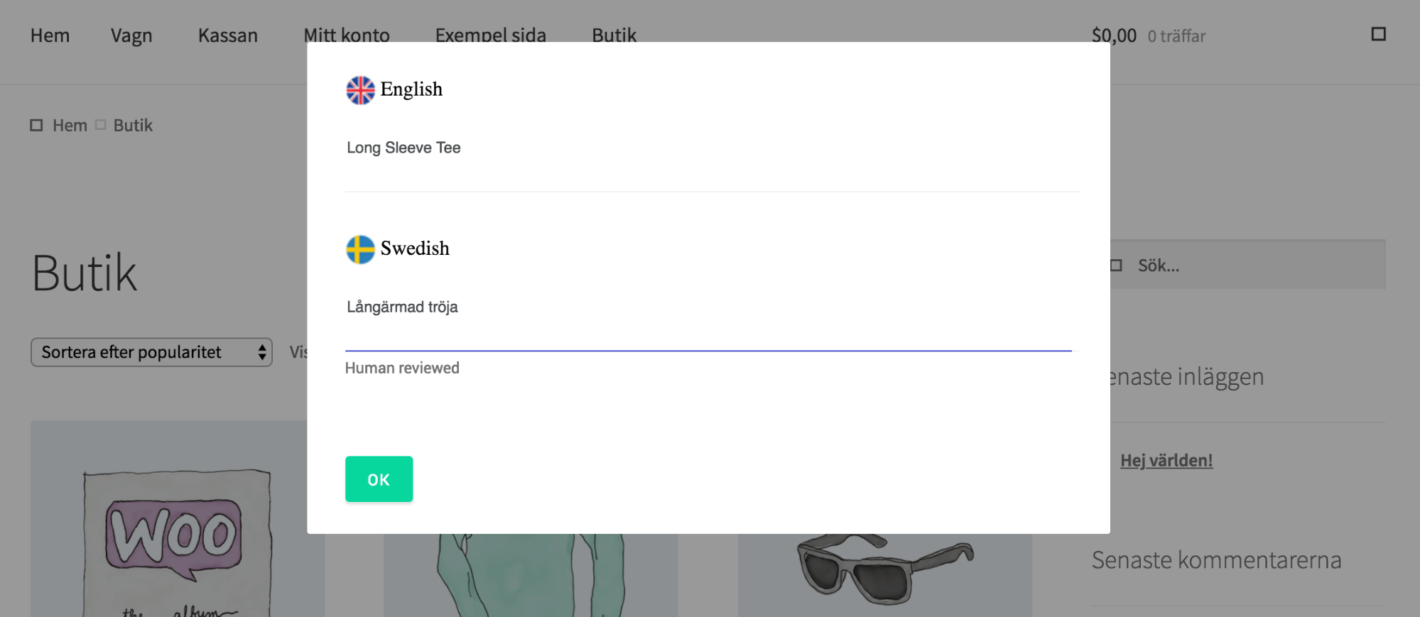
Change this to your requirements, then click OK to save. The new translation will appear immediately on your site, just like before. With that, we’ve created an entirely new translation for our site! Of course, you should repeat this for however many languages you’d like to translate for.
Conclusion
Translating your site into multiple languages might seem like an impossible goal, especially if you’re not multilingual yourself. However, thanks to the Weglot Translate plugin, you can quickly create a site that reaps all the benefits of catering to non-native speakers, but without the time-consumption and hassle.
In this article, we’ve discussed these benefits in full, including how it enables you to reach a broader international audience, and increase your SEO rankings and conversions. We recommend taking time to consider which languages your site would benefit from, then use Weglot Translate to add translations to your site with ease!
Do you have any questions about translating your WordPress website? Let us know in the comments section below!
Image credit: geralt.
The post How to Translate Your WordPress Website Using the Weglot Translate Plugin appeared first on Torque.
