If you’re a new developer or DIY’ing your website because of budget constraints, this can easily feel outside of your abilities. However, thanks to the people over at Advanced Custom Fields (ACF), it doesn’t have to be.
Since version 5.8, they have made it possible to build and customize your own blocks for the Gutenberg editor. In this post, we will show you how it works. We’ll discuss why building blocks through ACF is great, who can take advantage of this feature, and finally, how to do it step by step.
Let’s get into it.
Why Create Gutenberg Blocks With ACF?
If you read the post about building custom Gutenberg blocks manually (with the help of create guten block), you’ll have noticed that it is quite technical. In order to use the tool, you need to use webpack, React, ESLint, Babel, and much more.
In addition, you need to hand-code your blocks. While there is detailed documentation to help you do so, it’s way out of the league of non-developers (again, I have tried).
So, how does Advanced Custom Fields make this whole ordeal easier?
Well, first of all, they allow you to register blocks via PHP, instead of JavaScript. For WordPress users, who have been working with PHP for the past 15+ years, that is good news.
In addition, via ACF, you can also create the parts of your block via a familiar user interface. Plus, instead of a sophisticated development environment, you only need your WordPress installation, the plugin, and a code editor.
Who is This Ideally For?
We’d like to think that anyone who uses WordPress would be interested in such a post, but if we had to narrow it down to a specific audience, it would be:
- Developers who aren’t strong in JavaScript — The journey to becoming an expert JavaScript developer is long. Sure, it’s a powerful and useful language to know, and we’re not at all discouraging new developers from learning it, we’re just highlighting that it can take time.
- Startup or small business owners who can’t afford the services of a developer — Having a startup or small business often means a lack of time, money, resources, and personnel. You’re also likely to wear different hats to accomplish a variety of tasks. One of those hats might involve designing your site. This post will help you learn how to create Gutenberg blocks without being a developer.
- Advanced Custom Fields fans — The ACF plugin has allowed users to add extra content fields to their WordPress editor for years. There are lots of useful applications for it and if you’re a fan, here’s another thing to add to the list.
- Anyone who wants to play around with Gutenberg blocks without advanced coding — Whether you belong to any of the groups above or none of it, you can still have fun and create Gutenberg blocks with ACF to learn the process and increase your WordPress prowess.
Now that we’ve highlighted the advantages of creating blocks through ACF and who will benefit from it, let’s get into how to get it done.
How to Build Blocks in Gutenberg With Advanced Custom Fields
For this tutorial, I want to create a block to display my portfolio items. That includes an image of the client logo positioned to the left, an H3 heading for the client name as well as a text field for the description of the client and work performed.
In the following, you will learn how to create the above end result with Advanced Custom Fields.
1. Install the Plugin
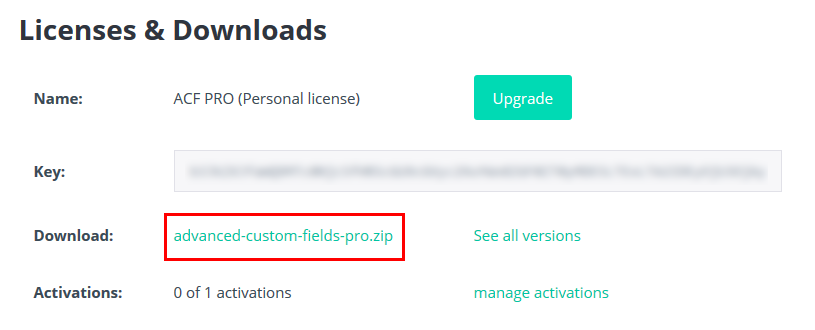
In order to use this functionality, you need the Pro version of ACF 5.8 or higher. You can purchase it on the main website.
It costs $25 AUD for a single site and $100 AUD for a developer license that is valid for unlimited websites. The prices are fair, considering that it’s a one-time payment with no recurring fees and you are eligible for unlimited updates.
Once you have bought it, go to your account and click on the download link.
Once on your hard drive, log into your site and go to Plugins > Add New > Upload Plugin.
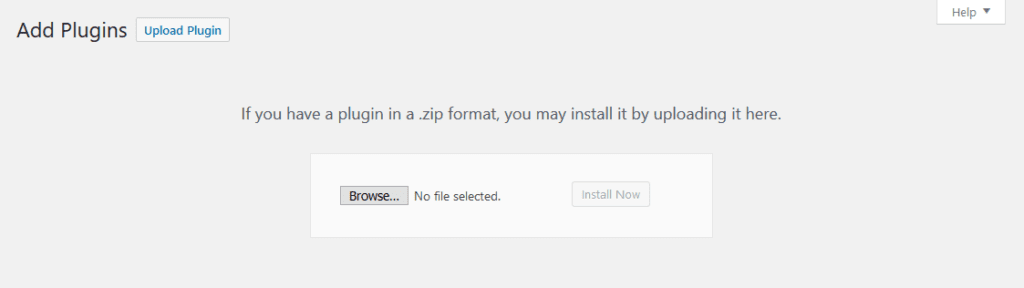
Hit Browse…, find the file on your computer, and click Install Now. Once done, don’t forget to activate it.
2. Register Your Block
After installation, it’s time to register your block. This happens inside the functions.php file of your theme with the help of the acf_register_block_type() function.
It works similarly to registering a custom post type in WordPress. Use your favorite FTP client to access the functions file on your server, then add the following code:
function acf_portfolio_item_block() {

	// check function exists
	if( function_exists('acf_register_block') ) {

		// register a portfolio item block
		acf_register_block(array(
			'name'				=> 'portfolio-item',
			'title'				=> __('Portfolio Item'),
			'description'		=> __('A custom block for portfolio items.'),
			'render_template'	=> 'template-parts/blocks/portfolio-item/block-portfolio-item.php',
			'category'			=> 'layout',
			'icon'				=> 'excerpt-view',
			'keywords'			=> array( 'portfolio' ),
		));
	}
}

add_action('acf/init', 'acf_portfolio_item_block');
Here’s an explanation of what it all means:
- name — This is the name of the block you’ll be creating. It will be used to make the whole thing work and can only contain alphanumeric characters and dashes.
- title — This is the title of the block as it will appear in the Gutenberg editor.
- description — A description of what your block does. This shows up in the sidebar of the editor.
- render_template — This refers to the file used to render the block. You will see how it works further below.
- category — Means the block category your block will appear under. Choices include common, formatting, layout, widgets, embeds.
- icon — The icon associated with your block. You can choose from the Dashicons (post the name without the
dashicons-in front). Optionally, use a custom SVG file. - keywords — What users can type in to find your block. You can use up to three terms here.
Now that you understand what each part means, you can pretty much copy and paste the above code and change it to whatever kind of block you decide to create. Check the documentation for more info.
By the way, to be able to switch the block on and off and transfer it to another site, alternatively, you can input all of the above into a custom plugin.
2. Create Your Fields
After including the above code in functions.php, you will already be able to see your block in the Gutenberg editor.
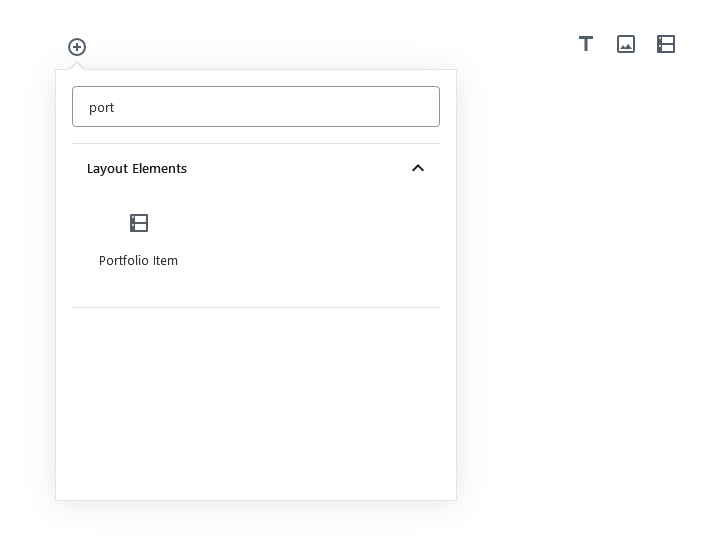
However, currently it doesn’t contain anything. Time to change that.
To do so, go to Custom Fields > Add New inside the WordPress back end to create a new field group. If you are not sure about what fields are, read our ACF beginner’s tutorial.
Here’s my configuration:
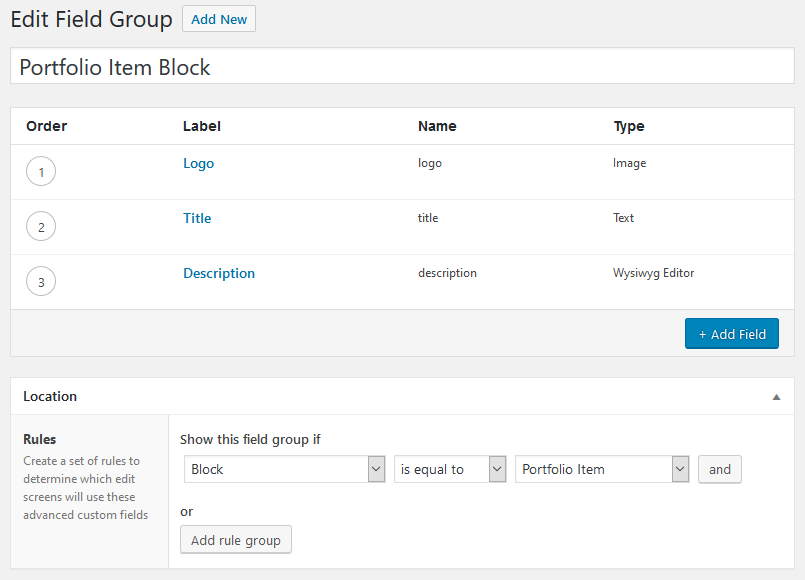
If you’ve created field groups before, you’ll realize that this process is similar to the normal usage of ACF. However, there’s one key difference – you’ll need to head to your Location Rules section and then specify that the Block is equal to Portfolio Item (or whatever other name you’ve given your custom block). You can see this in the screenshot above.
Once you’re done, scroll all the way up and hit the Publish button.
3. Render Your Block
While you have now defined the content of your custom block created with ACF, it still won’t show up on either the front or back end. That’s because we haven’t set up any directives to render it yet.
As you can probably guess from the above, that’s what the render template is for. With its help, you can provide WordPress with the necessary information to display your block.
For that to happen, you need to include a file of the same name and in the same place, you defined when you registered your block. In my case that is template-parts/blocks/portfolio-item/block-portfolio-item.php. In there, I included the following:
<?php
$logo = get_field( 'logo' );
$title = get_field( 'title' );
$description = get_field( 'description' );
echo '';
if( !empty( $logo ) )
echo wp_get_attachment_image( $logo['ID'], 'thumbnail', null, array( 'class' => 'portfolio-logo alignleft' ) );
if( !empty( $title ) )
echo '' . $title . '
';
if( !empty( $description ) )
echo '' . $description . '';
echo '';
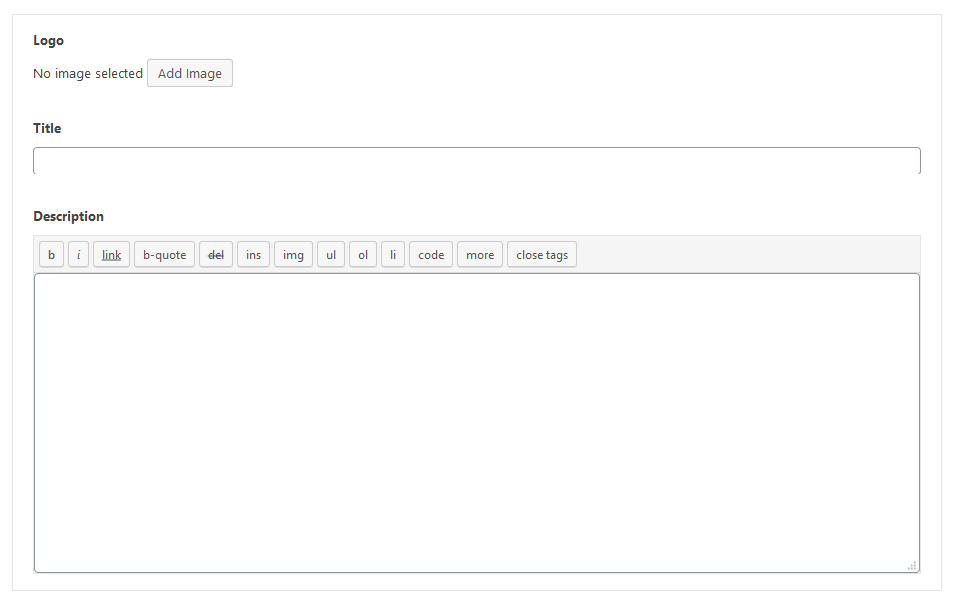
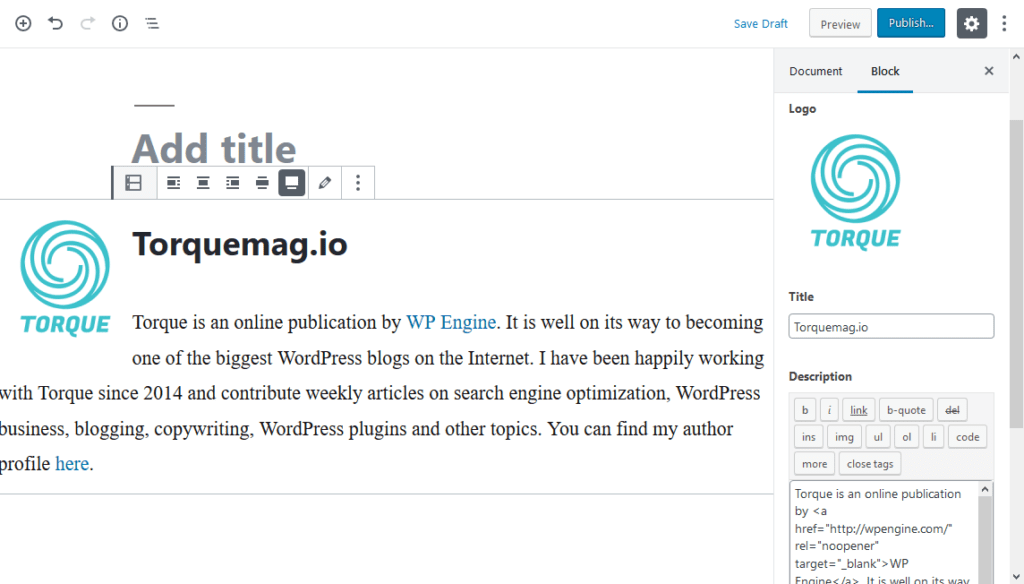
?>With that file present, when I now go back to the Gutenberg editor and choose to insert the portfolio item block, I see this:
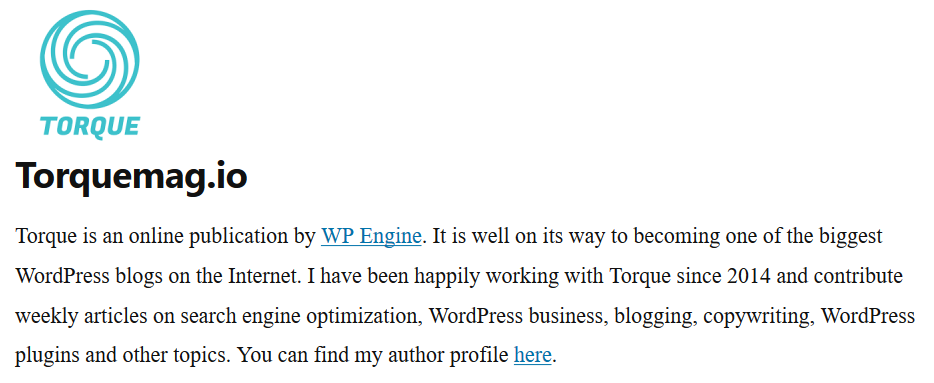
And this is what it looks like with content on the front end.
Pretty exciting right? If this is already what you were planning to build, you can stop here. However, in my case, I still want to change the styling of my block, so I have one more step to take.
4. Provide Styling
Your block is rendered with CSS both in the front end of the site and the back. Thanks to the HTML classes and ids built into the markup above, it’s quite easy to make changes to how it looks.
For example, I can add the following to my style sheet:
.portfolio-item {
	border-bottom: 1px solid #999;
}

.portfolio-title {
    clear: none;
}

.portfolio-logo {
    outline: 2px solid #ebebeb;
}
After that, we finally have the result from above:
However, the changed styling is not yet visible in the back end. To achieve that, you need to input it into another file and enqueue that with enqueue_block_editor_assets. You can find more information about that in this article.
And that’s it. That is the basic way to create a Gutenberg block with ACF.
5. A Few More Things
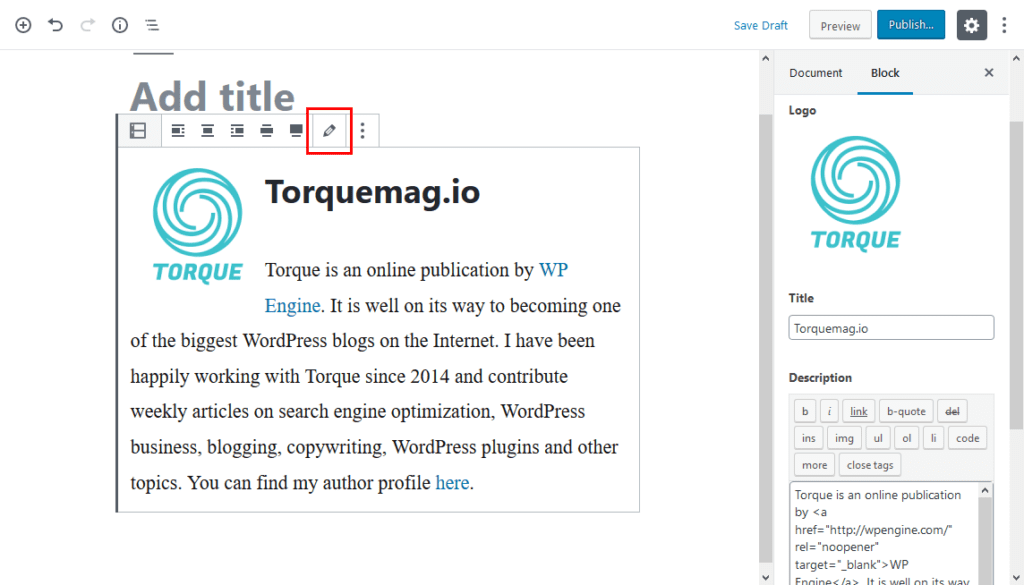
By the way, one of the cool things with a block created in this way is that it comes with a preview mode. That means you can look at it functionally and edit it directly or see the rendered version and change its content in the editor sidebar.
In addition, blocks created with ACF support the Gutenberg alignment toolbar. So, in case you want to make your new block stretch across the entire screen, you can do that.
Plus, if you need more blocks that work with Advanced Custom Fields but you don’t want to make them yourself, the plugin Gutenberg Blocks — ACF Blocks Suite is just the right thing for you. Among other things, it contains blocks for testimonials, click to tweet, image sliders, social sharing, and more.
Gutenberg Block Building Made Easy – Thanks to ACF
And there you have it! Your complete guide on how to create your own Gutenberg block with ACF. While this might have taken hours before, now you can do it in a matter of minutes. Here are the steps one more time:
- Install Advanced Custom Fields
- Register the block you want to create
- Create your custom field group
- Render your block
Whether you’re a developer, new to WordPress, a small business owner, or website owner, content customization is an important part of your job. It has just become easier. What block are you going to create?
Have you tried creating Gutenberg blocks through ACF? What did you make? Tell us all about it in the comments section.
The post How to Create a Gutenberg Block with Advanced Custom Fields (ACF) appeared first on Torque.
