There’s something exciting about new WordPress releases. The updates help to keep your site’s security in check, they come with cool new features and some of them promise to not only improve the back end of your site but your visitors’ experiences as well.
Just click on the “update” button and wait for the magic to happen. That’s how it’s supposed to go, right?
Well, that’s not always the case.
If you’ve had the horror of watching your site taken out by an update, you might still be traumatized from the whole ordeal. And if you haven’t, then count yourself lucky. But luck only lasts for so long.
A better idea is to test new WordPress releases before implementing them on your site. In this post, we’ll give you a step-by-step breakdown of how to do so while ensuring your site remains safe and secure throughout the process.
But, before we jump into that, why is testing so important?
What Kind of Problems Can You Run Into With a WordPress Update?
If you’re still thinking about living on the edge and updating without testing first, here are a few reasons why you should seriously reconsider that.
1. It Might Not Be Compatible With Parts of Your Site
WordPress has a lot of features, especially in the plugins and themes department. These are all essential in helping you customize your site.
The good news is that developers will often coordinate their theme and plugin updates with new WordPress releases, but that’s not always the case. Sometimes a plugin is poorly coded or was developed for another version of the CMS and not updated for the new one.
Testing your new WordPress update will allow you to safely spot compatibility issues that might arise from that beforehand and tweak or update what you need to.
2. Updates Might Change the Way Your Site Works
For this point on our list, let’s have a look at the recently released Gutenberg editor. Gutenberg is a block-based content editor that’s now part of WordPress Core. It allows you to build your content layouts in a block-by-block manner.
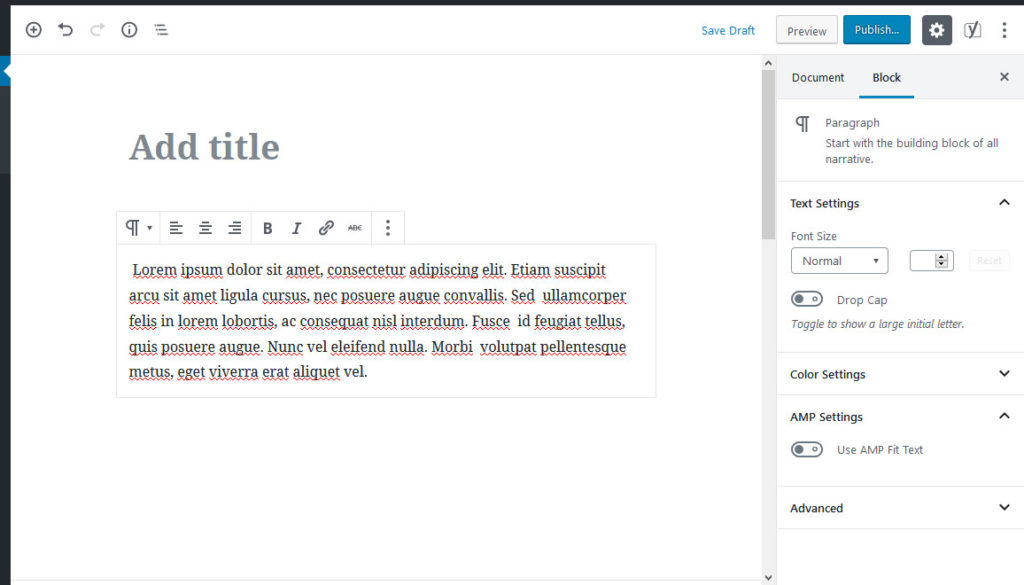
While some users have immediately embraced it, others seem to be taking time to get used to the editor. But that’s to be expected – change is often uncomfortable. However, it is also a big change from the classic editor.
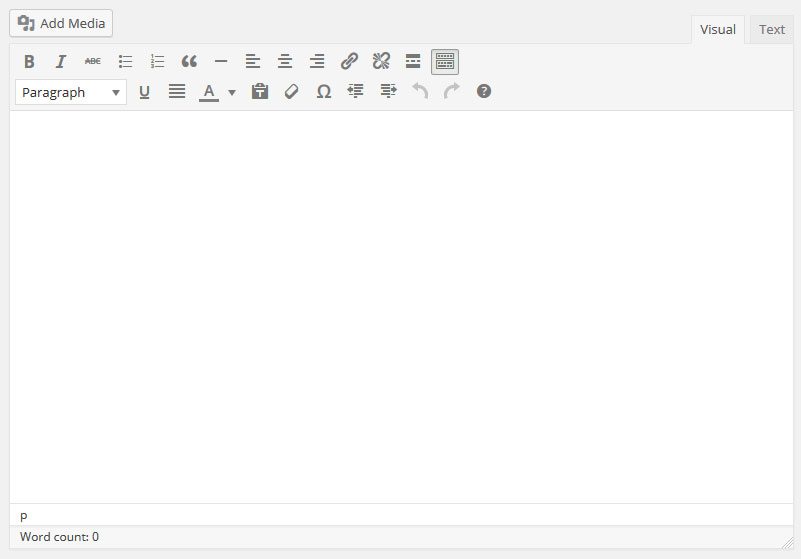
We’re not going to get into a debate about whether or not Gutenberg is amazing at this point. All we are trying to highlight is the fact that it’s significantly different from the previous editing experience.
For you to be able to comfortably use it, you first need to test drive it. Plus, there are some plugins and features that no longer work with Gutenberg. If your site depends on those, it would be best to spot problems before switching, wouldn’t it?
3. Experiencing the “White Screen of Death” (WSOD)
This term was coined by the WordPress community. It’s a common (and frustrating) error which refers to when all you see on your site is a blank white screen.
This white screen can occur for many different reasons, including a poorly coded plugin or theme, a script that has exhausted its limit, a syntax error, or a fail on the auto-updates.
Thankfully, there are ways to fix the issue, but having your site inaccessible for any amount of time can be frustrating. That’s especially true if it’s a source of income for you.
If you test out new WordPress releases before applying them to your live site, you’ll be able to pick up on any of the compatibility issues, fix them and move on swiftly, without the dreaded WSOD.
Okay, by now you should be convinced of why you need to test new WordPress versions before applying them onto your site.
So, shall we get into it then?
How to Test a New WordPress Release
In the following, we will go over a step-by-step approach of making sure that your site stays intact before you update.
Be aware that all of the following especially applies to major WordPress updates. You can recognize those by the fact that they have only one digit after the decimal point, e.g. WordPress 4.8, 5.1, etc.
Minor versions with three digits (such as 5.1.2) are security and maintenance updates. The changes they introduce are not as significant and often don’t require the same kind of vigilance in testing, which is why they are applied automatically (unless you have switched this feature off).
1. Back-Up Your Site
We’ll start with something that seems obvious, but you’d be surprised to find out how many new people don’t back up their sites before an update (or ever). Backups are something that should actually be done on a regular basis, regardless of whether or not there’s a new WordPress release.
It’s good practice and good for peace of mind. If there is a server outage or your site gets hacked, you’ll at least be confident in the fact that the hours of hard work you have put into your site weren’t completely wasted.
Luckily, there are plenty of plugins to help you automate this process. These include BlogVault, UpdraftPlus, and VaultPress. If you want to learn how to automatically back up your site remotely, you can do so here.
2. Set up a Local Testing Environment
Once your site is safe and secure, you can then proceed to install WordPress locally. This will allow you to run tests without having it affect your live site.
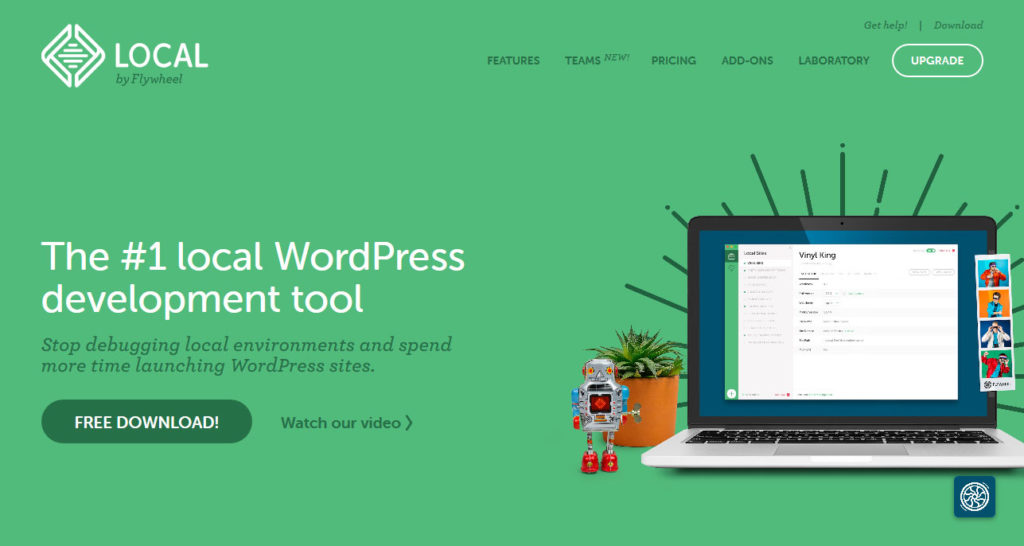
There are a number of tools that you can use for this process. The post linked above uses XAMPP. Another excellent solution is Local by Flywheel.
To get started, go the tool’s homepage and download it onto your computer by clicking the big Free Download button on the page.
You’ll then be prompted to choose your operating system and to fill in your details. After doing so, click on the Get it now button and it will proceed to download.
When it’s done, start the app. This will take a short moment. After that, you’ll be greeted by this welcome screen:
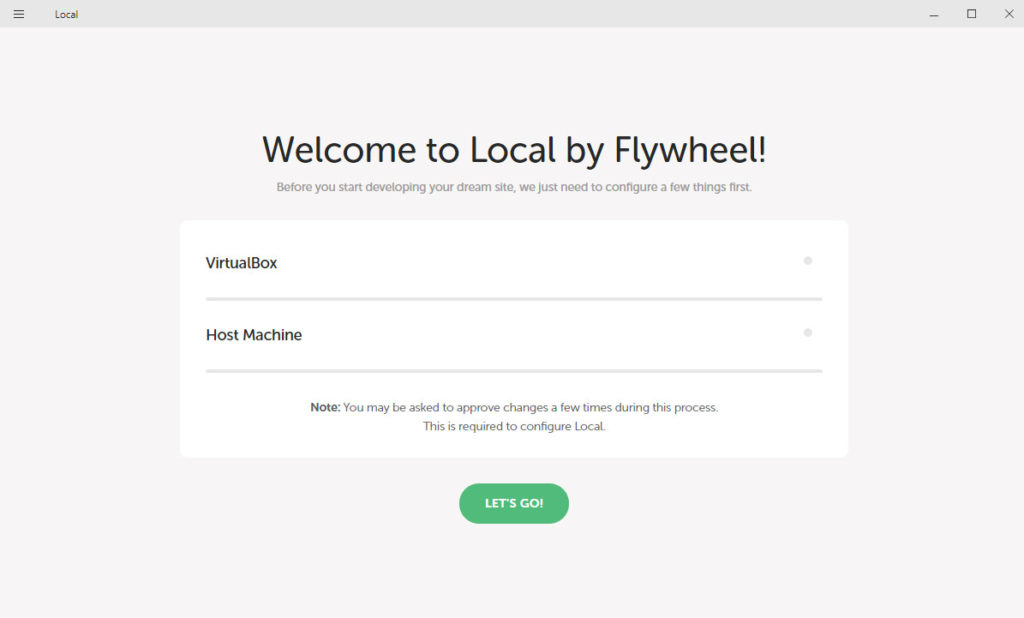
Hit the big Let’s Go button to start the installation. You will probably be asked to grant some permissions by your operating system during this process.
3. Copy Your Site to Your Local Machine
When you are done, it’s time to make a copy of your live site and transfer it to your local server. For Local by Flywheel, it’s enough to have a copy of your wp-content folder and an export of your database inside a zip file.
When you have that, you can simply drag and drop the file onto the program’s interface or open the menu and choose Import Site and then pick it from there.
The software will then ask you for some information including the local site name and the simulated server environment.
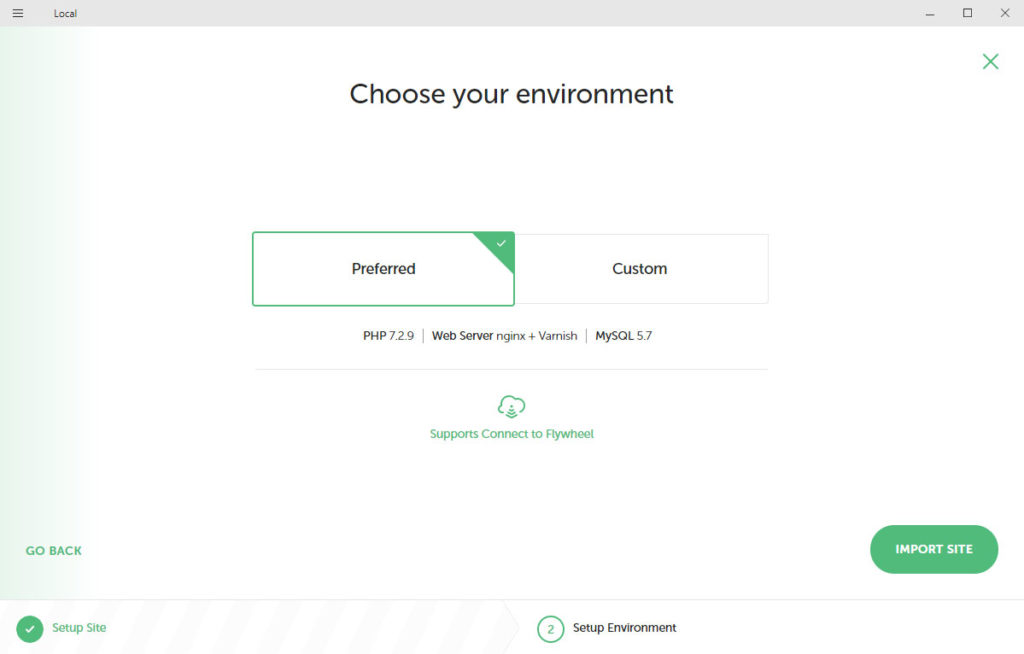
Once you have chosen both, the import starts. When finished, the site will appear in your list of local sites.

A click on View Site will take you to the front end in your browser, while Admin takes you to its back end. Well done, you are now ready for testing!
Alternative: Create a Staging Site
An alternative to this would be to set up a staging site. Unlike a local environment on your computer, a staging site exists online. Typically, it will be installed on a private subdomain of your hosting account. Only those with the right login details can access it.
You’ll need to assess your needs to be able to decide on the best option for you. For instance, if you have a remote team from various places around the world and you’re working on-site updates together, then staging might be the best option for you.
If, on the other hand, you’re developing themes, plugins, or a site on your own, then a local server might be sufficient.
Whether you decide on a local server or a staging site, the whole point is to get a duplicate of the site in question so you can do all your testing without it affecting your live site.
4. Install the WordPress Beta Tester Plugin
Once you are done with the above, you can then proceed to your test site and update to the latest version of WordPress.
If you don’t want to wait until the actual release, you can use the WordPress Beta Tester plugin. It gives you access to development versions of WordPress (including release candidates) so you can check them before the new WordPress release comes out.

Install and activate this plugin. Once you’ve done so, you can then head to Dashboard > Updates and get the latest beta versions in the usual way.
5. Test All the Things!
After all that, you finally get to test that new release! What exactly should you be testing? Well, in a nutshell – everything!
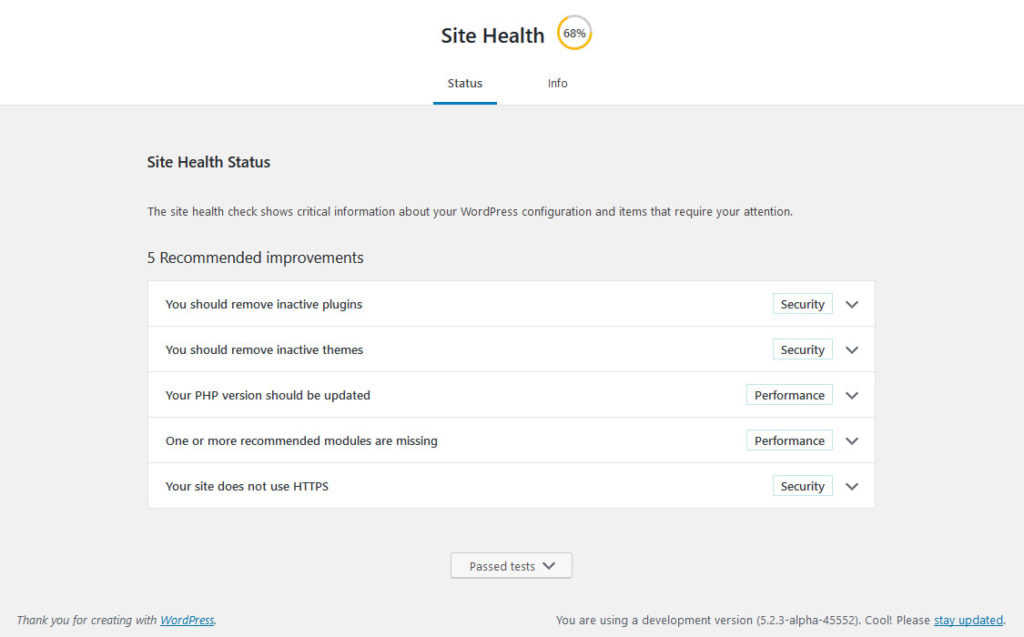
During this process, have a look at the functionality of your theme, if all your plugins are compatible, your shortcodes, meta boxes, forms how your menu is now displayed, your sidebars, widgets, etc. Additionally, you may swing by Tools > Site Health to see if anything pops up there.
If you happen to find bugs, the Alpha/Beta support forum can be used to report them.
Besides testing, you’ll need to also familiarize yourself with the new release and understand its features. So, play around with it a bit to see how it works.
The whole point here is to get a better understanding of how implementing the new version will affect your site. After you are satisfied with your tests and have made any necessary changes, it’s time to move on to your live site.
6. Apply the Update to Your Live Site
When satisfied with everything, you still need to apply the same changes to your actual web presence. You have several ways of doing so.
- Perform the same steps as you did during the testing in your live environment — When you do, be sure to keep the backup from earlier. That’s because, if your live environment is different from your testing setup, you can sometimes get different results.
- Copy your local site to the live server — Just like you backed up your site from the main presence to the testing environment, you can also go the other way around. Some backup plugins help with that and you can find an example of how to make this move here.
- Push your site from staging to production — Many reputable hosting providers who offer staging sites, also let you push your changes to the live environment with one click. That’s actually what staging is for, so check with your host.
Whichever route you choose, when you are done, be sure to give your live site the same look over that you applied to the test site before. Once satisfied, you are finally done and can take advantage of the new WordPress release in full.
Wrapping Up
WordPress has regular updates which help to improve many aspects of your site. This makes working with WordPress fun and exciting but can also lead to problems.
To avoid those, it’s best to test new WordPress releases in a safe environment before using them on your live web presence. Above, you have learned how to do that in five simple steps:
- Back up your site
- Create a testing environment
- Duplicate and migrate your site to the testing environment
- Update your site to the latest version
- Test all aspects of your site for problems
- Apply the changes to your live site
With this knowledge, you are no ready for any new WordPress release that may come your way.
How do you make sure that new releases don’t wreck your site? Anything to add to the above? Let us know in the comments section below.
Nick Schäferhoff
Nick Schäferhoff is an entrepreneur, online marketer, and professional blogger from Germany. He found WordPress when he needed a website for his first business and instantly fell in love. When not building websites, creating content or helping his clients improve their online business, he can most often be found at the gym, the dojo or traveling the world with his wife. If you want to get in touch with him, you can do so via Twitter or through his website.
The post How to Test New WordPress Releases to Avoid Problems appeared first on Torque.
