Learning to create a Gutenberg block is a good future investment. No matter where you fall on the Gutenberg debate, the block editor is here to stay.
Even if you have reverted back to the classic editor, chances are good that at some point in the next few years you will also start creating web pages in the form of blocks.
More and more themes, like Twenty Nineteen, will take advantage of what the new WordPress editor has to offer. Plus, soon you will also use blocks in other parts of WordPress like the navigation menu or widgets. Therefore, you better to wrap your head around them now.
The editor comes with a number of standard blocks that can be extended via plugins. However, being able to build your own custom solutions is often very useful, which is what this Gutenberg block tutorial will teach you. But first, let’s start with the basics.
What Are Gutenberg Blocks?
Before we get to how-to part, let’s first settle on what we are even talking about.
Gutenberg Block Examples
The main change that Gutenberg introduced to content creation in WordPress is that, instead of having one big chunk of content (as it was with the classic editor), web pages are now segmented into smaller parts, called blocks.
These can be many different things:
- Paragraphs
- Headings
- Blockquotes
- Images and galleries
- Lists
- Embedded media
- Buttons
- Tables
Each block has its own content, formatting, and other options and you can move, delete, and reuse them at will.
Why the Change?
Why change a running system? Well, the main idea behind the Gutenberg editor is to make the editing experience more flexible and easier to customize, especially for beginner users.
It gives you more control over the entire page, not just the main content. You can customize elements in a more detailed fashion and without applying CSS classes to them or other technical hijinks.
Instead, you are able modify their format, positioning, colors, sizes and much more directly from the user interface.
In addition, blocks in the editor look the same as they do on the page. This makes for a better user experience as the editor view more closely resembles the final product.
Plus, soon you no longer have to learn different ways of displaying page elements (like shortcodes and widgets) but simply one: blocks. When you know how to use them, you can control all different parts of your site.
So, Why Create Your Own Gutenberg Block?
One of the most exciting things about WordPress is that it’s so customizable. Pretty much anything about the platform is adaptable to your needs.
For example, the classic editor is completely customizable. So, why not do the same with its new counterpart?
Especially if there are content blocks that you need frequently but that the editor, plugins or themes don’t offer (yet), creating your own makes sense. Instead of putting in custom code every time, it’s more practical to be able to choose it from the built-in menu. Don’t you agree?
After all, your website is supposed to adapt to your needs in order to make working with it as easy as possible. Plus, knowing how to create your own Gutenberg block is quickly becoming a useful skill.
Is It Easy?
From a technical standpoint, it’s important to note that most components of Gutenberg blocks are written in JavaScript. This goes hand in hand with Matt Mullenweg’s 2015 advice to learn the programming language — deeply (if you want to do that, check these useful resources).
The shift toward JavaScript has been evident in recent years, for example, in Calypso. The programming language comes with a ton of benefits and JavaScript-powered web applications built onto APIs (like Gutenberg is) are the future of the web.
However, that also means that, unfortunately, creating Gutenberg blocks is not very beginner friendly. I am not a developer even by a very long stretch of the word but I have been working with, writing about and building sites with WordPress for close to ten years.
Still, I have to admit that I struggled with completing the challenge I set myself with this post. I hope that, by laying the process out step by step, I can open it up for other people who don’t earn their living writing code. Let’s see, shall we?
How to Create Blocks for the WordPress Gutenberg Editor
Alright, now that we have the theory out of the way, let’s talk about how to create a Gutenberg block.
For this tutorial we will be using the Twenty Nineteen theme, the first theme that was specifically made for the new editor. Out of the box, it offers several custom blocks, among them cover, widgets, quote, pullquote and more. To that we will add a simple call to action block with customizable content and custom styling.
In order to not start completely from scratch, we will be using the create guten block dev toolkit by Ahmad Awais. Everything you are about to read is based on it. In addition, will link to the official Gutenberg documentation where I find it prudent or necessary.
1. Prepare Your Environment
One of the first challenges to create a Gutenberg block is configuring the development environment. While it’s easy to set up a local WordPress installation, in order to tinker with the new editor you need things like webpack, React, ESLint, Babel, and more.
If you don’t know what half of these things mean, that’s ok, neither do I. What’s important is that all of them are included and correctly configured in the aforementioned create guten block kit.
Yet, in order to use it, you first need to install node.js and npm. For that, go to the official node.js website and download the correct installation file for your system.
Once it’s done, execute and run the installation. Ready? Great, you just completed the first step.
2. Set Up Your Plugin Files With create guten block
After that, it’s time to create your first block. You can do so quite easily via the console. If you have never worked with it before, don’t worry. It was also my first time.
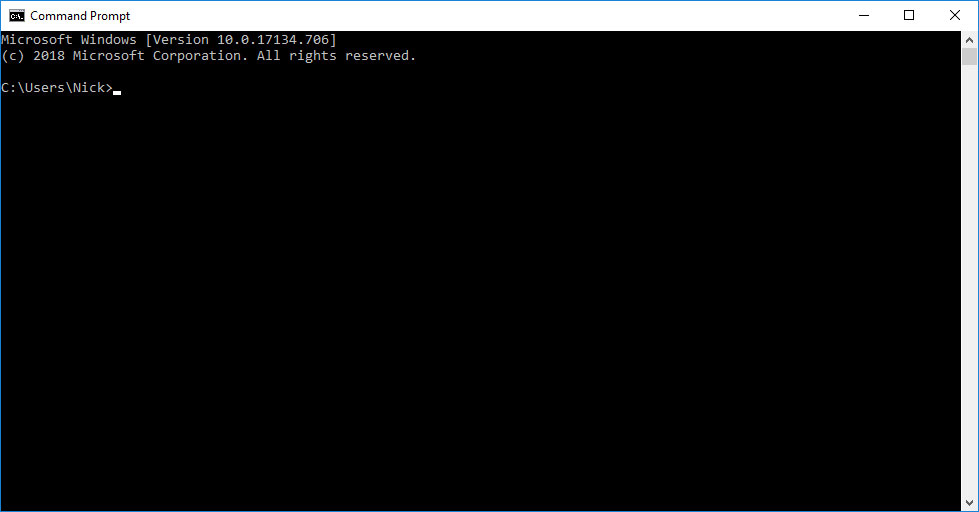
The first thing you need to do is open the console. In Windows, hit the Windows button, search for command prompt, and open it. If you are on a Mac, use Cmd+F and then search for console. Both should open something like this:
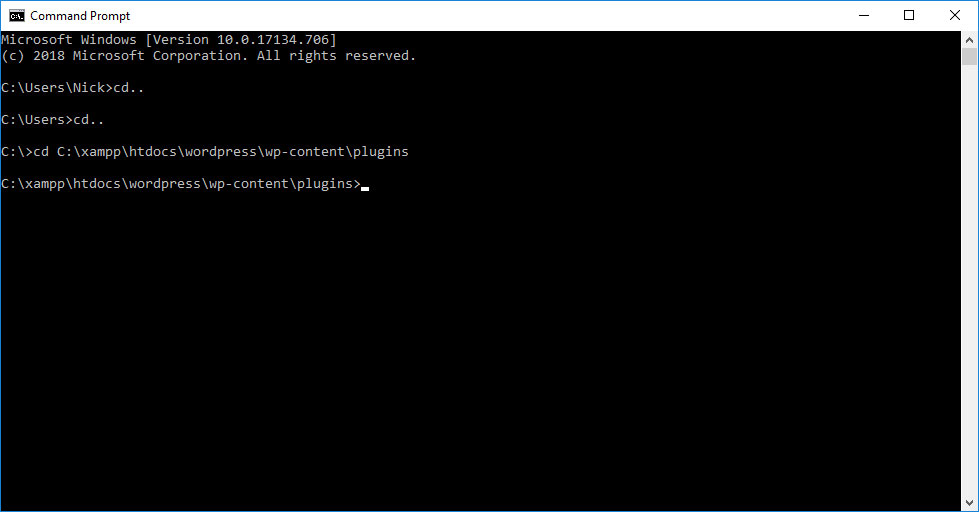
Here, the first thing you want to do is to navigate to your local site’s plugin directory. You can do that with the cd command. Typing cd [directory name] opens a directory, cd.. goes back one directory.
You can also copy the path to the plugin directory from top of its window and just paste it after the cd command to go there directly.
Once there, you want to run the following command:
npx create-guten-block my-block
Make sure to replace my-block with the name of the block you want to create. For example, in my case, I went with cta-block.
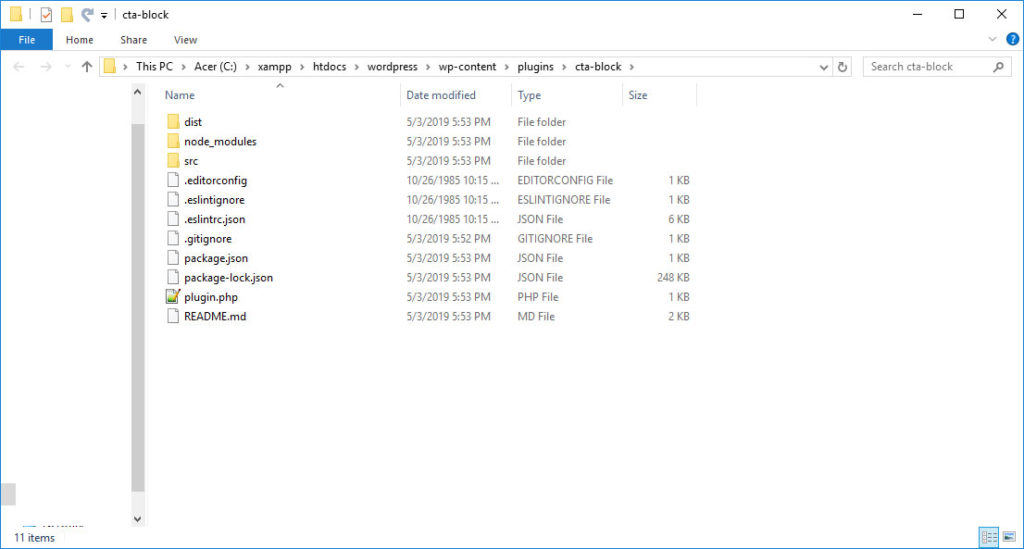
The machine will then create a directory of the same name, download all the necessary information and set up the plugin files you need for your Gutenberg block.
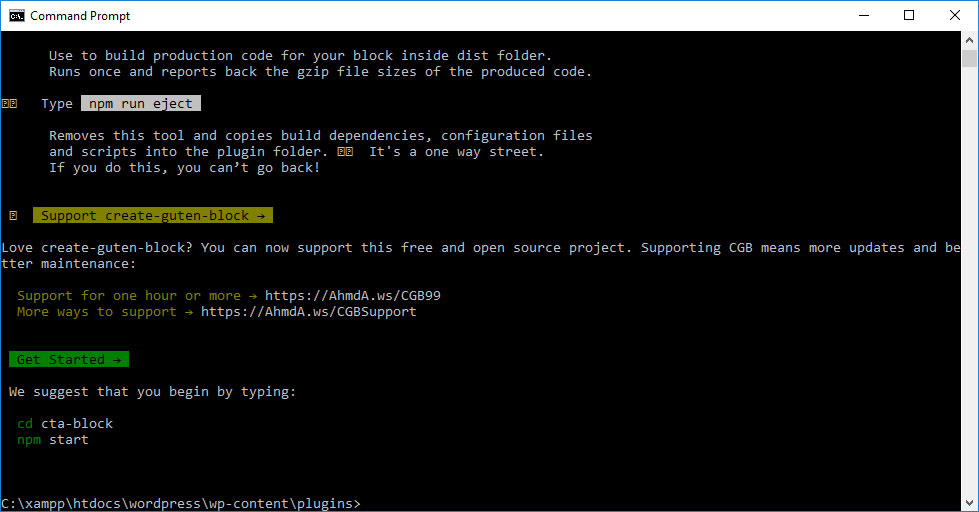
It will take a little while but when it’s finished, you end up with this:
Once done with that, follow the advice of create guten block and enter your plugin folder (remember, cd [directory name]) and type npm start.
The latter will run the block in development mode, watch for changes and report errors in your code.
3. Activate the Plugin and Test Drive It
Once you have come this far, you can already use the plugin you just created. For that, log into your WordPress site, go to the Plugins menu and activate it there.
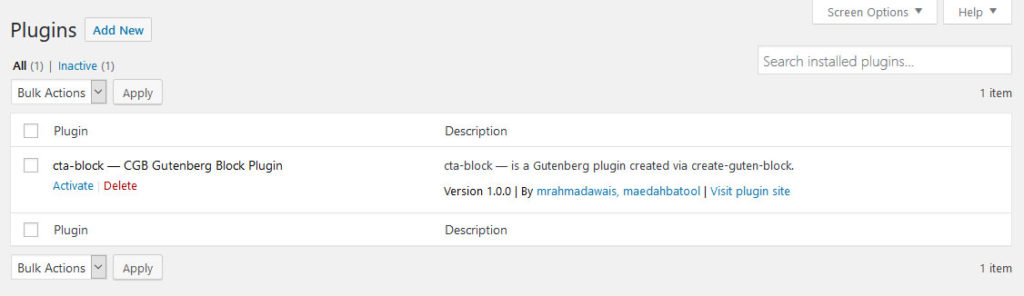
When you now go to the editor, click the plus symbol and search for the name of the block, you also find it included.
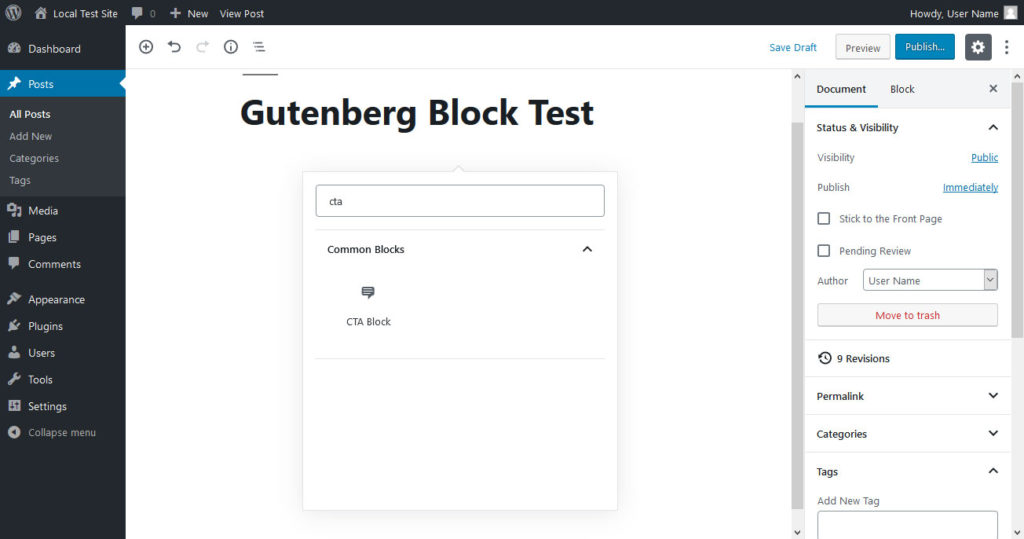
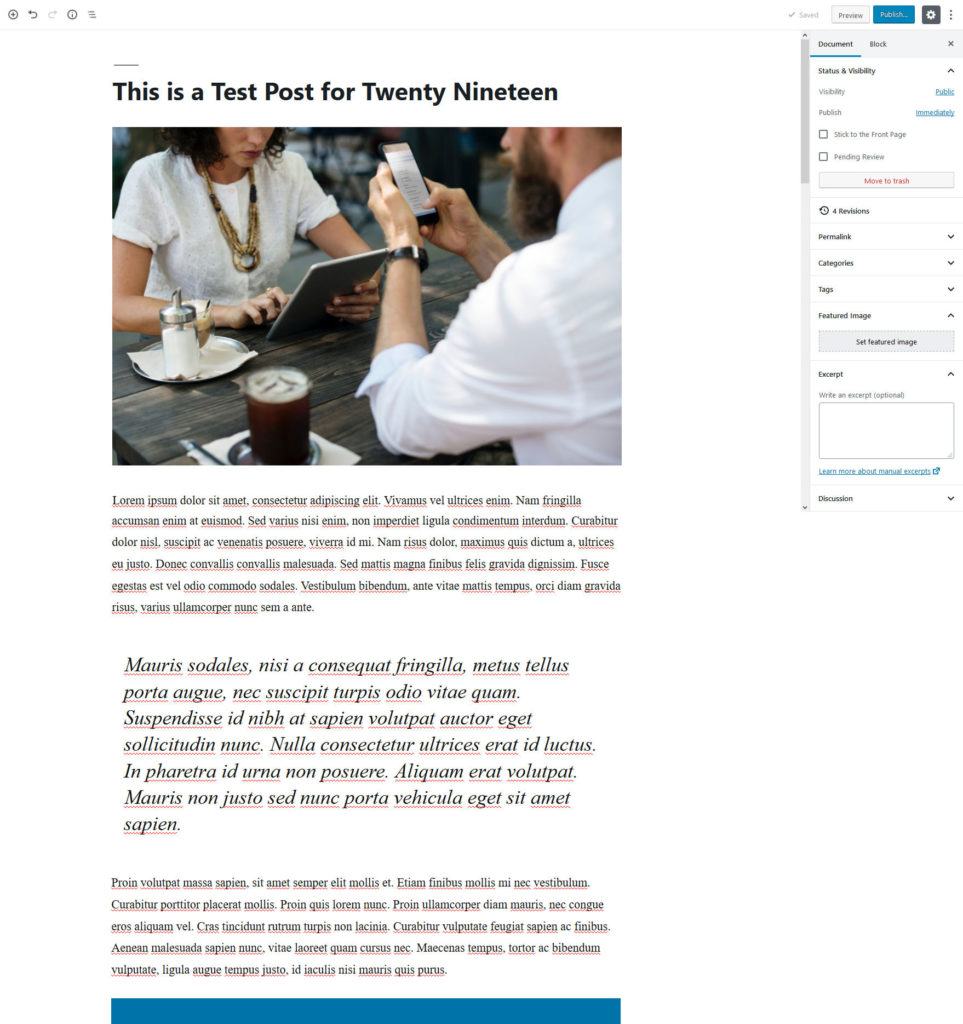
You can even input it into the page to find this on the screen:

Not bad, right?
4. Edit plugin.php
The reason why you see anything at all is because currently the block contains dummy content. Time to change that.
The important files for any changes are plugin.php inside the plugin directory as well as the three files inside src/block called blocks.js, editor.scss and style.scss.
With them, you control everything that has to do with the functionality and design of your self-made Gutenberg block.
The easiest to change is plugin.php. Here, you find the plugin header that contains all the information seen in the plugin menu in the back end.
/**
 * Plugin Name: cta-block — CGB Gutenberg Block Plugin
 * Plugin URI: https://github.com/ahmadawais/create-guten-block/
 * Description: cta-block — is a Gutenberg plugin created via create-guten-block.
 * Author: mrahmadawais, maedahbatool
 * Author URI: https://AhmadAwais.com/
 * Version: 1.0.0
 * License: GPL2+
 * License URI: https://www.gnu.org/licenses/gpl-2.0.txt
 *
 * @package CGB
 */
As a first step, modify all of this so it reflects the right name, author and other information of the plugin. It’s all pretty self-explanatory but if you run into problems, read this post.
Once done and saved, you also see the changes in WordPress.

5. Register Your Gutenberg Block
After that, you want to do the same for how your block appears in the Gutenberg editor. For that, turn to block.js. It contains all the code for registering the block on a WordPress site and for what it does on the front end and back end.
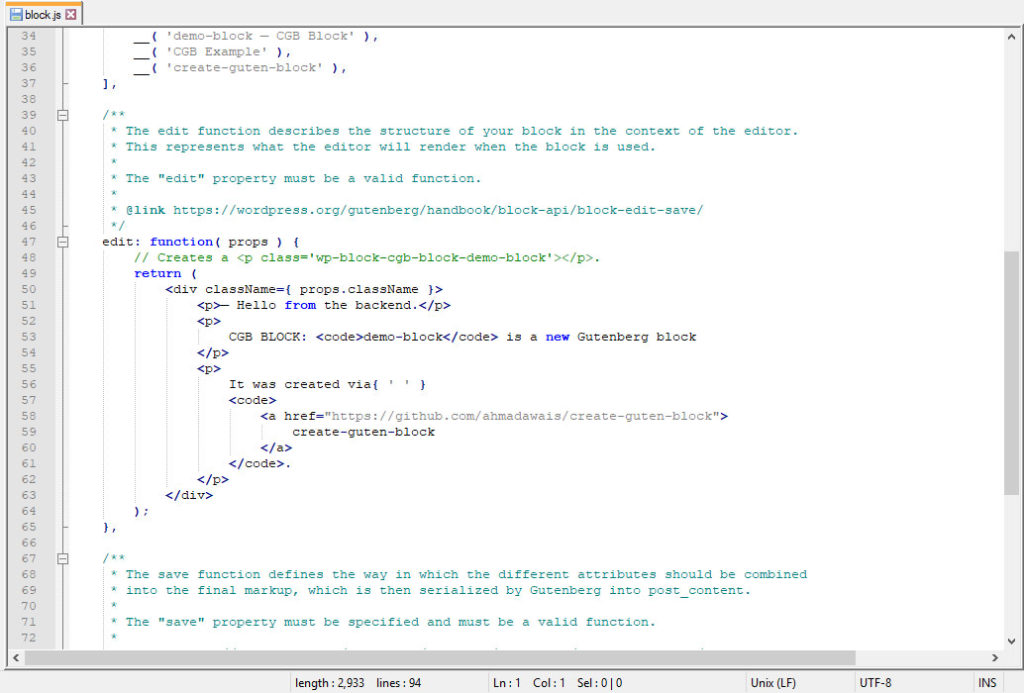
The default file for create guten block is very well annotated. It tells you which part is responsible for what so you can make your own changes. registerBlockType is what registers the block. The functions following edit: and save: describe the content and behavior of the block inside Gutenberg and on page respectively. More information here and here.
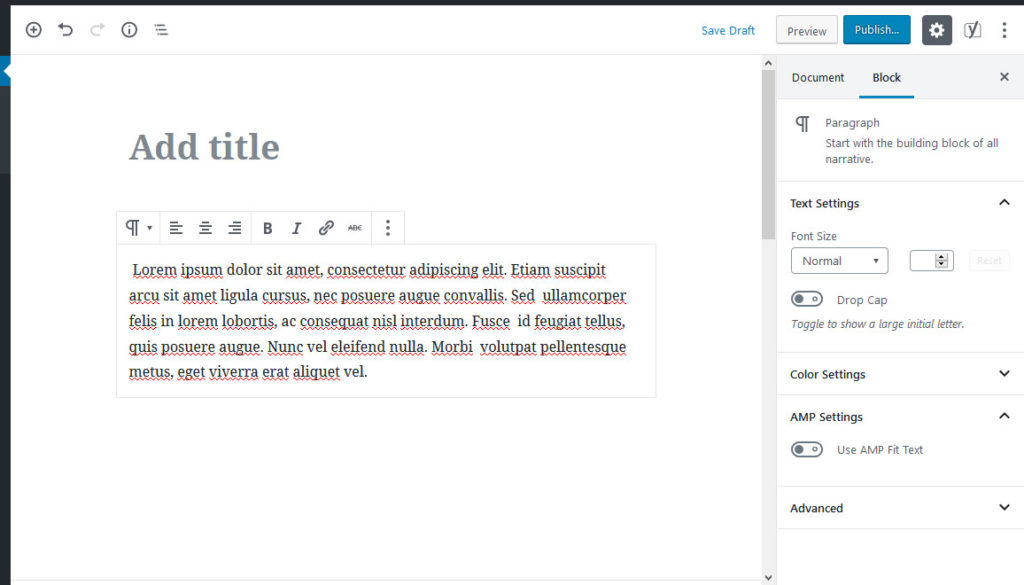
In my case, I simply delete everything starting with registerBlockTypeand replace it with the example from the Gutenberg documentation (toward the bottom). This creates a simple rich-text editor field with minimal formatting options including bold, italics, hyperlinks, etc.
However, in order for it to work with what we have created so far, we need to change this part:
blocks.registerBlockType( 'gutenberg-examples/example-03-editable', {
        title: 'Example: Editable',
        icon: 'universal-access-alt',
        category: 'layout',
In particular, what you want to change is:
- Registration path — This refers to the path that appears after
blocks.registerBlockType. It needs to fit your current environment. title:— The name of the block as it will appear in Gutenberg.icon:— The icon associated with the block in the editor. You can use the dashicons. Be sure to insert the name without thedashicons-prefix. Alternatively, use your own SVG file.category:— Under which category your block will appear. Some of the standard categories are:common,formatting,layout,widgetsandembed.
In my case, I simply changed it to this:
blocks.registerBlockType( 'cgb/block-cta-block', {
        title: 'CTA Block',
        icon: 'testimonial',
        category: 'common',
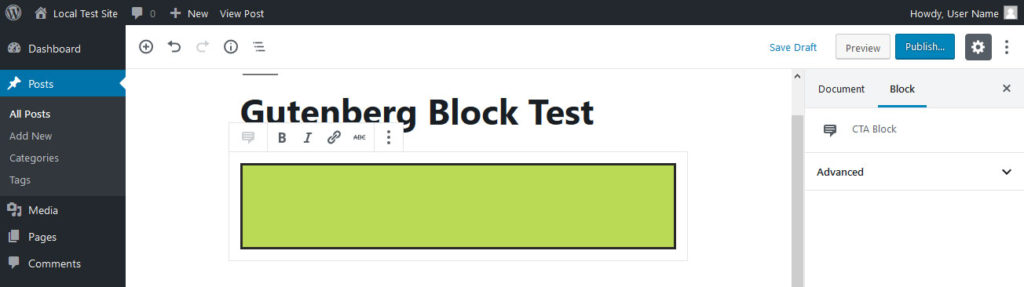
After that, it appears in the editor like so:
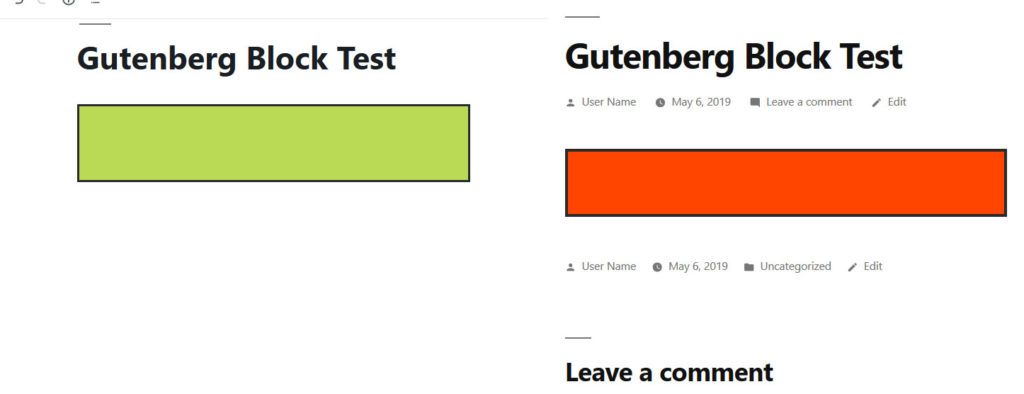
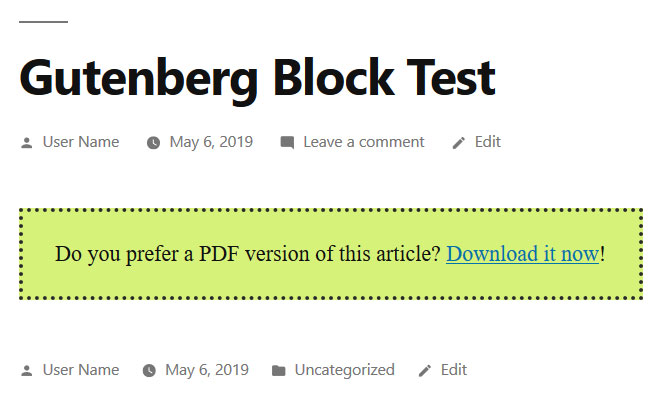
And this is what it looks like on the page:
I left the rest of the code as I found it.
6. Adjust the Block Styling
After that, it’s time to adjust the display of your new block. This happens inside editor.scss and style.scss.
As the file names suggest, the first controls what your block looks like inside the Gutenberg editor, the second the output on the front end.
In the default example from create guten block you can see that the output is green in the editor but red on the page. This is the consequence of using two different sets of markup.
In most cases, it probably makes sense to keep the styling the same. After all, one of the biggest selling points of Gutenberg is that the editing experience and end product are more closely aligned than before.
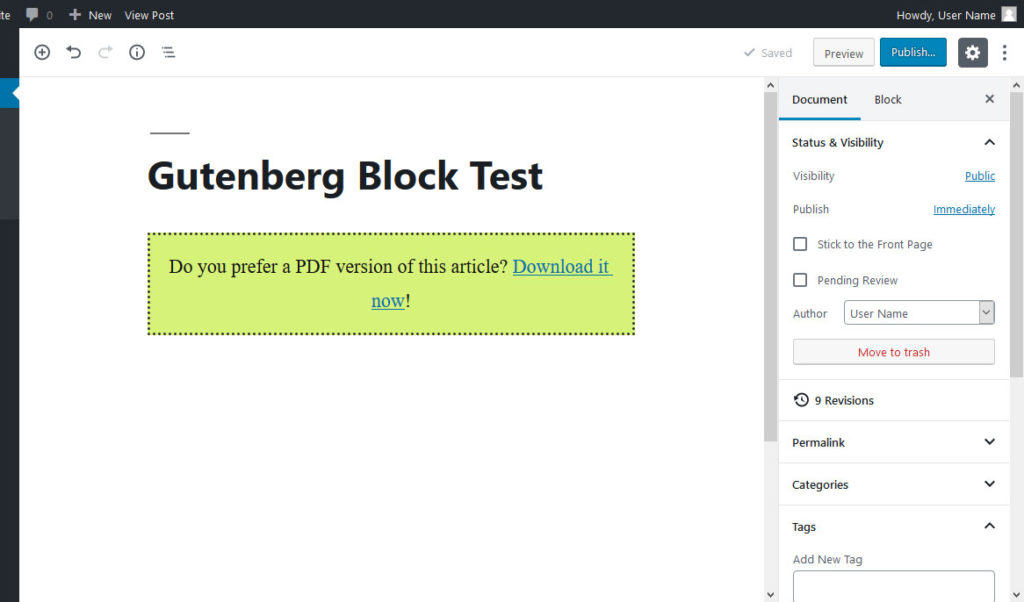
In my case, I add the following to both files:
.wp-block-cgb-block-cta-block {
    background: #d6f279;
    border: 0.2rem dotted #292929;
    margin: 0 auto;
    padding: 1rem;
    text-align: center;
}
And here is the result in the editor:
And on the front end:
By the way, Gutenberg automatically assigns CSS classes to blocks depending on their name and you can find out what they are with your browser tools. Yet, the style sheets from create guten block will already contain the right class names. In addition, you can define your own.
7. Finish Up
Alright, once you are satisfied with your block, there are a few more steps. The first thing you want to do is go back to the console and hit Ctrl/Cmd+C to stop npm from monitoring your files.
After that, run the following command:
npm run build
This will compile the necessary files to production code (don’t worry, it won’t stop your block from working, I checked).
If you think you don’t want to use this block within create guten block ever again, you can also type in npm run eject. However, this means that, from now on, you will have to maintain the project yourself.
Are You Ready to Create a Gutenberg Block?
Gutenberg blocks are set to become the new default element in WordPress. They help create posts, pages, layouts and designs in a modular way and offer a lot of control.
Learning how to set up custom Gutenberg blocks helps you stay on top of the current development and gives you the tools to customize your site with the new technology.
Above, you have learned a basic way to create a block for the Gutenberg editor. It’s more complicated than making changes to PHP templates and for significant modifications, you probably don’t get around learning at least some JavaScript.
However, by knowing how it works in principle, you can start small and grow from there. If I can manage it, so can you.
Plus, the makers of Advanced Custom Fields are working on a way to make creating blocks much easier. The feature is currently in beta but as soon as it is available, you can expect to read about it here.
Have you created a Gutenberg block before? What was your experience like? Any additional tips or comments? Let us know in the comment section below!
Nick Schäferhoff
Nick Schäferhoff is an entrepreneur, online marketer, and professional blogger from Germany. He found WordPress when he needed a website for his first business and instantly fell in love. When not building websites, creating content or helping his clients improve their online business, he can most often be found at the gym, the dojo or traveling the world with his wife. If you want to get in touch with him, you can do so via Twitter or through his website.
The post Why and How to Create a Gutenberg Block – A Tutorial for Beginners appeared first on Torque.
