Google Analytics is perhaps one of the most important tools for a website developer. Analytics is designed to give users all of the data they need to be successful and informed when working on their webpage. You’ll be able to view important data such as:
- Who is viewing your website
- Where they are coming from (link, direct search, social media, etc.)
- How many page views/website views you have
- How your A/B testing is working
- And much more
Luckily, there is an easy way to install Google Analytics directly to your website instead of going to the official Analytics site every time you want to improve your marketing, track your data, or look at your split tests. This is a great way to streamline checking data on-site and gives you more control over what kind of data you want to see when you load up your analytics page.
We are here to show you how it’s done with a simple, easy to use plugin! Before long, you’ll have full access to your analytics page right from your dashboard.
Step 1: Sign Up with Google Analytics
Before you can add Google Analytics to your WordPress website, you have to sign up and create an account. Simply go to the main Google Analytics page and you’ll get a prompt to sign in with your Gmail account.
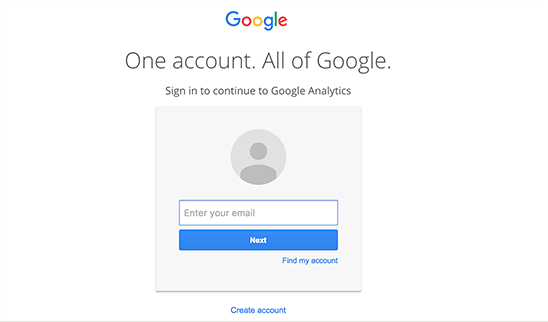
After you’ve signed in, a screen will appear telling you that there are three steps to Google Analytics. First, you have to sign up. After signing up, you’ll get your tracking ID. Finally, you’ll be able to monitor your Analytic data. Click Sign Up to continue the process of getting your account ready.
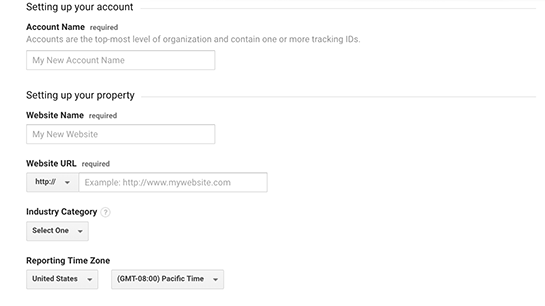
Now you’ll have to fill out some basic information about your website. This will establish your account and help Google track the information needed for the accuracy of their analytics. That page will look like the following image.
Once you fill out your information and click that you agree to the terms and conditions you’ll have a complete Google Analytics account and access to your website’s tracking number if you decide to manually add Google Analytics to your website. It will look something like this;
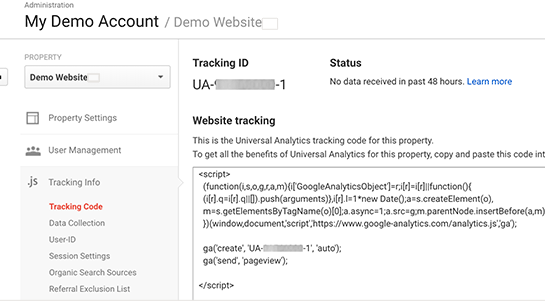
But we are going to cut to the chase and show you an easier way to install Google Analytics to our WordPress site using one of the most user-friendly WordPress plugins. You should still bookmark your Analytics account page with your tracking number in case you need to visit this page for account information at a later date.
Step 2: Installing the Plugin
Before you can access your Google Analytics account on WordPress, you need to first install the correct plugin for the job. Today we are going to use MonsterInsights, a plugin that has both a free and premium version depending on your needs.

The free version features all your most important Google Analytics metrics, but if you need more advanced reports like ad tracking, eCommerce data, author information, then you can always upgrade later.
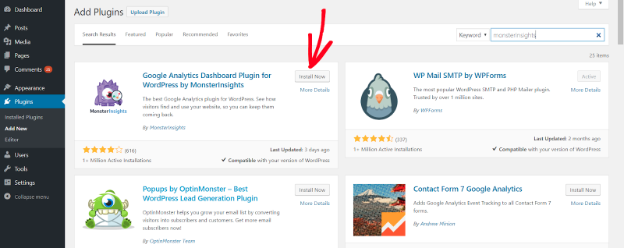
Obtaining the free version of MonsterInsights on your website is a breeze, simply log into your WordPress admin dashboard and head over to Plugins, then click Add New. Then, search for MonsterInsights. Once you find it, click Install.
Step 3: Activating MonsterInsights
After you’ve installed the plugin — it should only take a couple of seconds — click Activate to turn it on. Once it’s been activated, an Insights tab will appear on your WordPress admin dashboard on the left-hand sidebar.
Click Insights and then the Settings button. On the settings page, scroll down to the Google Authentication section and click on Connect MonsterInsights. This will begin the process of linking your existing analytics account to your website.
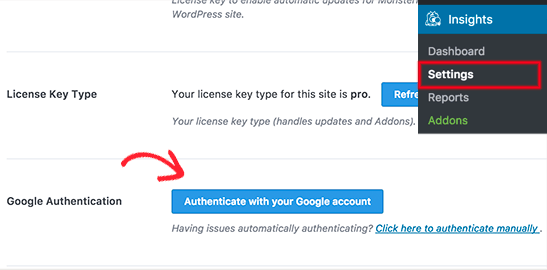
After clicking this button you’ll be taken to the login page for your Google Analytics account. Either log into your Google account or select the Google account you want to use if you’ve previously logged in.
You’ll get a popup that will prompt you to confirm permissions for MonsterInsights to access data from your WordPress site. Essentially, this is just confirming that MonsterInsights can:
- Access your shortened links
- Access your Google Analytics data
- Manage data by email user accounts
Click Allow to continue.
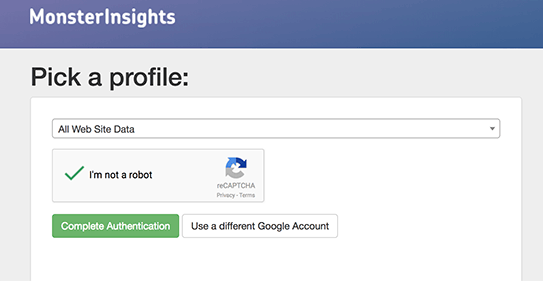
Now a dropdown menu will appear asking which profile you’d like to track with Analytics. You can select your website individually, or select All Website Data. Click Next to continue.
Step 4: Check Your Analytics On-Site
Now you’ll be redirected back to your WordPress site Dashboard. You’ll notice if you look on the left side of the screen on your Admin Dashboard there will be a new tab called Insights. Click on this button, followed by Reports to get specific information on your site.
The Insights Reports page should look something like this:
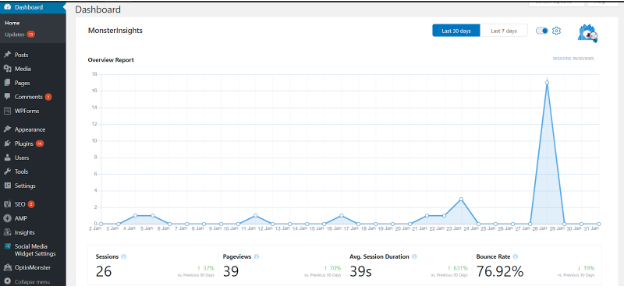
You can see from this image that most of your primary information is right there on the front page. You’ll be able to see the average session rate, page views, average session duration, and your bounce rate.
You’ll also notice at the top right side of the page you can scale your data to show the past 30 days, 7 days, or your own custom time frame if you’d like to track the status of your site after a big change, such as a revamp or the addition of a new product, service, or blog post.
Scroll further down to see where your visitors are coming from (social media, search engines, etc), their demographics, and more. You can tweak your individual settings by clicking on Insights, Settings, and Tracking. This will allow you to go through and set the tracking data up to your preferences based on the type of business you operate and what kind of stats you’re interested in tracking.
Conclusion
Plugins have made WordPress one of the most accessible and lucrative platforms for websites to date. Now you can easily merge your Google Analytics data right to your dashboard with MonsterInsights.
If you follow these easy steps you’ll be able to get your analytics page added to your site in just a few minutes. This small time investment will have a big payoff when you realize you have all the data about what’s going on with your website at your fingertips and all in one place.
Syed Balkhi
Syed Balkhi is an award-winning entrepreneur and online marketing expert. He is the co-founder of WPBeginner, OptinMonster, WPForms, andMonsterInsights.
The post How to Easily Set Up Google Analytics on your WordPress Site (Step by Step) appeared first on Torque.
