When developing for WordPress, it’s important to have the best tools at your disposal. Arguably, the process starts with a solid local development environment. However, there are now plenty of additional solutions for getting your project up and running quickly.
Whether you’re creating a theme, working on a plugin, or contributing to WordPress core, Varying Vagrant Vagrants (VVV) can help you out. It’s a command-line tool with a browser-based dashboard, offering development flexibility. It’s also WordPress-approved, so learning it now could serve you well in the long run.
In this article, we’ll introduce you to VVV, explain what it is, and discuss its feature set. We’ll also show you how you can start using it in your development projects. Let’s get to work!
An Overview of the Current Local Development Landscape
You won’t get far browsing development topics on the web without bumping into a piece on local development. It’s a popular subject, mainly because local environments are a fundamental element of creating anything web-related, including WordPress and its associated themes and plugins.
The classic way to set up a local development environment is by using a solution such as XAMPP, MAMP, or even LAMP. This is great if you want the maximum flexibility and control, although the complexity of these solutions and the fact that they’re not necessarily optimized for WordPress can create issues.
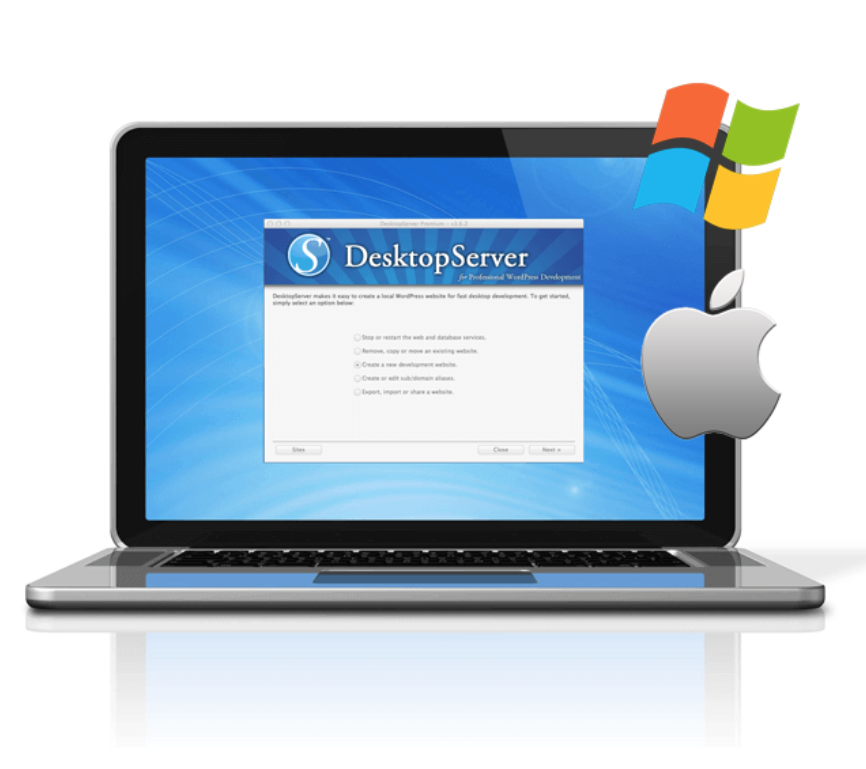
As such, many developers have built platform-specific tools that offer just as much functionality, but have WordPress at their core. For example, DesktopServer was one of the very first packaged solutions available, although it uses XAMPP as a foundation:
Other developers soon followed, which gave rise to the current trend of ‘container’-based solutions. These tools let you create multiple installs that are run through a Virtual Machine (VM). The two most popular variants are Vagrant and Docker. We’ve covered both of them here at Torque, and you can also find plenty of comparisons between the two.
Ultimately, Vagrant is usually a better choice as your first port of call, even though it’s technically just an environment for creating development VMs. It took WordPress agency 10up to create a platform-specific tool out of this solution: the tongue-twisting Varying Vagrant Vagrants (VVV). Let’s look closer at what it does.
Introducing Varying Vagrant Vagrants (VVV)
As we mentioned, Vagrant is a platform-agnostic way of creating development environments using VMs. Without getting into too many details, 10up built on top of this to create VVV (although it’s now a community-run project). This is a way of creating virtual WordPress installations, giving you a practically infinite development environment to work with.
It’s run mainly from the command line, with install sites and some options accessible from a browser-based control panel. However, you’ll usually be working at a lower level than that, as we’ll illustrate shortly.
Key Features
- Provides a method of creating virtual WordPress installations via the command line.
- Offers guidance through a comprehensive wiki site.
- Includes a number of utilities and extras that can help extend your development capabilities.
In order to use VVV, you’ll need a solid grounding in how the command line works, and a text editor for adding new sites. We’ve also had success using the Firefox Development Edition browser, although Chrome is a solid choice too. In our experience, Safari is more likely to experience issues when using the control panel, although it should be used for testing purposes at the appropriate time.
How to Create a Website with Varying Vagrant Vagrants (In 2 Steps)
As you might expect from something developed by a prominent WordPress team, VVV is easy to set up and use. While you can apply this solution to practically any platform, we’ll be using a Mac running macOS High Sierra 10.13.6. Let’s take a look at what you’ll need to do!
Step 1: Install VVV on Your Desktop Computer and Test It
Before we begin, you’ll need to sort out your dependencies and other extras in order to run VVV. Fortunately, you’ll only need two pre-installed elements: VirtualBox and Vagrant.
You may already have VirtualBox installed, especially if you’ve been using another local development environment. However, if you do need to install it, the process is simple, and the correct package for your Operating System (OS) can be downloaded in a snap. Similarly, Vagrant is also easily installed by locating the correct package from the official website.
It’s worth pointing out that if you’re on a non-Apple machine, you may need to turn off virtualization via the BIOS. You’ll need to consult your motherboard’s manual for more details on how to achieve this.
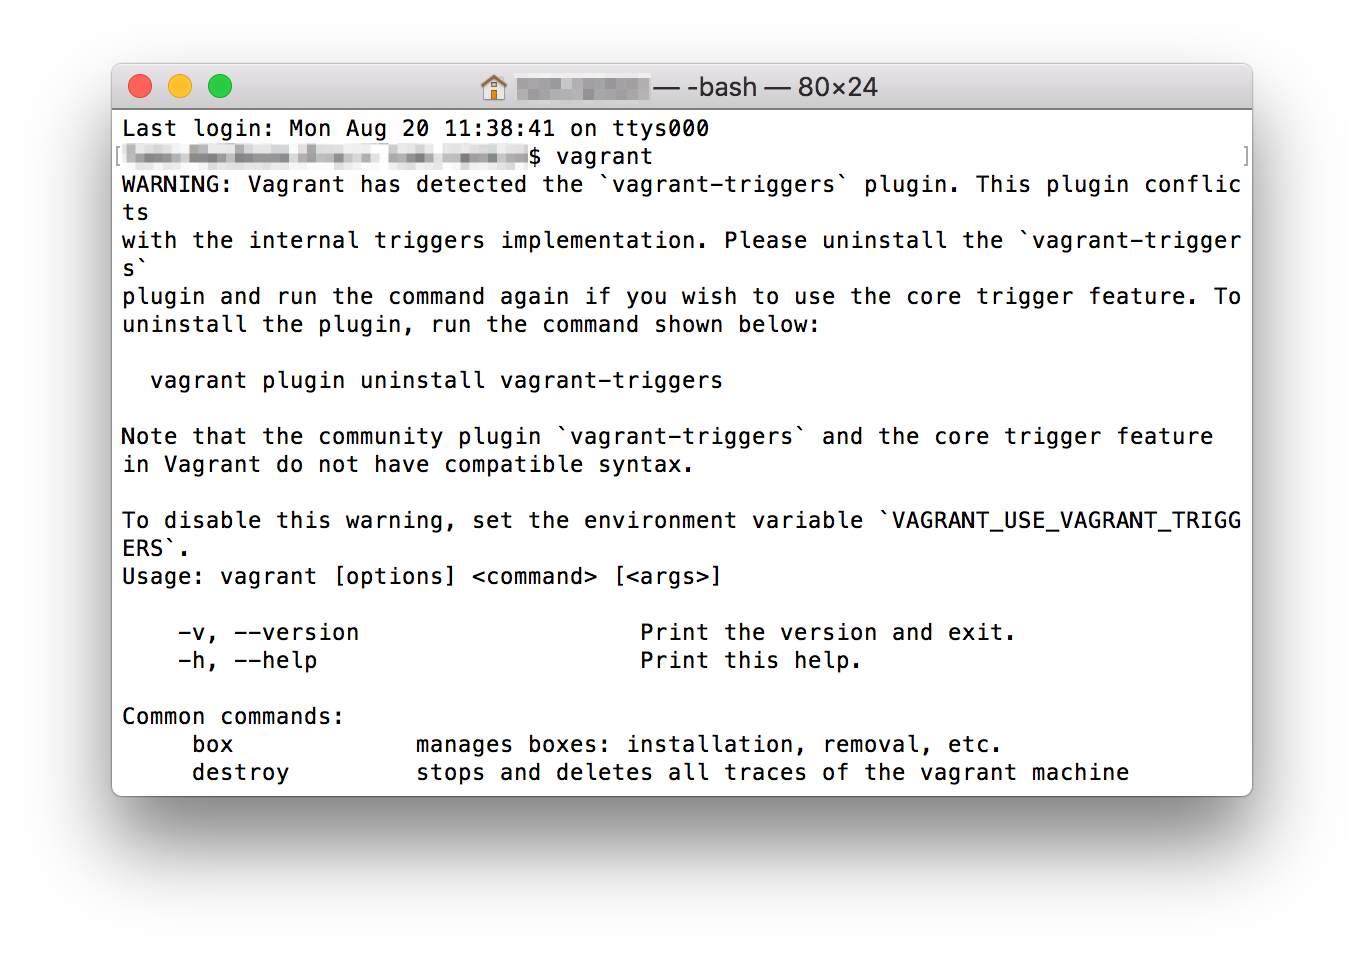
Once these basics have been installed, you’ll want to check to ensure that everything works as it should before diving in. You’ll find that the vagrant command now works on the command line:
Next up is installing VVV itself. There are a few different ways to do this, but we’ll use Git, as it’s the easiest and most stable option. Simply clone the VVV repo into a local directory with the following command:
git clone -b master git://github.com/Varying-Vagrant-Vagrants/VVV.git ~/vagrant-local
The terminal should display the path to your vagrant-hosts file, but if not, you’ll find it in your most top-level user directory. Navigate to that directory, and copy the vvv-config.yml file to vvv-custom.yml. You can think of this step as creating a child theme for your installs.
You’ll also want to install the Vagrant-Hostsupdater plugin, which modifies your hosts file (kind of like a text file database containing your sites’ information) so that ‘provisioned’ domains work. Provisioning is akin to activating within WordPress. To do this, simply run vagrant plugin install vagrant-hostsupdater from the command line, and follow the instructions on the screen.
Finally, reboot your computer, and when you’re happy that everything has been installed, you can start building sites with VVV.
Step 2: Create a New Site
Once you have VVV set up, you’ll likely want to dive right into creating a new site. To do this, you’ll need to navigate to your installation’s vvv-custom.yml file, and use a number of different custom fields and section names.
However, before that you’ll want to simply power up VVV and take a look around. You can do this by navigating to your Vagrant directory – if you followed along earlier, it will be cd vagrant-local. Then, you can start up the environment using the vagrant up command:
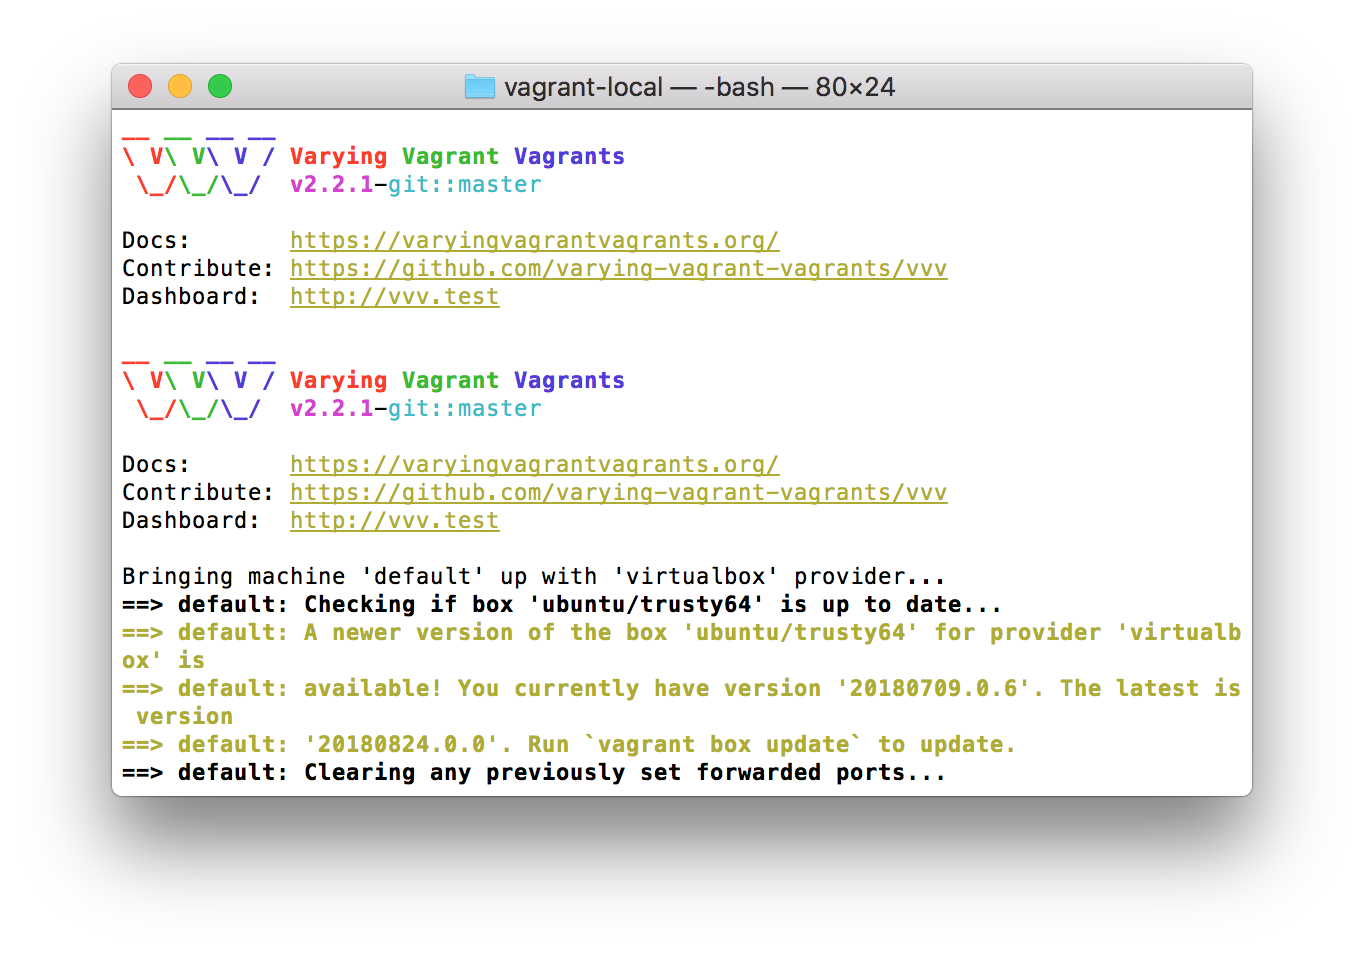
You may need to enter an admin or su password in order to continue. As soon as the process is complete, you can navigate to vvv.test in your browser of choice:
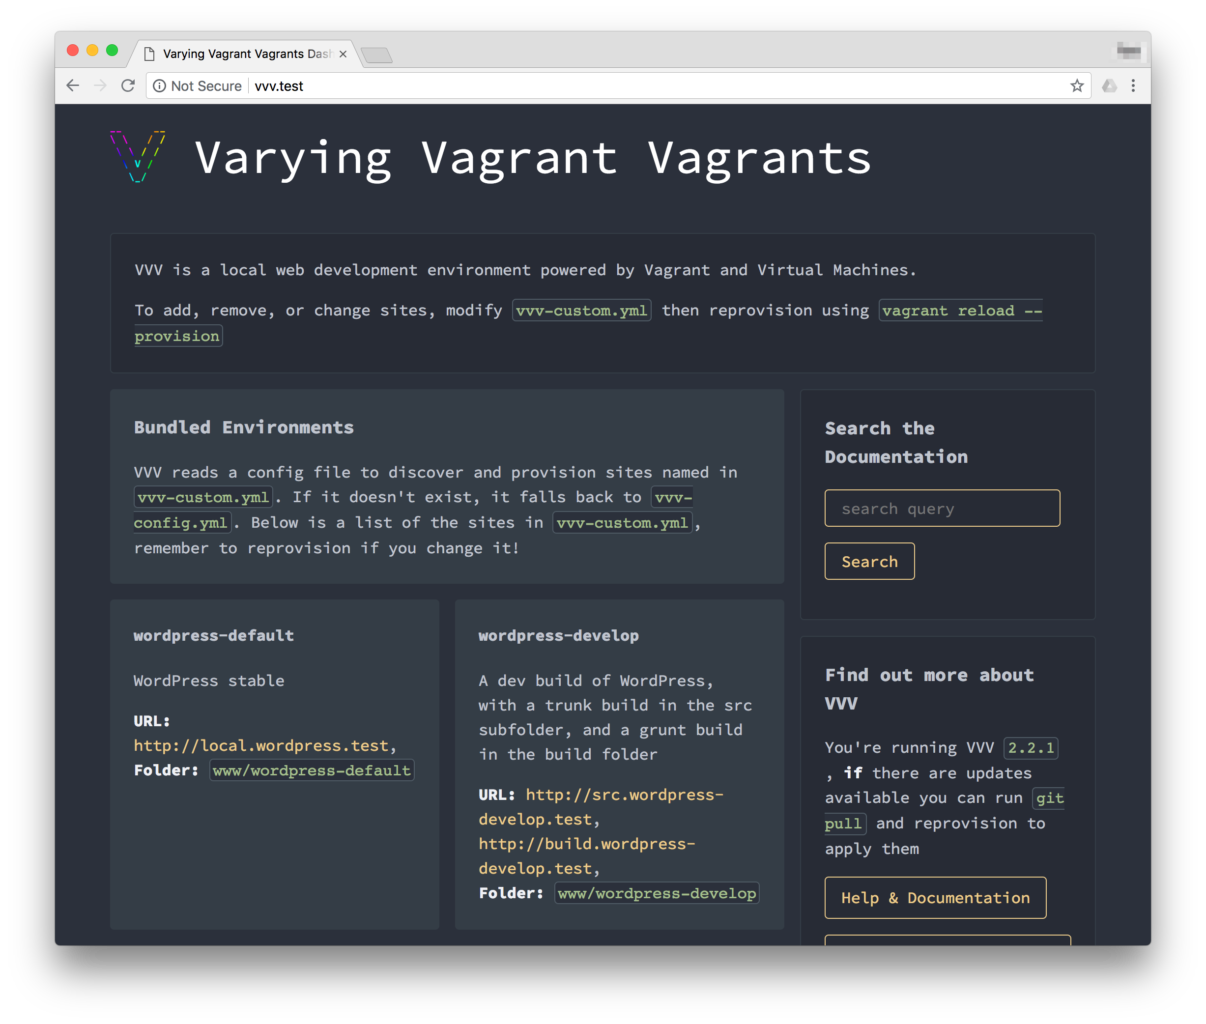
Here you’ll see all of your installed sites, along with some other links and resources. If you ever forget the default credentials for these sites, they can be found on the main VVV website.
To add a site, head back to your www-custom.yml file and open it in your favorite text editor. Inside, you’ll find a lot of options, but we’re looking to a section called sites:
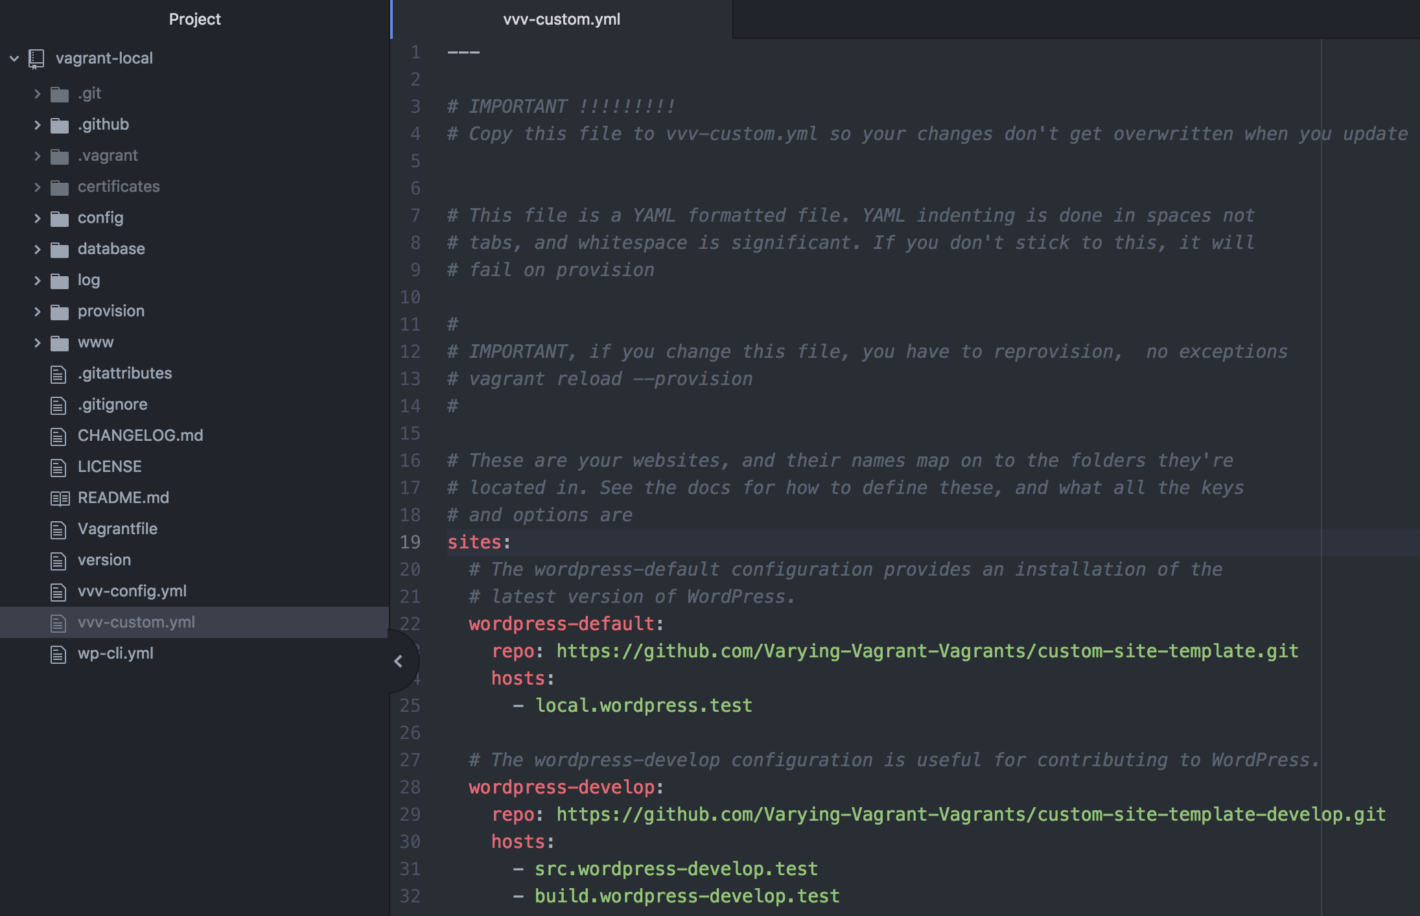
If you take a look at the example site entry, you’ll see that yours will only need a minimum of three fields:
- A site name (wordpress-default)
- The site template (https://github.com/Varying-Vagrant-Vagrants/custom-site-template.git)
- A custom URL (local.wordpress.test)
URLs should use the .test TLD, unless you have a specific reason not to. Then, setting up a site is just a matter of adding your own fields to the vvv-custom.yml file, saving your changes, then running vagrant reload –provision from the command line. We briefly mentioned VVV’s ‘provisioning’ earlier. This is essentially a syncing step, and is necessary every time you make a change to a file.
Note that we’ve found the provisioner a little troublesome on occasion, and our usage has differed somewhat from the documentation. For example, you may need to run vagrant provision to see the changes ‘take’. Regardless, once the provisioning is finished, you should be able to navigate to your chosen URL, and see a complete WordPress install that’s ready to use.
Finally, you may find that the default sites included with VVV are good enough for your needs. You can read about them in more detail on the VVV website, but they’re essentially ready-to-roll installations suitable for developing themes and plugins, based on production versions of WordPress’ core. This is just another reason why WordPress and VVV are awesome together!
Conclusion
Much like hosting a WordPress site, developing for the platform is much easier now that it was even five years ago. This is largely due to the swathe of local development environments that are available. While the classic XAMPP is still alive and kicking, many developers now look to other tools. Varying Vagrant Vagrants, for example, is a strong option that was created by leading WordPress developers for platform users.
In this post, we’ve looked at how to use VVV to create WordPress solutions. Let’s quickly recap the steps you’ll want to take:
- Install VVV on your computer, along with any dependencies.
- Set up a new site, and potentially use some of the modifiers to tweak your installation.
Are you looking for a local development environment, and does VVV excite you? Share your opinions in the comments section below!
Featured image: dimitrisvetsikas1969.
The post A Developer’s Guide to Varying Vagrant Vagrants (VVV) appeared first on Torque.
